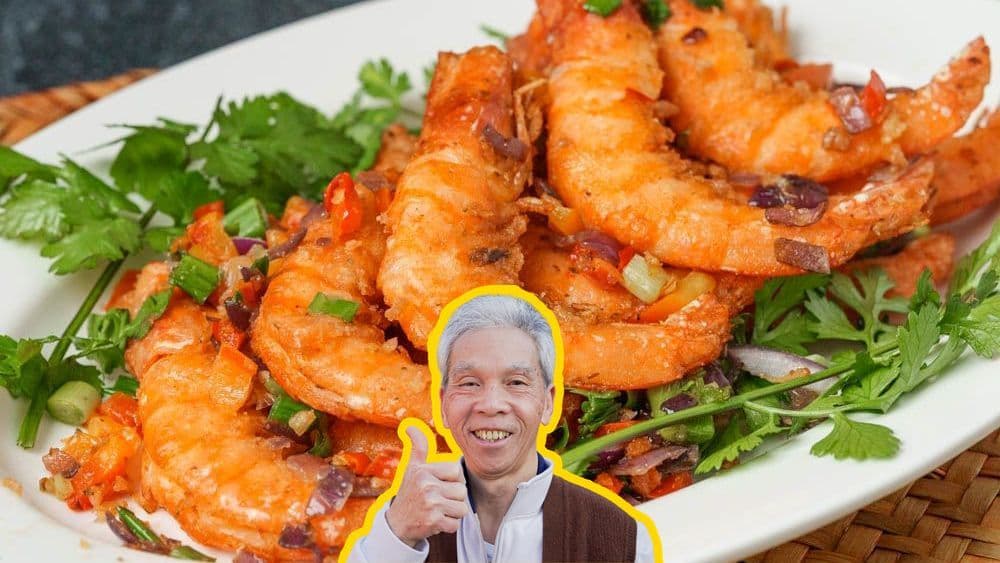
The Salt & Pepper Shrimp My Dad's Made 100,000 Times
Why this recipe
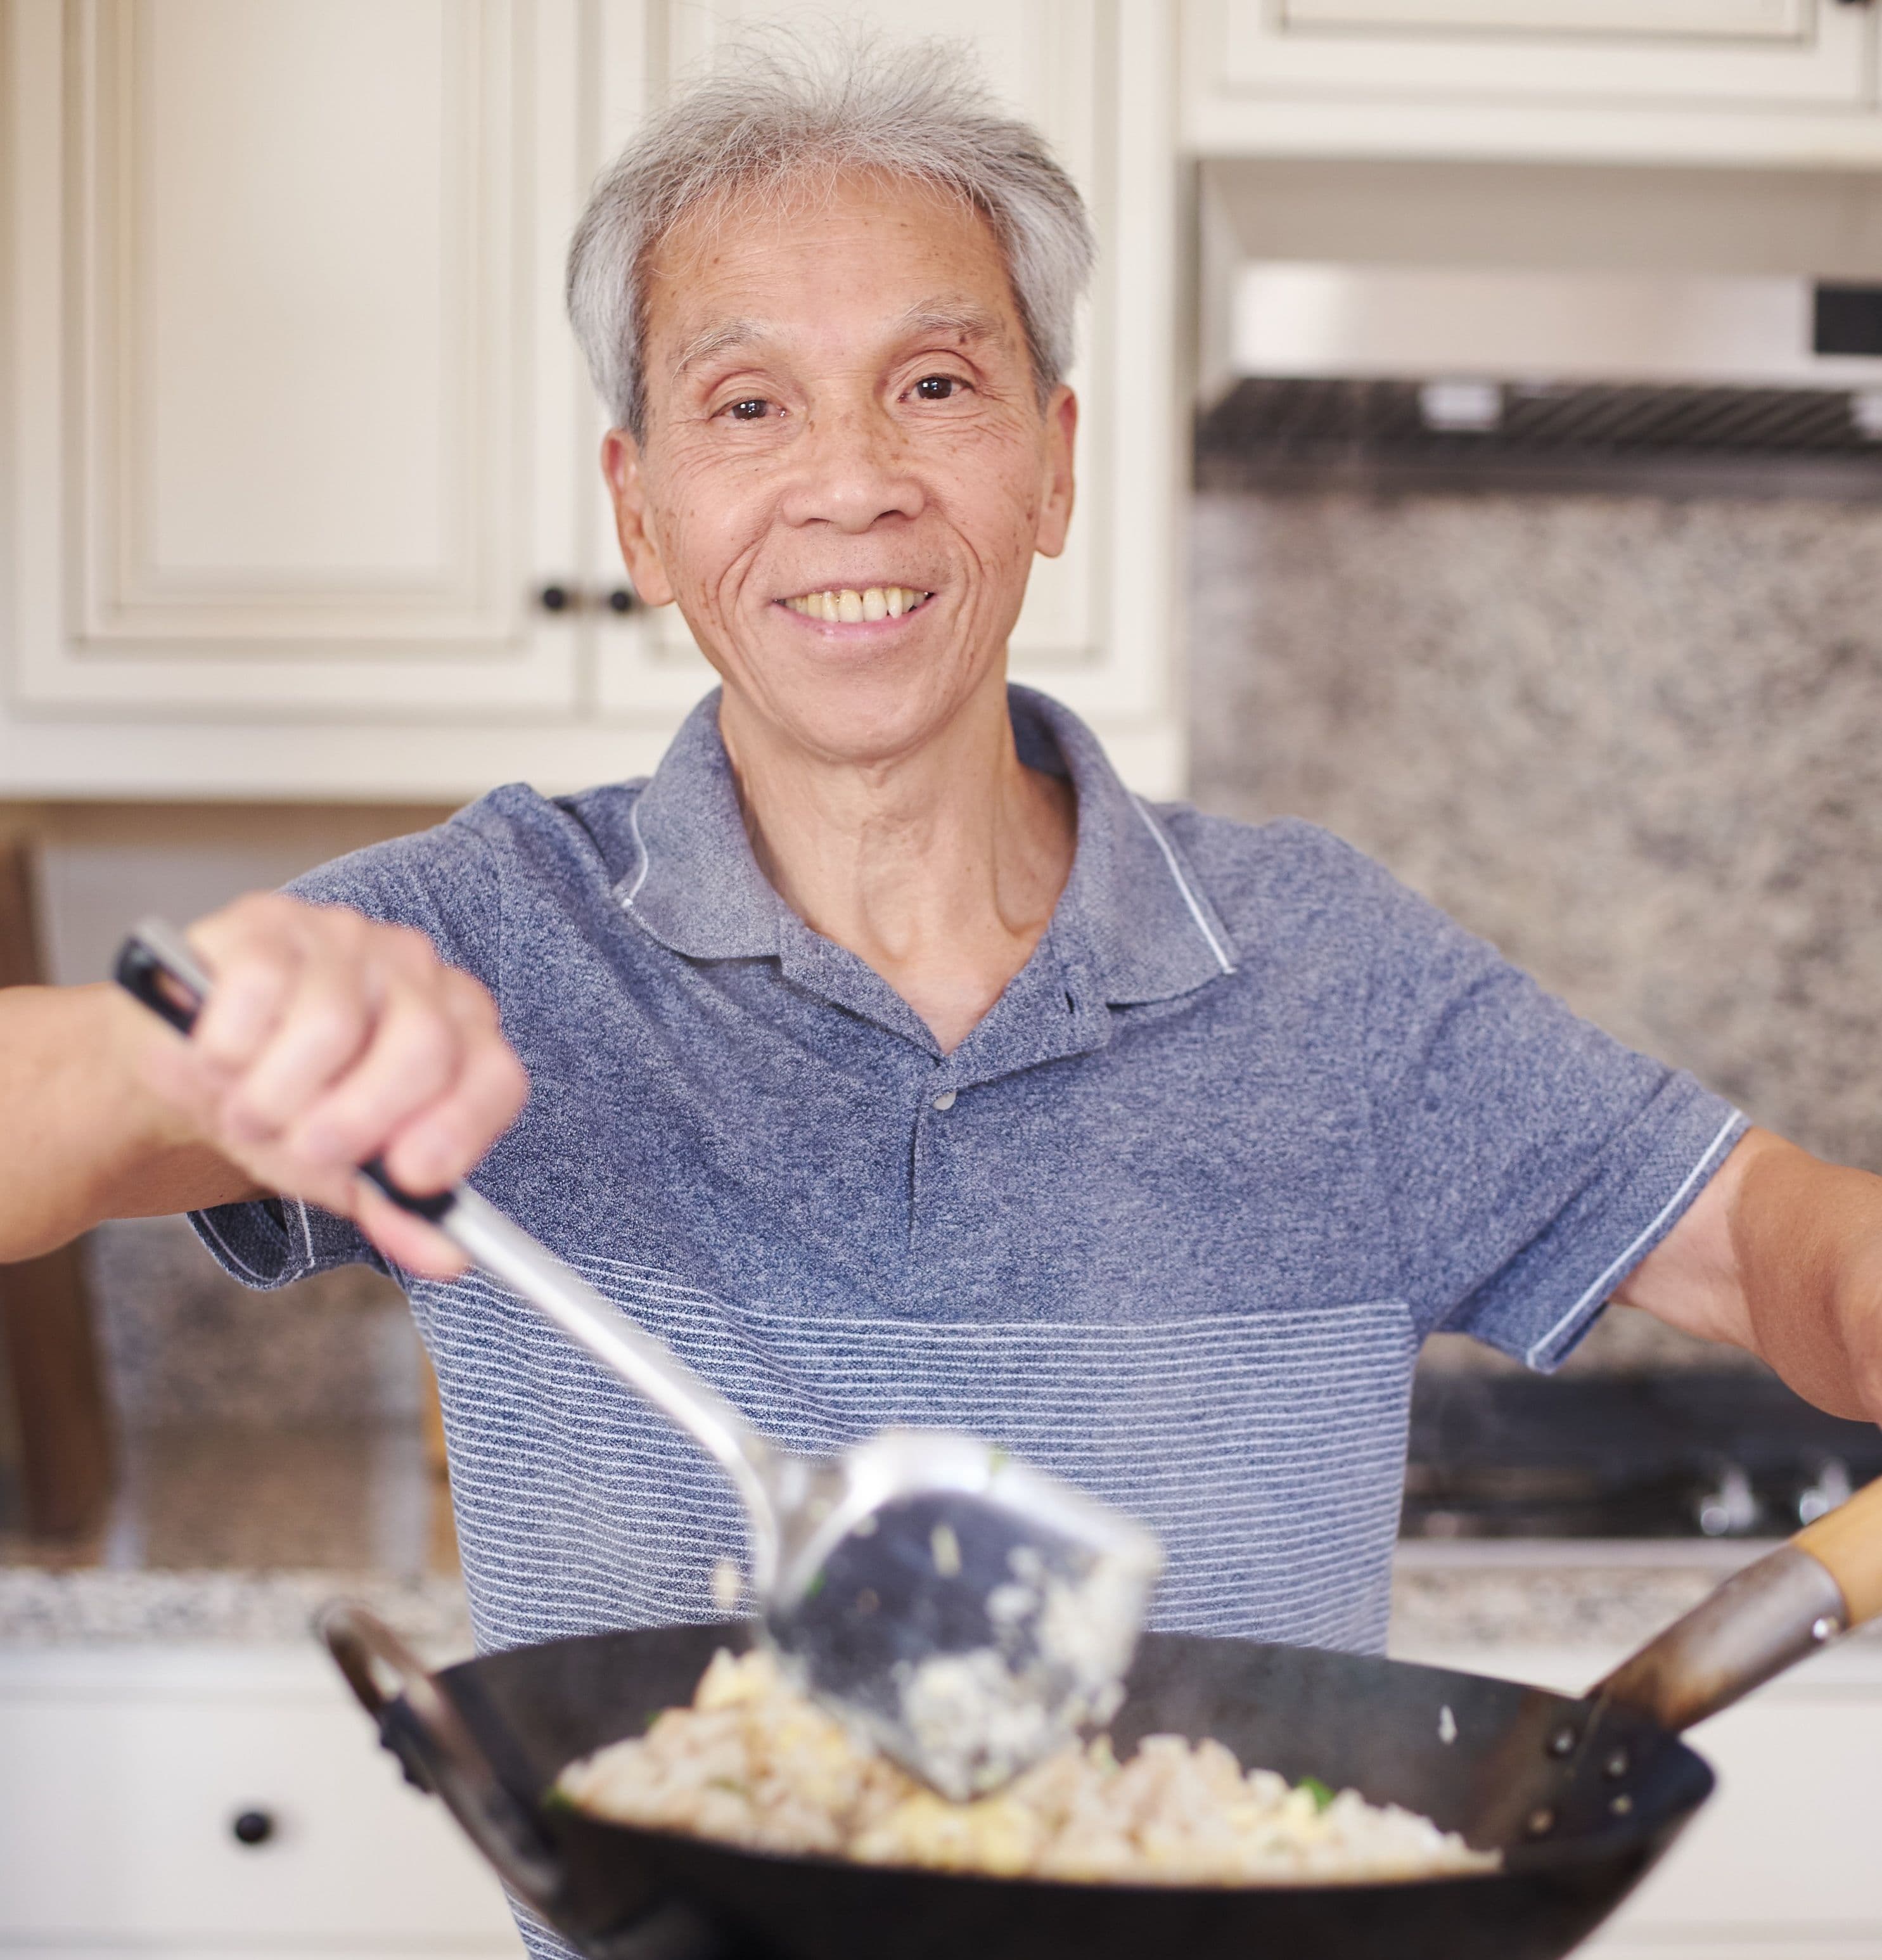
Most salt & pepper shrimp recipes online are tested only a handful of times. My dad used to make this dish multiple times a day, every day, for 60+ years and can make this in his sleep.
I know you'll love it as much as our community does! This recipe has over 425K views, 7.7K likes on YouTube.
Eat shrimp for luck and happiness
Shrimp is a popular protein in Cantonese cuisine, not only because it's so delicious and relatively easy to source, but also because it's auspicious. In Cantonese, shrimp is 蝦 haa1, which sounds like joyful laughter. Put this Salt & Pepper Shrimp on the table for lucky celebrations to ensure a future full of happiness and laughter!
A story about prosperity, with U.S. Bank
This Lunar New Year recipe is brought to you in part by U.S. Bank.
As a kid, I was so excited to receive $5 in my red envelopes. $5 was a lot for me, and even more for my parents, who worked long nights and weekends running their own restaurant.
“Wah Yuen” - that was the name of their restaurant, the name of their hopes and dreams.
As immigrants living the 80s and 90s, they just had to figure out how to find success on their own.
They didn't have the internet, and no one was really investing in the success and financial education of Chinese communities. They just made it work by being extremely frugal and with relentless sacrifice.
But, times have changed.
Ironically, my parents never wanted me to be in the food & restaurant industry. But lo and behold, I now run a successful business teaching millions of people how to cook on the internet. Maybe it’s fate - I come from a long line of restauranteurs (my paternal grandfather used to run a popular tea house in Guangzhou).
For me, as a Chinese American entrepreneur in today's world, managing our business and finances is much, much easier than it used to be, because we have so many more resources at our fingertips through organizations like U.S. Bank.
We’re really honored and excited to partner with U.S. Bank because they’re investing significantly into the AAPI community (not just through corporate lip-service.)
If you’re a business owner looking to understand business essentials, streamline operations, or need lending or coaching, check out their Business Banking offerings.
You can also get up to $600 cash when you open a new checking and savings account. Visit U.S. Bank’s 2023 Lunar New Year page to learn more.
Disclaimer: Subject to certain conditions and qualifications. Member FDIC.
Ingredients

Instructions
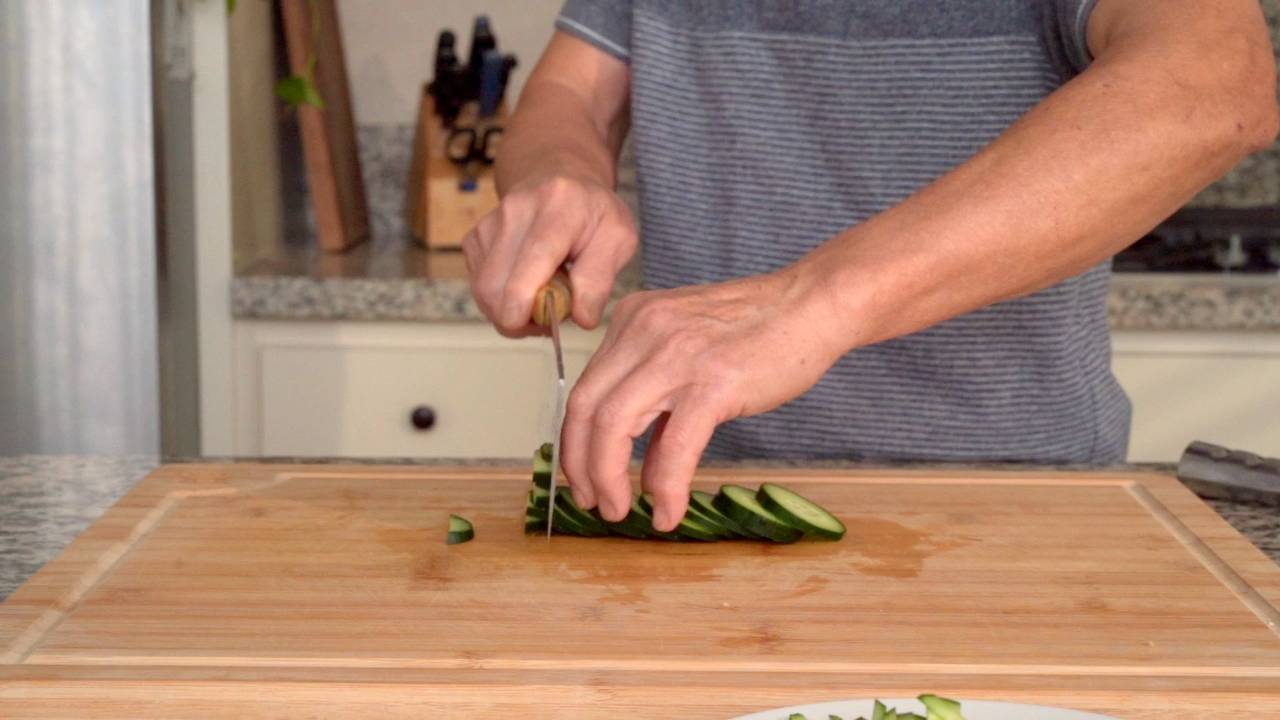
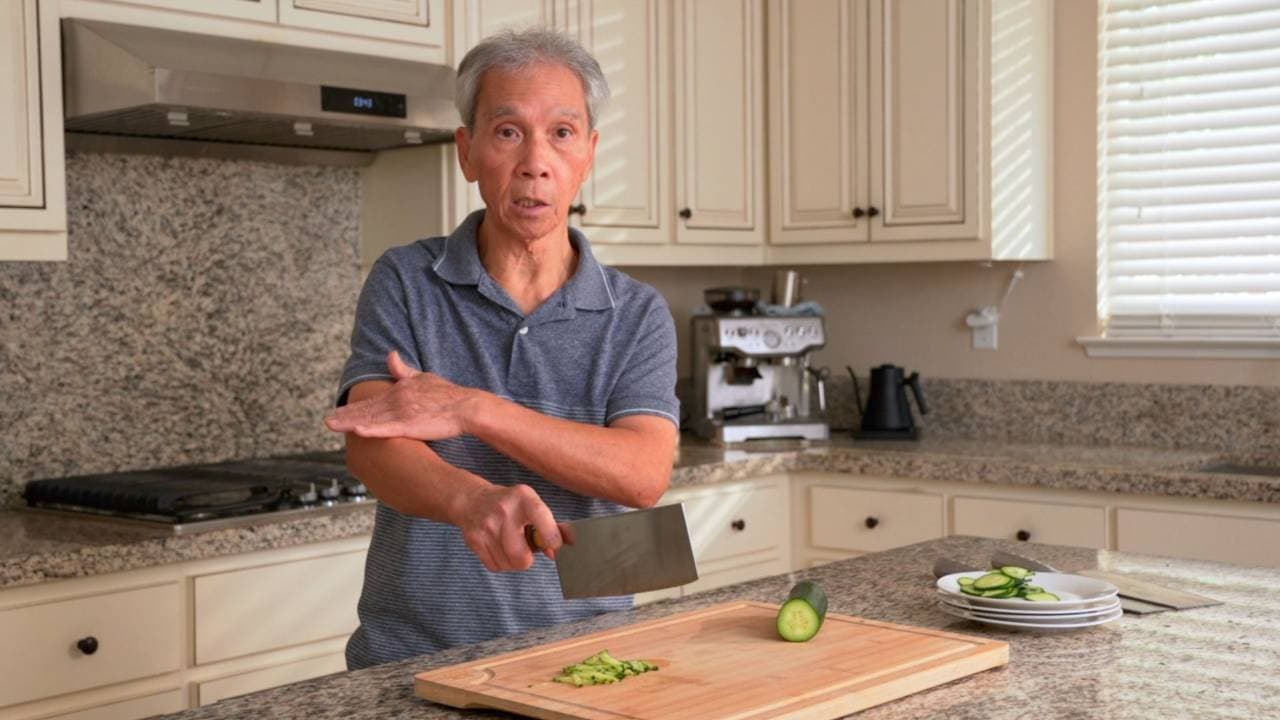
Prepare vegetables
We’ll start with the aromatics and vegetables.
Although we usually cut the onion in half to create a flat, stable base to cut into, we’re not using the whole onion for this recipe. So instead of cutting through the onion, we’ll cut into the onion just enough to get the amount we need from the full outer layers. That way, the inner layers are undisturbed and will keep better for the next time you need the rest of the onion!
Cut the red onion (0.50 oz) into thin strips, then rotate 90 degrees to dice it into small cubes.
We will also use just some of the red bell pepper, so cut out the amount you need. In our video, we only took about 1/4 of the whole pepper. Like the onion, cut the red bell pepper (0.50 oz) into strips, then rotate 90 degrees to dice it into small cubes.
Trim and discard the ends of the green onions (2 stalk), then dice the rest. Set all these aromatics aside for later.
Smash and peel the garlic (2 clove). Trim off the hard ends, smash again to get it even more broken up, then mince.
Because our family prefers our food more on the mild side, we tend to use fewer spicy chili peppers. If you want to turn up the heat level, you can use more spicy chili peppers, or opt for a spicier variety, or both. If you don’t want any heat at all, omit them entirely.
Remove the stems from the Thai chili peppers (2 piece), then cut in half lengthwise. Rotate to dice into small pieces.
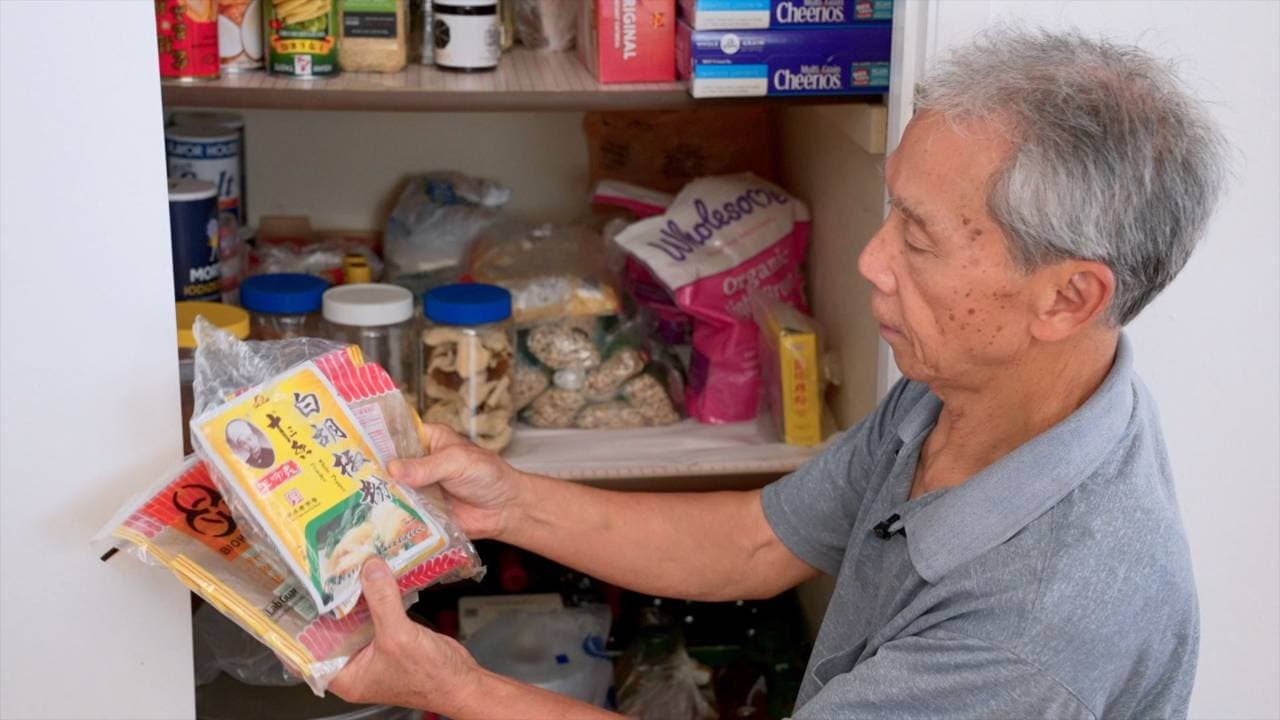
Prepare dry seasoning
Create the dry seasoning by combining garlic salt (1 tsp), salt (0.20 tsp), and white pepper (0.25 tsp) in a separate bowl. Mix well.
Prepare shrimp
Devein the shrimp (14 oz) by using a toothpick to jab into and across the middle of its back, between segments. Lift directly out, and the vein will come out with the toothpick. Then, cut off the legs and antennae. We use kitchen shears, but you can use a knife if you don’t have kitchen shears handy.
Then, cut off the front of its head, below the eyes, to make the shrimp pretty and a little less stabby when you’re eating.
Optionally, snip a triangle out of the shrimp’s tail, creating a beautiful fishtail or phoenix-tail shape.
Of course, if you buy pre-cleaned or head-off shrimp, you can skip some or all of these preparation steps. Lucky you!
For large shrimp, cut a shallow slit down the shrimp’s back to make it cook more quickly, to help the flavor penetrate more, and to make it easier to peel while eating.
Dry & season shrimp
Pat the shrimp dry with a paper towel. This simple step goes a long way in reducing splatter later!
Toss the shrimp with garlic salt (0.50 tsp) to season. Then toss the seasoned shrimp in cornstarch (2 tbsp). The coating of cornstarch will make the shrimp crispier. To ensure an even coating, add a bit of cornstarch at a time while tossing the shrimp.
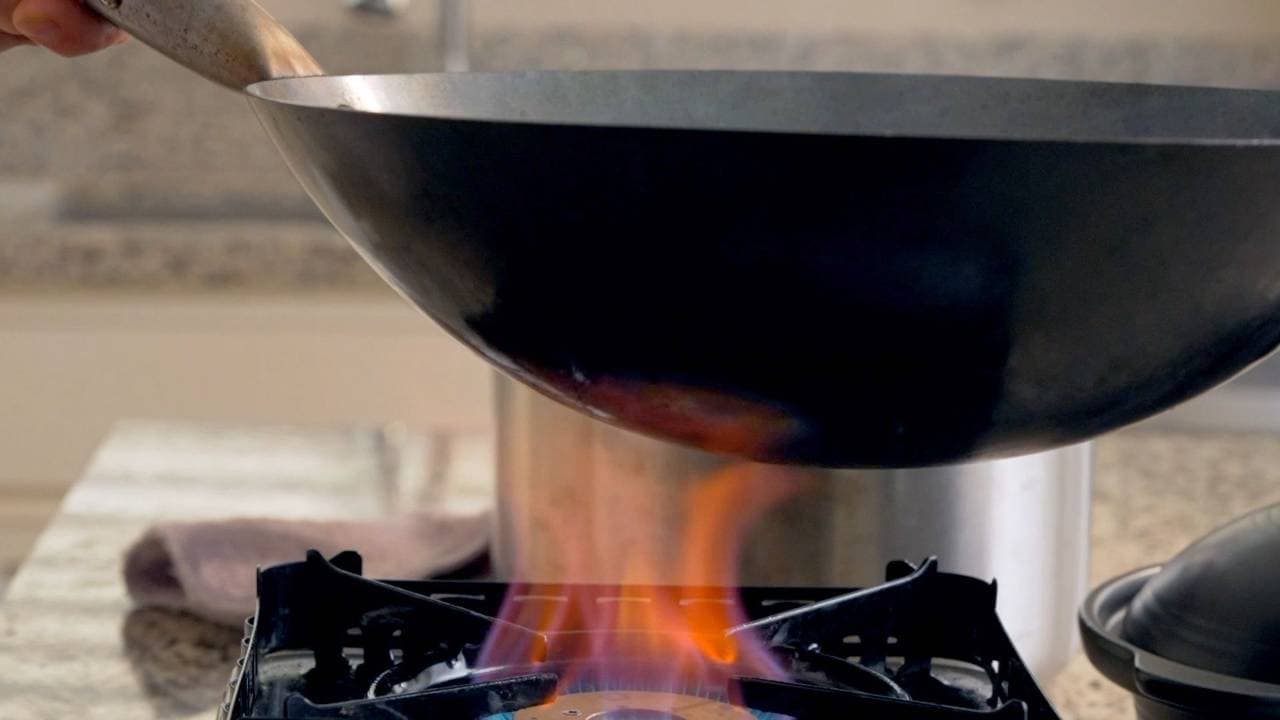
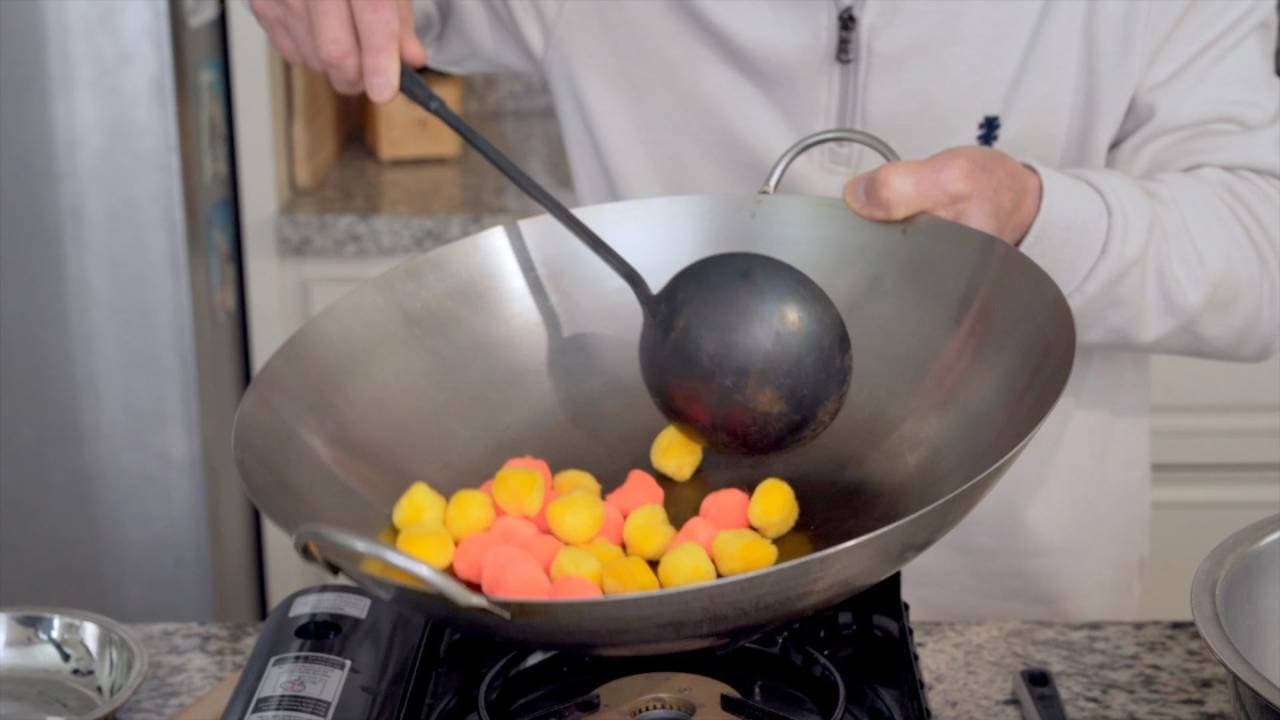
Fry shrimp
Heat your wok over high heat, then add oil (5 oz). Get the oil up to 375° F (190° C). You can either check with a thermometer or wooden chopsticks (you’ll want to see small bubbles coming out).
When the oil has reached 375° F, add the first batch of shrimp. Avoid overcrowding the pot, which will make the oil temperature drop. We recommend frying a batch of 8 large shrimp. If your shrimp are smaller, you can fry more pieces at a time.
Move the shrimp around as they fry to ensure each one is frying evenly. After 40-50 seconds, take the shrimp out. Wait for the oil to come back up to 375° F, then add the second batch and continue frying the rest of your shrimp.
When you’re done frying all the shrimp, turn off the heat. For safety reasons, wait for the oil to cool down a bit before handling. Set a strainer or sieve over a large bowl, and pour the oil out from the wok and into the bowl. You can use the strained, shrimp-infused oil for cooking other dishes. In fact, we’ll use a bit for the stir-frying step of this dish.
Wipe the edge of the wok with a paper towel in case there’s any oil dripping down the outside.
Stir-fry with seasoning
Turn the stove on to low heat. Add oil (1 tsp) and when it’s hot, add garlic. Fry the garlic until it’s aromatic, or 15-20 seconds. Then, add the onion, bell pepper, and Thai chili peppers. Add the white parts of the green onion. Stir-fry until fragrant. If you see the ingredients start to brown or burn, lower the heat.
After 30-40 seconds of stir-frying the onion and peppers, add the fried shrimp back in. Stir-fry quickly, mixing the ingredients thoroughly, so the shrimp can absorb the flavor from the aromatics.
Then, add the rest of the chopped green onion and mix it in.
Start sprinkling in the dry seasoning mix as you stir-fry everything in the wok. Monitor how well everything is coated, as you may not want to use all the seasoning mix. My dad rarely uses up all the seasoning mix.
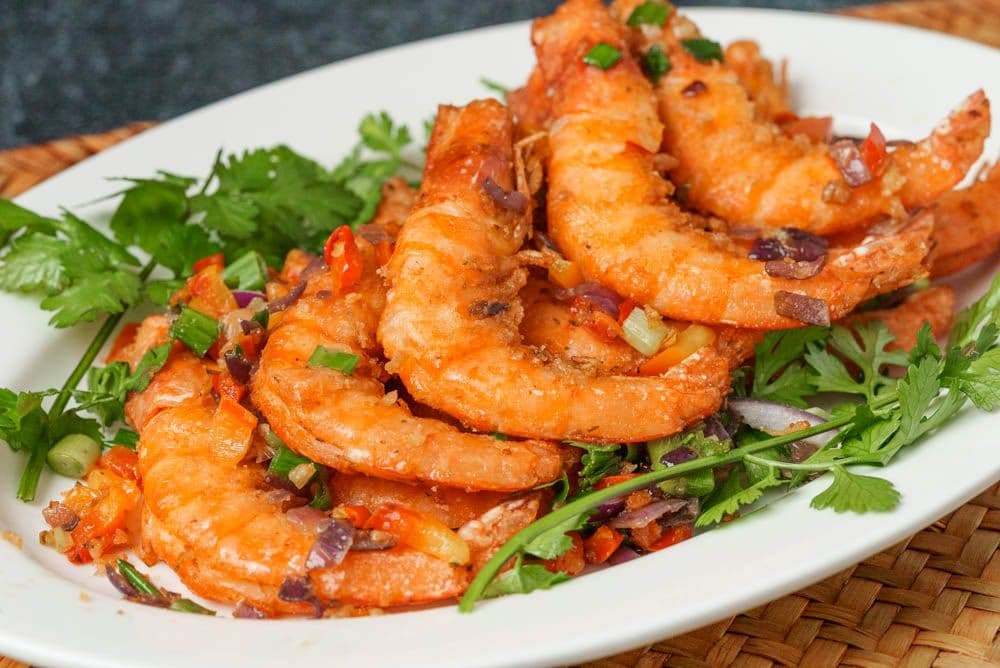
Plate
When the shrimp is seasoned to perfection, turn off the heat and plate. Make sure you get all the tasty, crunchy bits out of the wok, and enjoy!
Pairs well with
View all →Made with love ❤️
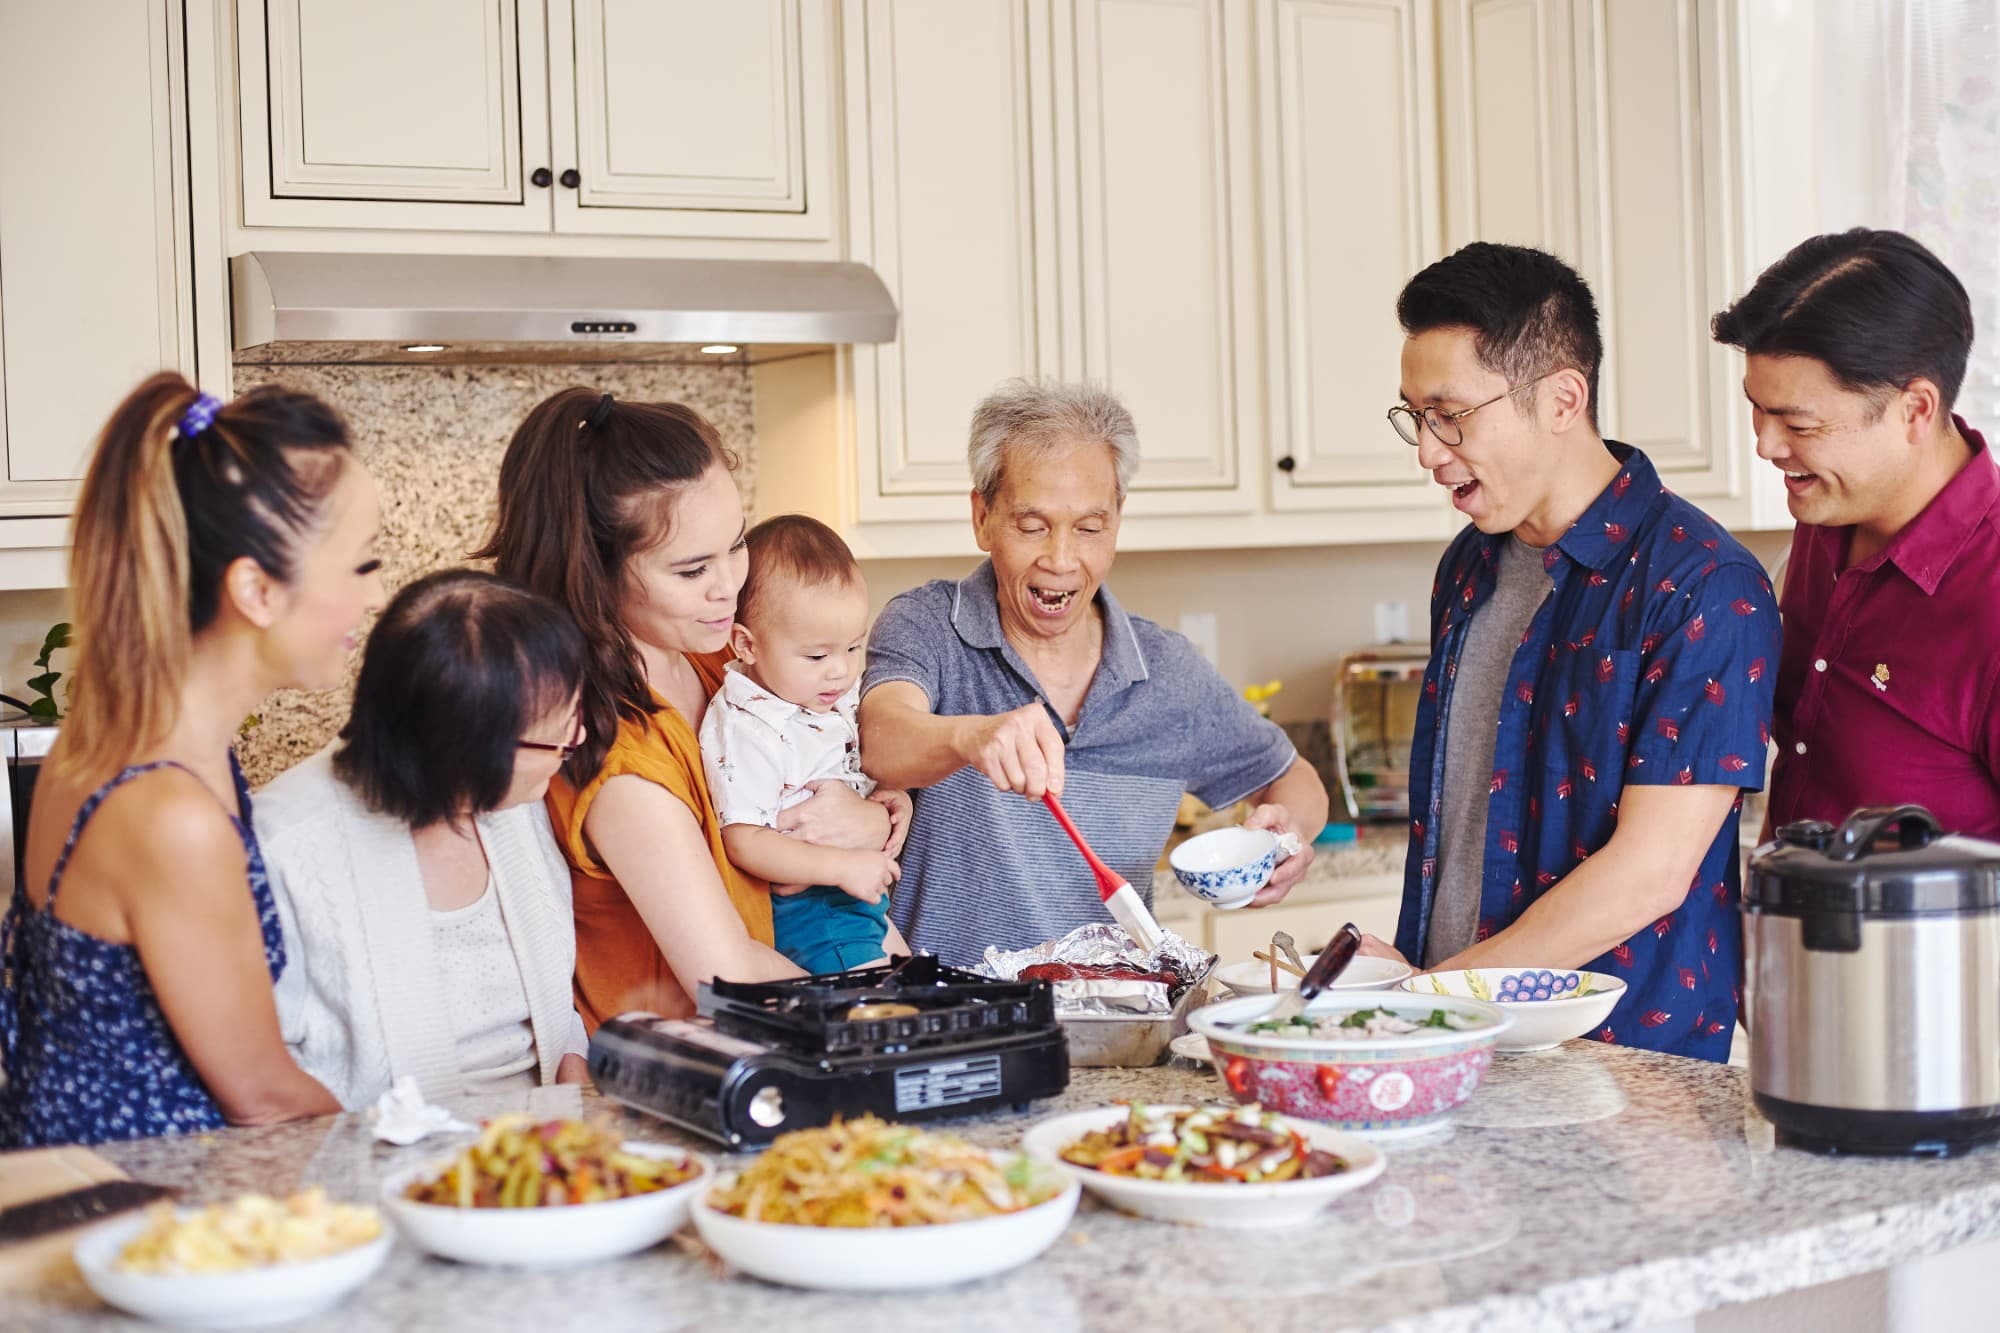
We started Made With Lau to celebrate Cantonese culture and honor the legacy of our wonderful parents, Jenny and Chung Sun Lau.
Our hope is that these recipes and stories help you spread the joy, love, and nostalgia that I felt growing up.