Pan Fried Chicken Breast
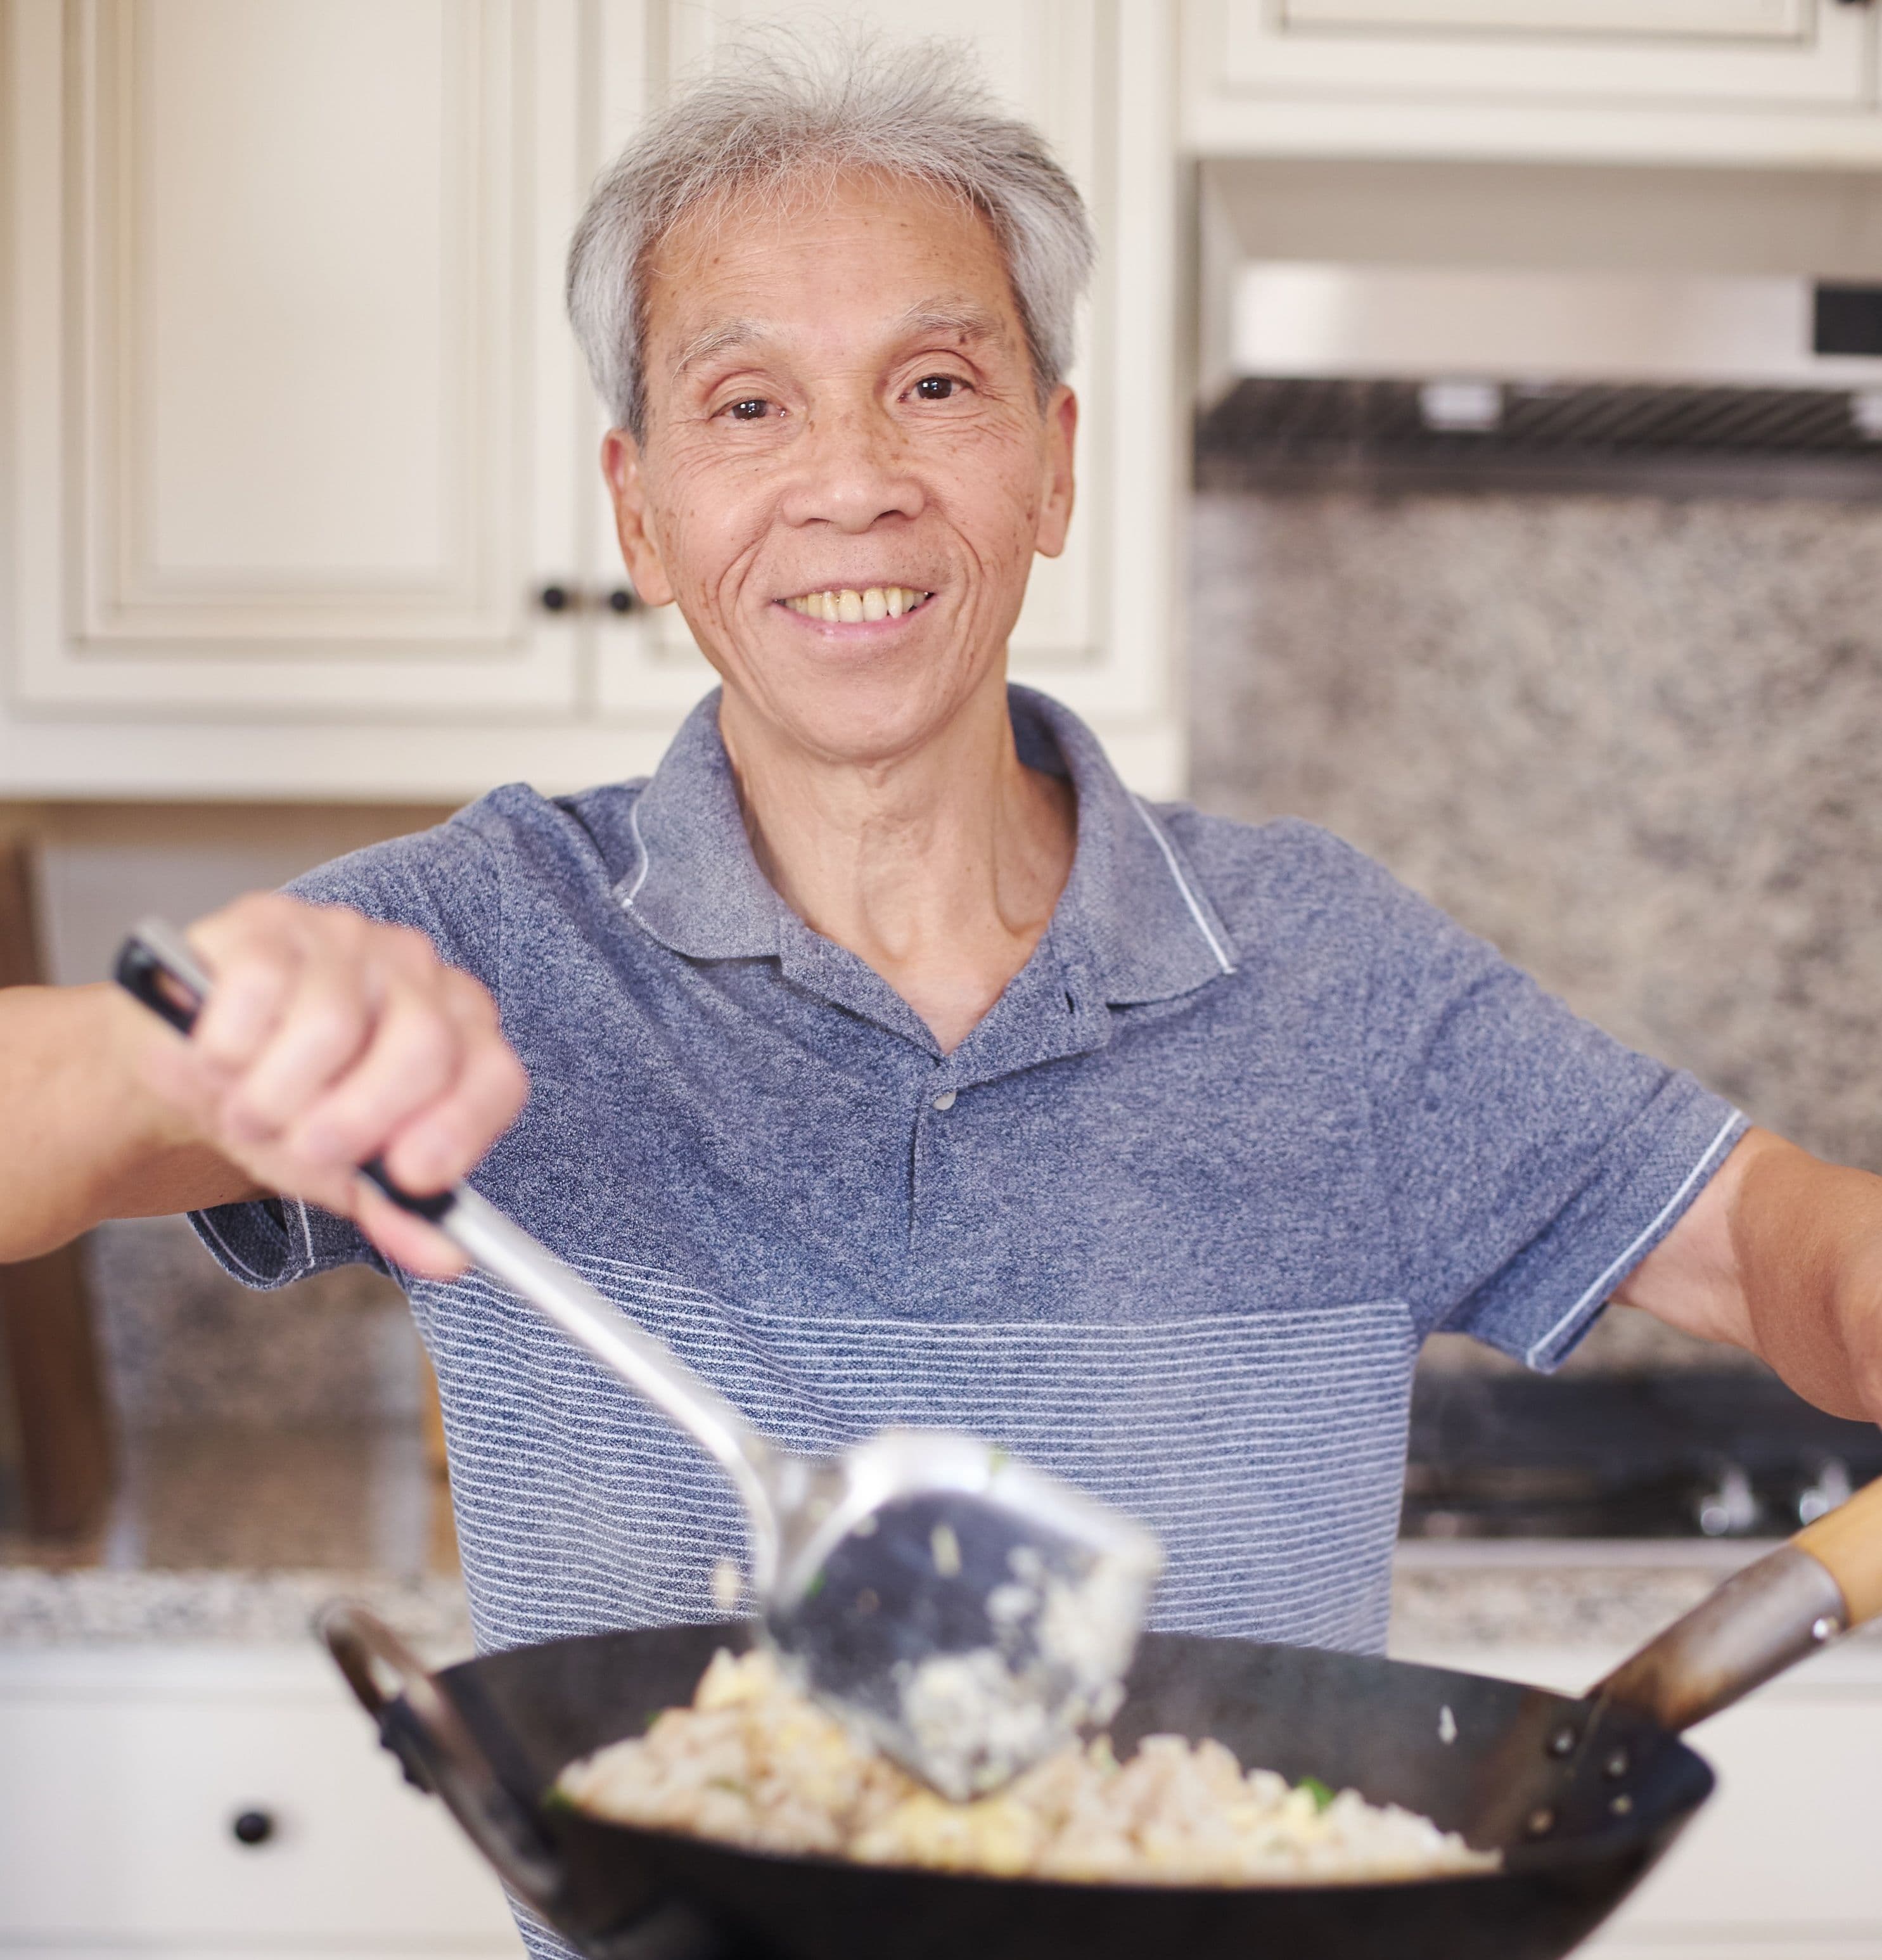
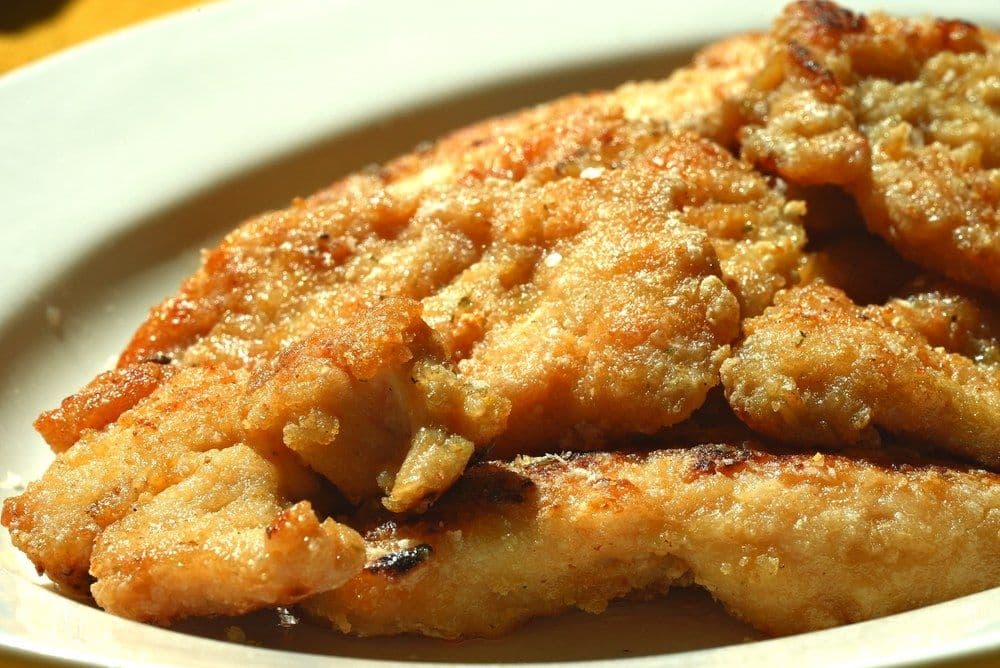
Warning - you won't believe they're not fried! These are the most delectable, crispy, and juicy chicken breasts ever.

Cooking Summary
Ingredients: (detailed list)
- chicken breast, oyster sauce, garlic salt, cornstarch, water, sugar, oil
Jump To Section
Overview
It's a blessing to have a dad who happens to be a retired, master Chinese chef. He used to make these delectable, crispy, and juicy chicken breast for me all the time as a kid growing up, and he still makes them for our grandkids when he cooks dinner for us on weeknights.
The recipe is extremely simple, and packed with quick tips that make a massive difference in quality.
Why this recipe
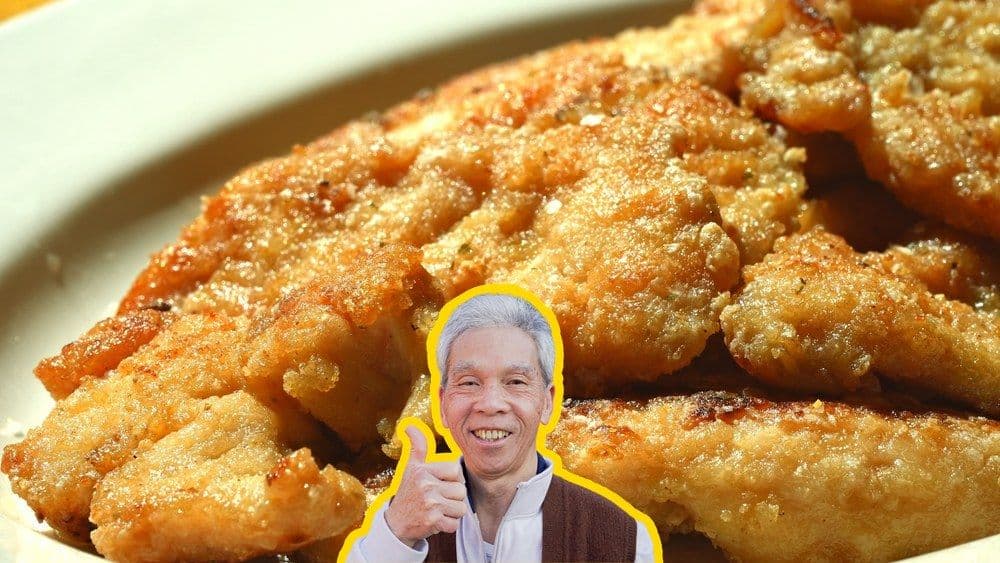
Most pan fried chicken breast recipes online are tested only a handful of times. My dad used to make this dish multiple times a day, every day, for 60+ years and can make this in his sleep.
I know you'll love it as much as our community does! This recipe has over 197.7K views, 4.9K likes on YouTube.
Ingredients
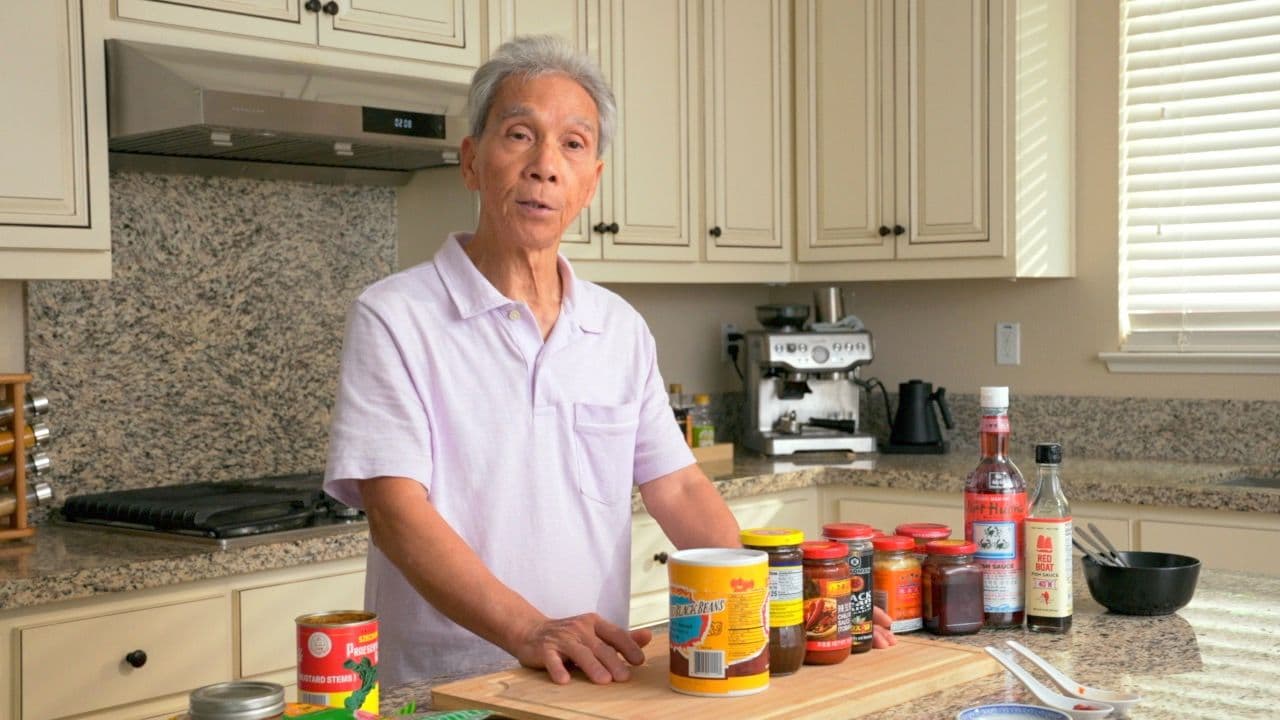
How to make Pan Fried Chicken Breast
Cut the chicken breast into about 1/2 inch thick slices. For extra tenderness, slice against the grain.
The reason we cut across the grain is that we’re essentially “pre-chewing” the tough muscle fibers by breaking them down, which results in more tender bites of chicken. If you cut parallel to the grain, your knife doesn’t break those fibers down in advance, which leads to tougher bites that are harder to chew. This principle applies to lots of different meats, and even vegetables like onions or celery.
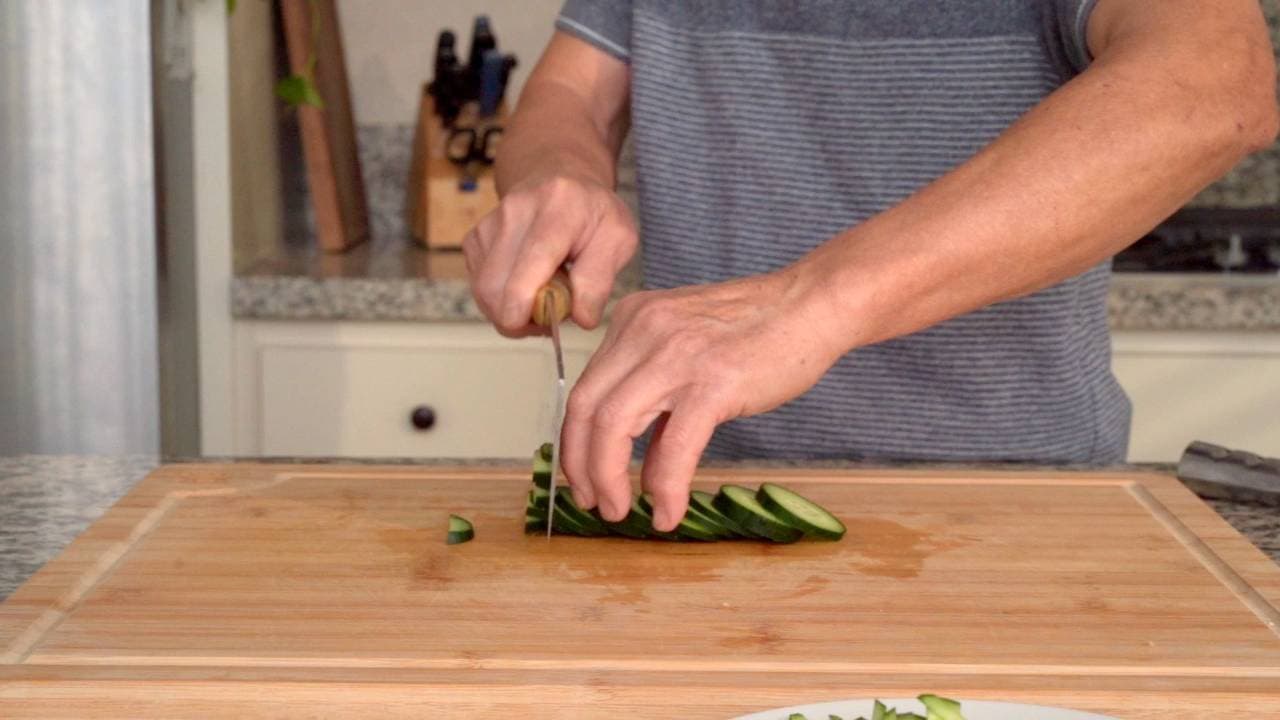
Use the back spine of the knife to hit both sides, working across each piece. On the top side, hit in one direction, then flip it over and hit the other side at a perpendicular angle, so you end up with a criss-cross pattern.
This criss-cross tenderizing does a lot all at once. One, it further weakens the muscle fibers, making them easier to chew. Two, it flattens the pieces, leading to a shorter cooking time, which allows the chicken to retain more juiciness. Three, it rapidly accelerates the marinating process.
Mix oyster sauce (1 Tbsp), sugar (1 tsp), garlic salt (1 tsp), cornstarch (1 Tbsp), and water (1 Tbsp) in a bowl until the cornstarch has dissolved. Add the chicken and massage by hand.
Spread out 1 tbsp of cornstarch (1 Tbsp) on a plate. One by one, transfer each piece of chicken and coat both sides in a thin layer of cornstarch, then add it to a pile on the side of the plate. As the pile of finished pieces builds up, move it toward the end of the plate to use up the cornstarch underneath.
Heat the wok on high, then add 2 tbsp oil (2 Tbsp). Once the oil is rippling, turn to low heat.
Add the chicken to the center of the wok, where the wok and oil are hottest, then push it out to the edges before adding the next piece. Since the oil pools at the bottom, this briefly shallow-fries each piece before you scoot it to the side. Repeat until all the pieces are in — this staggers and evens out the timing. Open with slightly lower heat, then turn it up once the meat is in.
By the time you’ve added everything, the first pieces will have a nice char and can be flipped; if you lose track, look for the pieces that are less pink. After flipping, add a bit more oil to develop a crispier crust. Aim to sear each piece about 2–3 minutes per side, inspecting the bottoms and sides for the color change, and keep shuffling pieces between the center and edges.
Since the wok's heat and oil are concentrated in the middle, periodically swap pieces from the center and perimeter (a pan might be easier as you do not have to do this as much). Once done, move them to the sides to let the oil spill down. This takes about 5-6 minutes.
Plate and add a dash of garlic salt (1 dash). Enjoy quickly while the pan-fried essence is fragrant.
Top 3 Mistakes
- Ignoring the wok's hot center:
Swap chicken pieces between the center and perimeter as they cook. A wok concentrates heat in the middle, so leaving each piece in one spot can give you an unevenly cooked batch.
- Slicing meat with the grain:
Cut across the visible muscle fibers rather than along them. Following the recipe’s slicing direction makes the pieces easier to chew and helps keep the finished meat tender.
- Skipping the tenderizing step:
Work the back of the knife across both sides of the chicken in the criss-cross pattern shown. This loosens and flattens the slices before marinating and pan-frying them.
Pairs well with
View all →
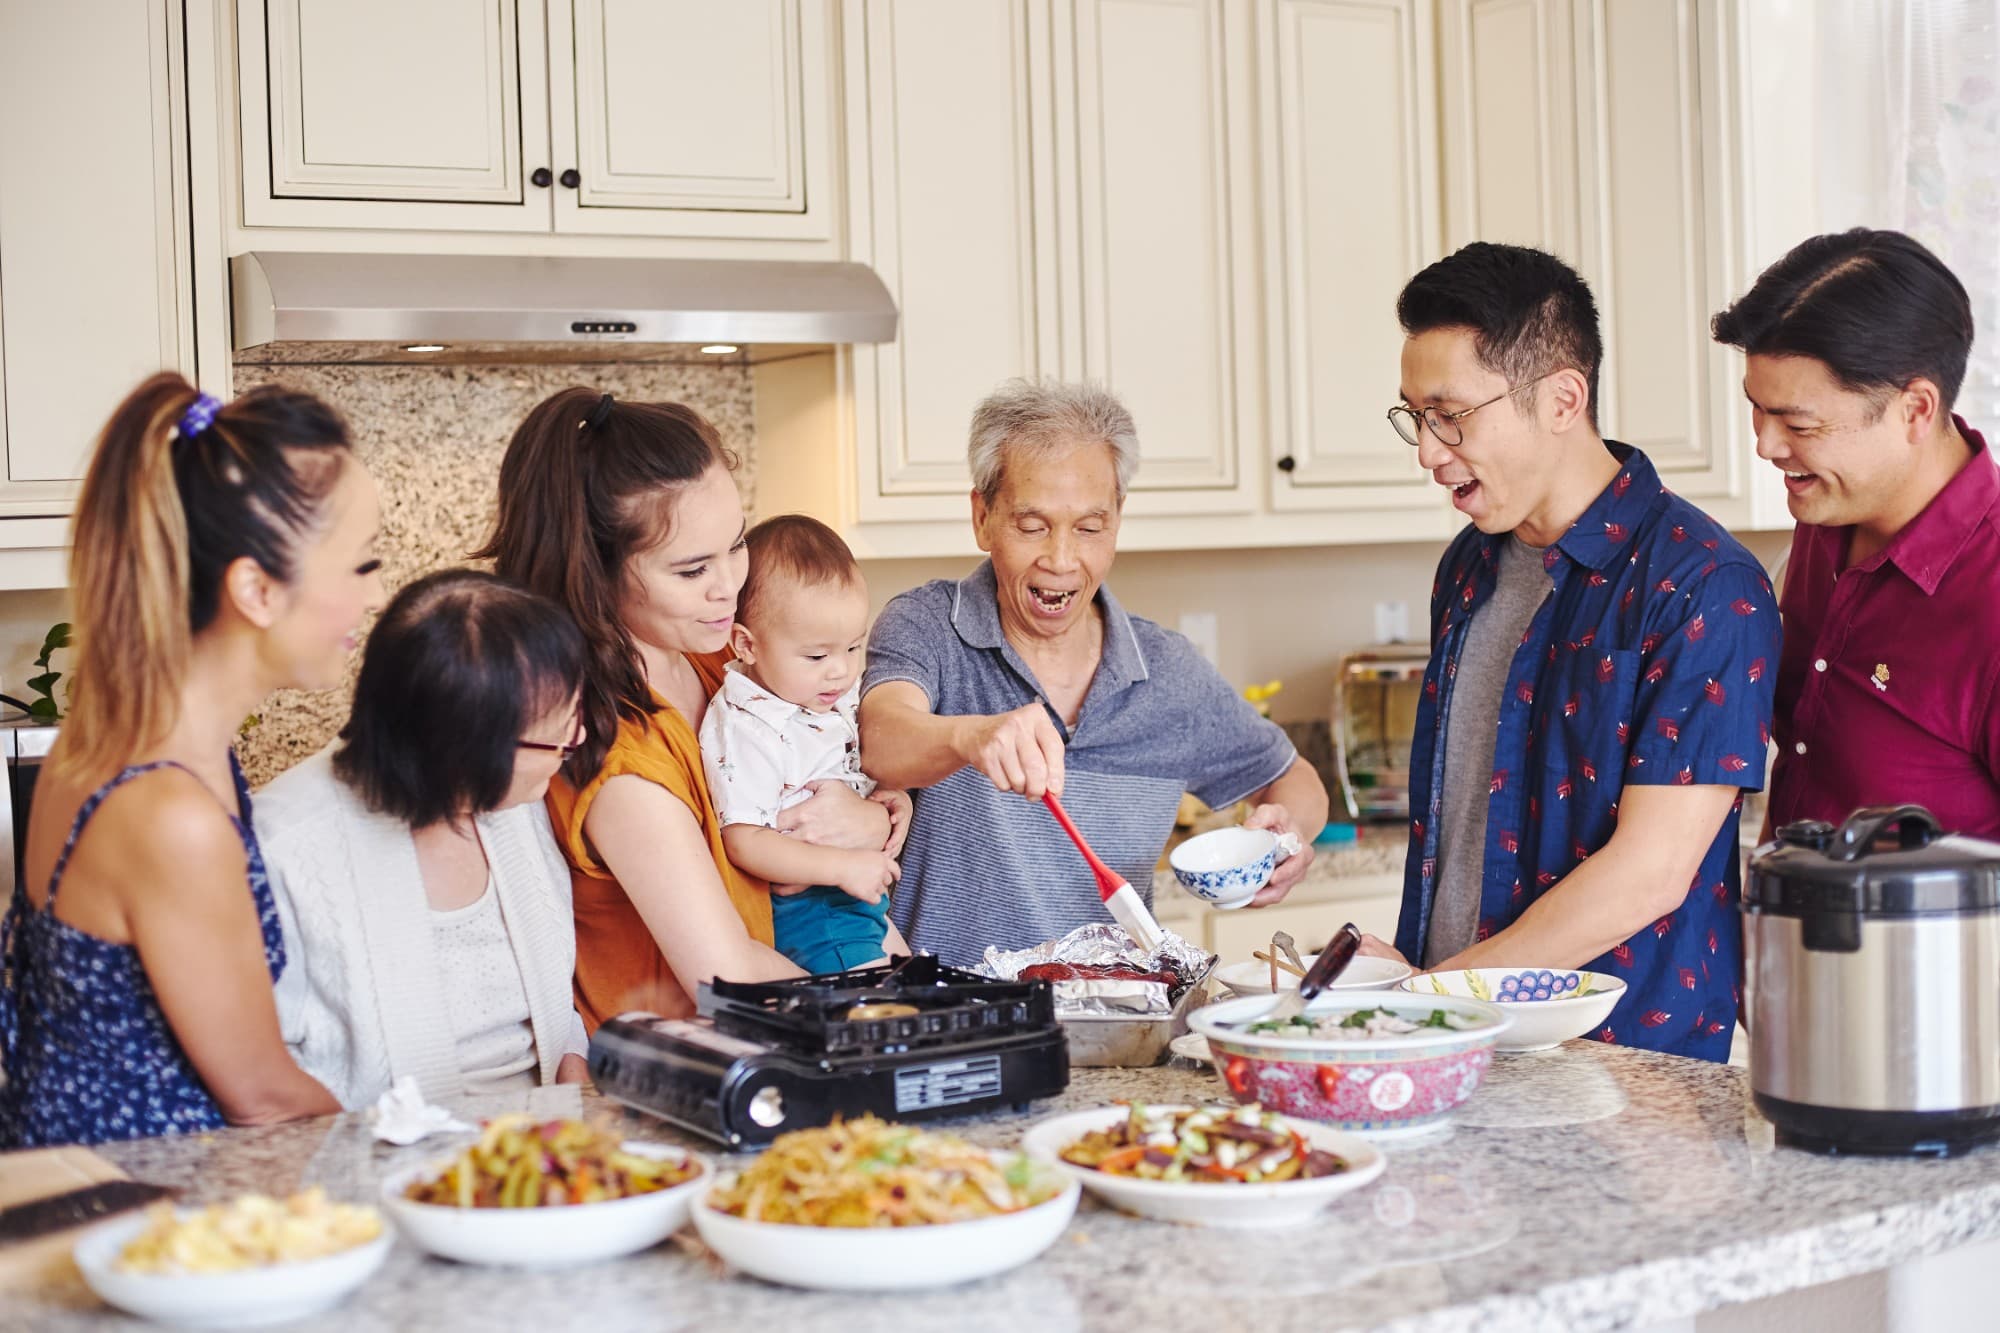
Made with love ❤️
We started Made With Lau to celebrate Cantonese culture and honor the legacy of our wonderful parents, Jenny and Chung Sun Lau.
Our hope is that these recipes and stories help you spread the joy, love, and nostalgia that I felt growing up.