Pork Knuckles in Ginger Vinegar Stew
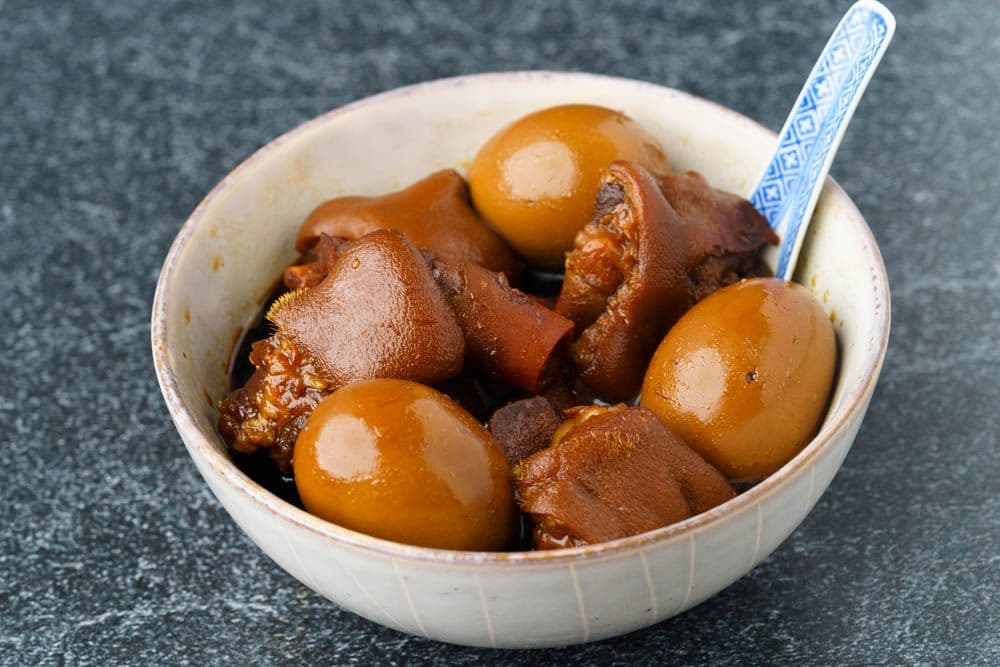
The ultimate Chinese recovery soup to bolster your health!

Cooking Summary
Ingredients: (detailed list)
- Main Ingredients: ginger, pork knuckles, egg
- Seasonings: sweet black vinegar, Zhenjiang black vinegar, rock sugar, salt
Steps:
Jump To Section
Overview
As we mentioned in our Ginger Fried Rice recipe, ginger is one of the most popular postpartum recovery ingredients out there. It makes another splash here, in this stew that is a very traditional Cantonese postpartum recovery dish.
Because it's a little more involved, this dish is usually made well in advance and in big batches, so that the whole family, and dear friends, can all enjoy it during the (let's be honest, rather exhausting) first phase of newborn care.
Why this recipe
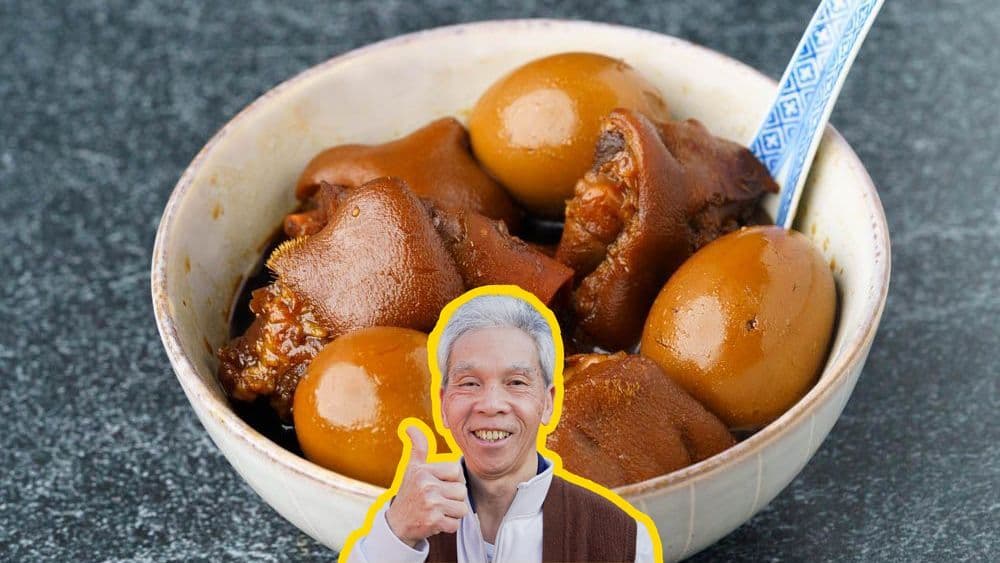
Most pork knuckles in ginger vinegar stew recipes online are tested only a handful of times. My dad used to make this dish multiple times a day, every day, for 60+ years and can make this in his sleep.
I know you'll love it as much as our community does! This recipe has over 577.7K views, 9K likes on YouTube.
Ingredients
The healing power of ginger
In Chinese medicine, ginger is used to improve blood circulation, help the body dispel coldness and wind, regulate digestion, reduce nausea and period pains, and more. After childbirth, these benefits are essential to postpartum recovery!
Because of these effects, ginger has been a staple of Chinese and Eastern medicine for thousands of years. In recent years, scientific research has also begun to validate ginger's health benefits.
Research papers are dense and can be difficult to digest, but here are some key takeaways:
- Arguably, ginger's most famous property across cultures is its anti-nausea effect. As a drug, it'd be called an antiemetic, helpful in combating vomiting and nausea. That's why lots of seasickness and motion-sickness pills have ginger! Or why tourist boats often stock up on ginger tea and ginger ale. Since it's been deemed safe by most health providers as safe for pregnancy, ginger is also a great option to consider for those suffering from nausea during pregnancy.
- Ginger is also a great source of anti-oxidants, up there with pomegranates and those berries that your local smoothie shops are fond of calling "superfoods". Antioxidants are vital to protecting your body from DNA damage over time.
- Although it has not been rigorously proven, ginger seems to have anti-inflammatory effects, helpful to relieve pain from headaches and period cramps.
Despite all these great health benefits, please be aware that ginger is a blood thinner! If you have a health condition where you need to consider blood clotting and blood thinners, ginger is probably not an ingredient you want to overdo. Try eating small servings in moderation to start.
Black vinegars: Zhenjiang and sweet black
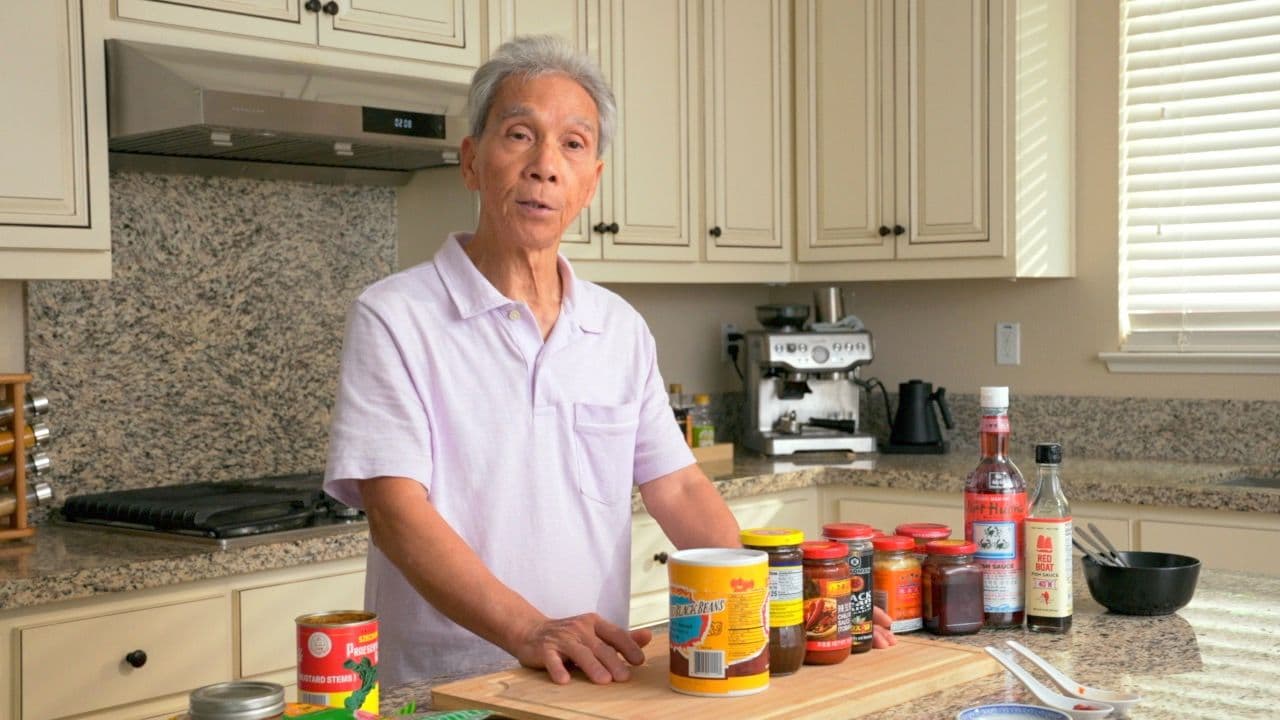
This pork knuckle stew recipe uses two types of black vinegar. Black vinegar is an ancient ingredient and goes back over a thousand years. It's usually made from glutinous rice or sorghum and a variety of other ingredients, the exact recipe and process depending on where it’s made. It’s generally less acidic than regular distilled white vinegar and much more complex, often being described as earthy or malty in flavor.
Zhenjiang black vinegar, 鎭江香醋, is more common in recipes. It's named after the Chinese city of its origin: Zhenjiang, of course. If you have a different Chinese black vinegar on hand, you could use that instead of Zhenjiang vinegar for this recipe.
On the other hand, sweet black vinegar, 甜醋, is a Cantonese specialty, and as far as we know, this is the only recipe that uses it, so it may specially exist only for this dish. Its sweet flavor gives this dish its characteristic look and taste.
We strongly recommend that you use these specific kinds of vinegar or the dish won’t look or taste like it should. Here are Amazon links to buy them online:
How to make Pork Knuckles in Ginger Vinegar Stew
It's up to you whether to peel the ginger (2 lb) or to leave the peel on. If you decide to leave the nutritious peel on, make sure to wash the ginger extra thoroughly.
If the ginger is large, halve it or cut into more manageable chunks. Then use the side of your knife to lightly smash each piece of ginger. This will help extract the flavor into the soup.
Then, cut the ginger into slices about 1/4-in thick.
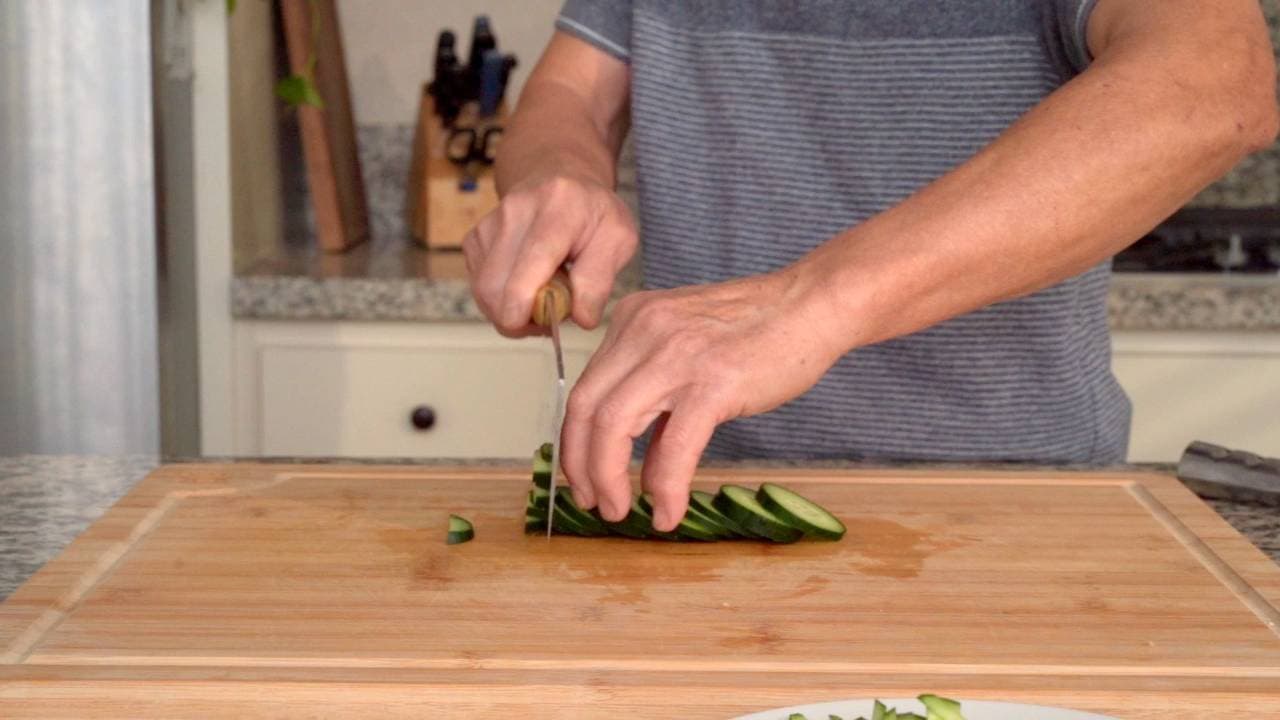
We'll be parboiling the pork knuckles to remove impurities. Don't skip this step, or your soup will end up tasting gamey, feeling grimy, and looking cloudy!
Add about 5 cups of cold water to a pot, or enough to cover the pork knuckles. Turn the heat to high, add the pork knuckles (2 lb), and cover with a lid.
Once the water comes to a boil, uncover the pot and turn the heat down to medium. Use chopsticks to gently move the pieces of meat around to ensure even cooking.
You'll start to see foam and scum boiling out of the pork knuckles and coming to the surface. This parboiling step is meant to extract all of this gunk out from the bones; we won't actually be cooking the meat through. No need to skim while it's still boiling; we'll rinse it all off soon.
Continue to boil at medium heat for 2-3 minutes. Then, turn off the heat and carefully transfer the pork to a large bowl of clean, cold water.
Place the bowl in the sink, and gently scrub the pork knuckles with your hands to get more of the scum off. It's easiest to get them clean if you rinse them under cool running water as well. Then, drain the water and set them aside.
In a clean, dry wok (we recommend stainless steel or some other nonreactive material) on medium heat (no oil!), cook the sliced ginger and toast the pieces for about 5 minutes, stirring and flipping the pieces for even cooking, until the ginger has darkened in color and the edges are slightly charred, and it smells very aromatic. Turn off the heat.
This step helps remove the moisture from the ginger so the pieces can better absorb the vinegar later. There's no need to preheat the wok or use high heat; doing so may burn the ginger.
Add sweet black vinegar (2½ lb) to the wok. Then turn the heat to medium, and stir to combine. This vinegar is added for sweetness.
Add Zhenjiang black vinegar (3 fl oz) and stir. This vinegar is for sourness.
Turn the heat to high, add the rock sugar (1 oz) and salt (1 tsp), and stir to incorporate. The sugar helps to mellow out the tartness of the vinegar, and the salt brightens that sour flavor.
Then turn the heat down to medium-low and cook with the vinegar for 2 minutes.
Cover with the lid, and continue to cook for 5-7 minutes on low heat.
Give the soup a quick taste and adjust the flavor to your liking; add sugar if you'd like it to be sweeter, or more vinegar if you'd like it more tart. Then cook for about 4-5 minutes, uncovered. Give it an occasional stir to move the ginger around.
You can start making the boiled eggs while you're waiting for the soup to cook. Or, you can boil them farther in advance. It's up to you and your schedule.
To boil the eggs, start with the eggs in a pot, submerged in cold water. Boil the eggs for 5 minutes, then turn the heat off. Continue to let the eggs cook with the heat off for 5 minutes, then remove them from the pot and immediately transfer them to a large bowl of cold water.
Let them soak in the cold water so that the egg has a chance to shrink back from the shell, and they'll be super easy to peel. You'll want to peel them right before you're ready to add them to the soup.
This results in firm egg yolks, which is our preferred level of doneness for this dish, but you can adjust the cooking time if you prefer your boiled eggs a little softer or a little firmer.
If you don't have a clay pot, you can continue cooking it in a vessel made of non-reactive material. Preference for the clay pot is both traditional and utilitarian; clay is non-reactive while still great at retaining heat.
First, transfer the ginger over. Make a layer of sliced ginger on the bottom of the clay, then scoop the rest in. The ginger at the bottom will be the first to receive heat, allowing it to release its flavor best. Also, it forms a cushy barrier to keep the pork knuckles from sticking to the pot and burning.
Then, don your protective gear, carefully pick up your wok, and pour all of the vinegar mixture into the clay pot.
With clay pots, please remember to keep the heat to a medium-low, preferably over a flame rather than direct heat.
Turn the heat to medium-low, cover the pot, and bring it to a boil. Once it starts to boil, add the pork knuckles. Layer the bones towards the bottom; the idea is that they'll soak better lower down, and the vinegar will be better able to extract that nutritious calcium.
If necessary, add more sweet vinegar. The liquid should cover all of the pork knuckles.
Continue cooking for at least an hour. When you're ready to eat it, you can add the eggs. The eggs can soak for a while. We like to let them cook in the stew for an hour, though if you'd rather they be less well-done, you can add them for a shorter amount of time. The longer they soak, the more flavor they'll absorb.
Traditionally, this stew keeps for days, even weeks! In the chaos of bringing a newborn home, families simply reheat the stew when they need a ready meal or a snack.
Top 3 Mistakes
- Using a reactive stew pot:
Choose a non-reactive pot for the vinegar-heavy stew. A clay pot is traditional, but stainless steel can also work; the important distinction is how the vessel handles the acidity.
- Skipping the first blanch:
Follow the separate blanching and rinsing step before the main cooking stage. It removes the residue the recipe calls out instead of carrying it into the finished broth or sauce.
- Burning the garlic early:
Watch the aromatics closely once they hit the hot oil. Follow the recipe’s heat and timing, moving on when they become fragrant rather than letting them turn dark and bitter.
Frequently Asked Questions
How many days in advance should I cook Pork Knuckles in Ginger Vinegar Stew?
To have it ready for postpartum meals, cook the dish about one week prior to the due date (although that's not a guarantee, of course!). Then, it can stew and marinate for an extra week after the due date. According to Chinese medicinal culture, the mother should wait about a week after giving birth before digging into such an intensely flavored, acidic dish.
This gives the dish about two weeks of marinating/stewing time at home.
What is the purpose of parboiling pork knuckles?
When you parboil meat, you see a lot of foam and particulates float to the top. This is often referred to as "scum". It's technically just coagulated protein.
There are two main reasons to parboil that scum out: appearance and texture. Getting more of the opaque, foamy gunk out in the parboiling step means that the final dish will be less cloudy. Also, the dish will feel less slippery and greasy after rinsing off the superficial fats and debris from the meat.
Don't worry about overcooking the meat: boiling such large, bony pieces of meat for such a short amount of time will barely cook it. The inside will still be rather raw and need further cooking.
Do I need to use specific vinegars for Pork Knuckles in Ginger Vinegar Stew?
Yes and no.
Yes: Cantonese sweet vinegar is integral to the taste and appearance of this dish. It's necessary to use this specific vinegar, though there are different brands to choose from.
No: Zhenjiang black vinegar is still what we'd strongly recommend, but it's rather more comparable to other Chinese black vinegars. If you already have another Chinese black vinegar in your pantry, you can use that instead of Zhenjiang. If you need to buy one though, and you're planning to cook this dish, you may as well buy Zhenjiang vinegar.
Here are Amazon links to buy them online:
What can I use instead of rock sugar?
If you don't have rock sugar at home, you can use an equal amount of brown sugar, or even granulated sugar. In a dish as darkly colored as Pork Knuckles in Ginger Vinegar Stew, the color of the sugar won't make a noticeable difference.
What can I use instead of a clay pot?
If you don't have an earthenware cooking vessel, no problem! The major benefit of using a clay pot, especially for a recipe like ginger vinegar stew which is mostly a small pond of vinegar, is that clay is non-reactive and won't be damaged by long-term contact with something so acidic. Any similarly non-reactive material will work, such as a pot made from stainless steel.
The other benefit of clay is its ability to retain heat. Metal doesn't have that characteristic, so you may need to fiddle with the heat levels a little more.
Pairs well with
View all →

Made with love ❤️
We started Made With Lau to celebrate Cantonese culture and honor the legacy of our wonderful parents, Jenny and Chung Sun Lau.
Our hope is that these recipes and stories help you spread the joy, love, and nostalgia that I felt growing up.