The Pipa Tofu My Dad's Made 100,000 Times
Why this recipe
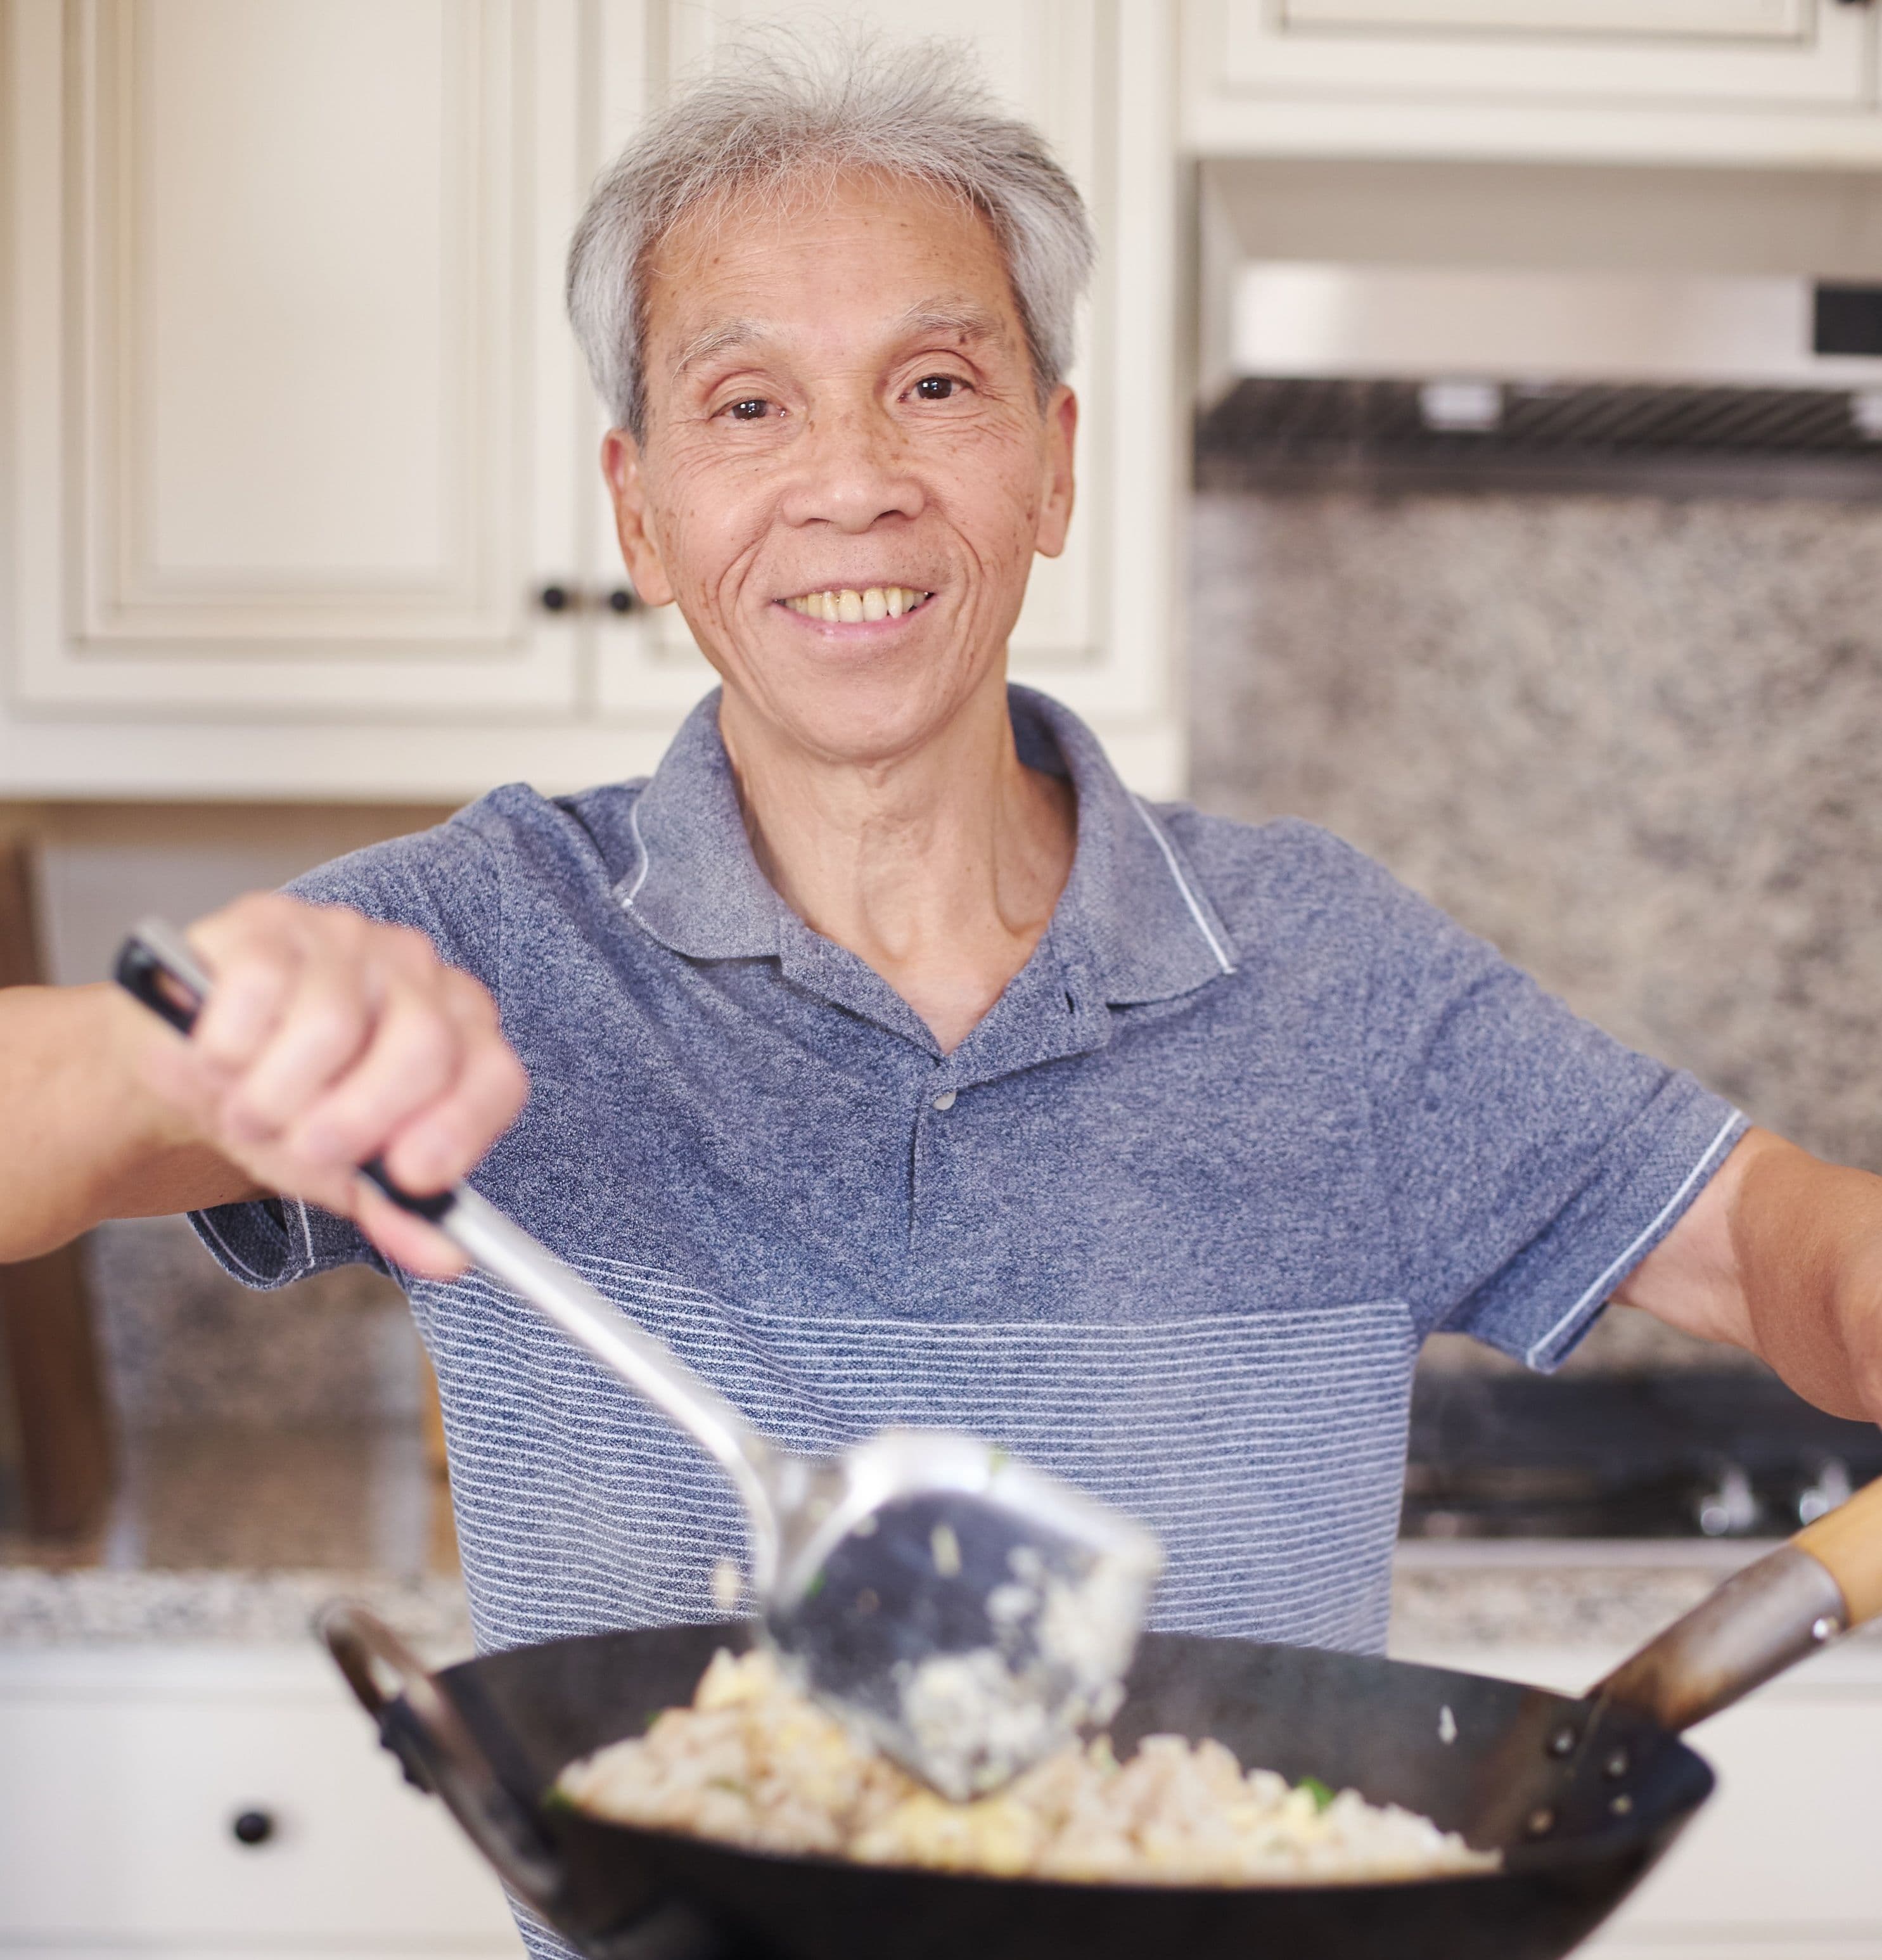
Most pipa tofu recipes online are tested only a handful of times. My dad used to make this dish multiple times a day, every day, for 60+ years and can make this in his sleep.
I know you'll love it as much as our community does! This recipe has over 180.5K views, 4.3K likes on YouTube.
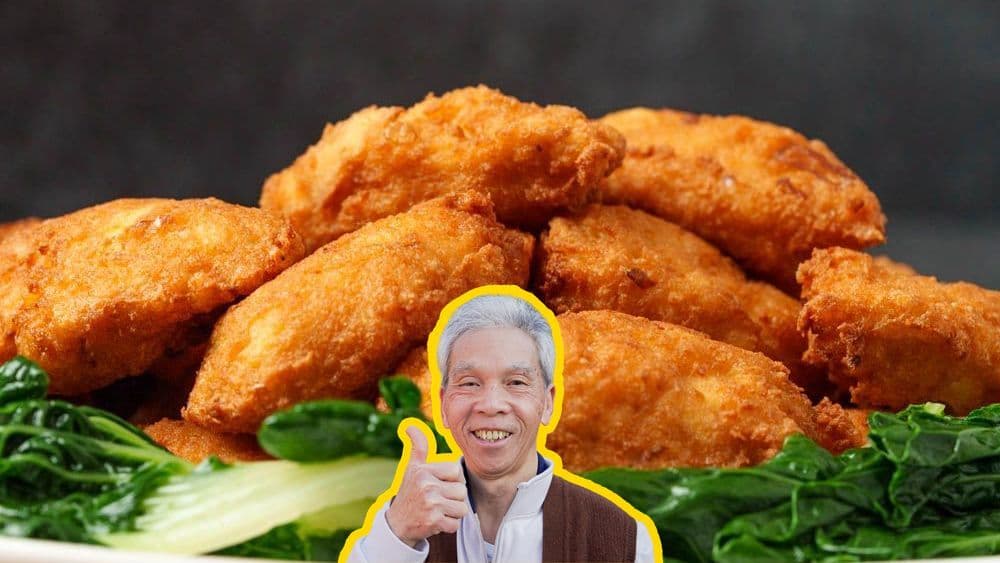
Crispy on the outside, tender on the inside and bursting with flavor! This delightful, beautiful dish showcases tofu's versatility.
Ingredients

Instructions
Prepare veggies
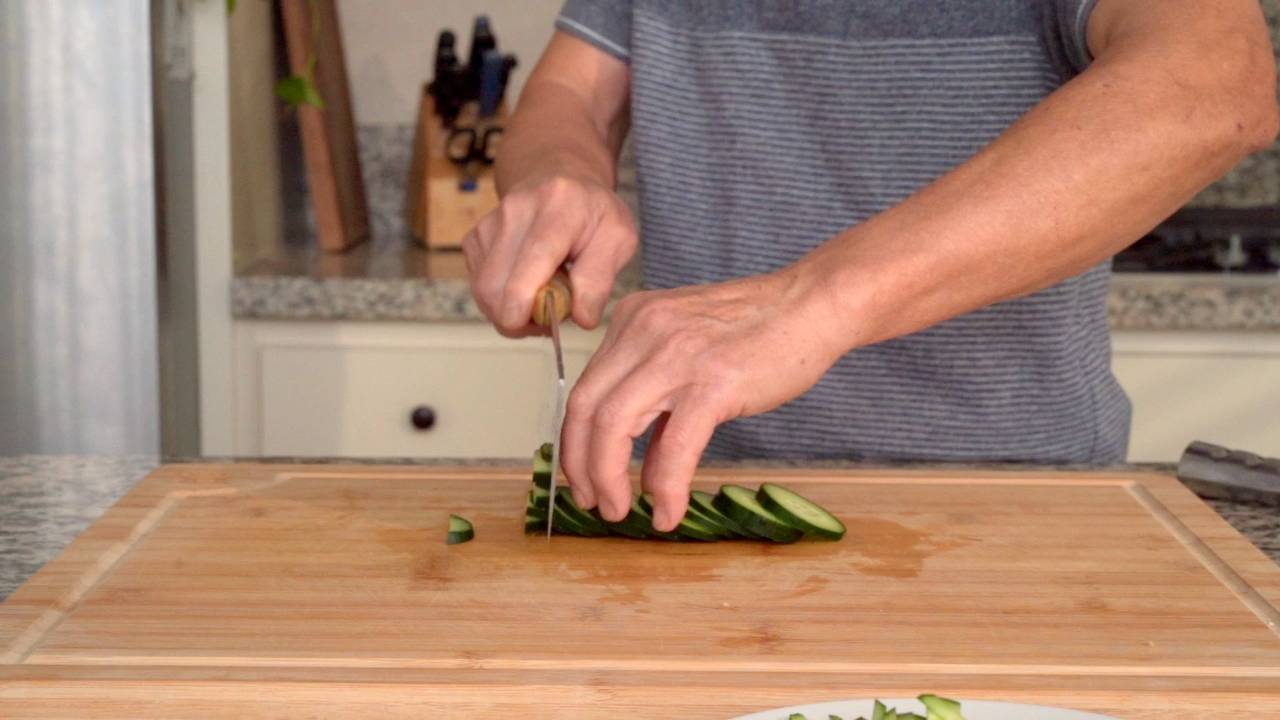
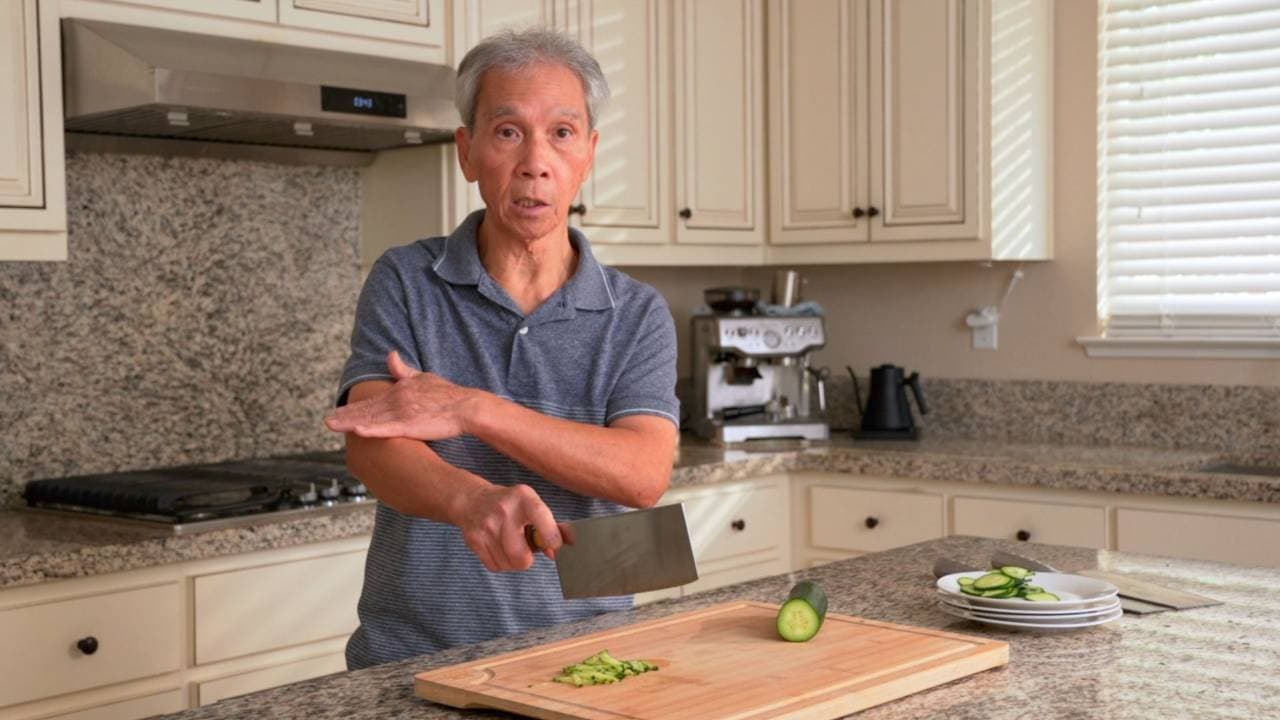
As always, we prefer to prepare the vegetables and garnishes before the cutting board is contaminated with any raw meat or seafood products. Slice the bok choy (10 oz) into quarters. If they are particularly small, you may want to simply halve them.
Prepare tofu & shrimp
Peel the shrimp (4 oz). To get the shell off, twist and wiggle the tail off. Then, hook a finger under the remaining shell and pull it straight off. Make sure to remove the legs as well if they don’t come off when you pull the shell off.
Slice along the back of the shrimp just deep enough to expose the dark vein.
Place the shrimp into a bowl of clean, cold water. Firmly massage the shrimp to wash and devein them.
When they are clean, squeeze the shrimp dry to remove any excess water.
Next, pat the tofu (1 lb) dry with paper towels or clean kitchen towels to remove excess water.
Trim the roots off the shallots (1 oz), then mince them.
Using the flat part of your knife, flatten and mash the tofu. Set the mashed tofu aside.
Next, mash the shrimp into a paste by smashing down with your knife, then pulling the knife back toward yourself while continuing to press down on the shrimp. Smash one shrimp at a time.
Give the shrimp paste a rough chop to break up any remaining tendons or connective tissue.
Add the shrimp paste to the tofu.
Season tofu
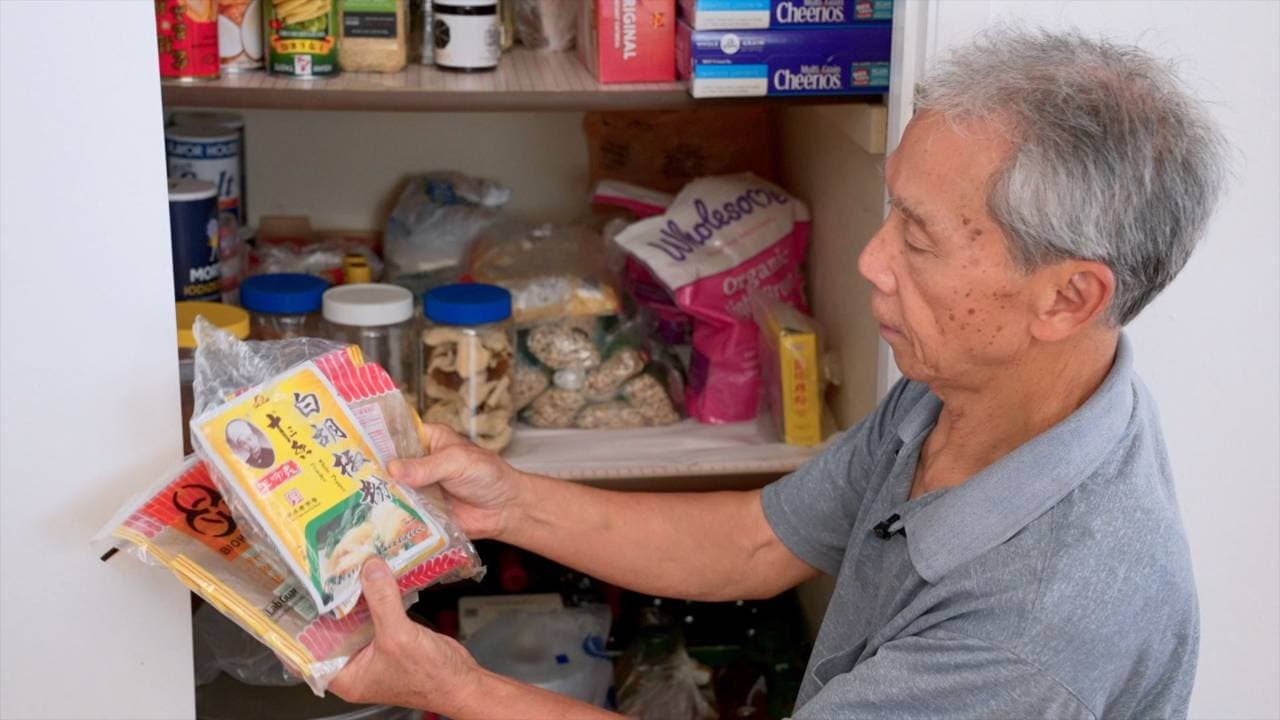
Season the shrimp and tofu mixture with flour (2 tbsp), cornstarch (2 tbsp), white pepper (0.25 tsp), sugar (1 tsp), salt (1 tsp), chicken bouillon powder (2 tsp), and oyster sauce (1 tbsp).
Add in a beaten egg (1 whole), the minced shallots, and sesame oil (1 tsp).
Mix the tofu and shrimp by grabbing and squeezing the mixture in your hand to make sure the ingredients are well-distributed and well-combined.
Prepare sauce
In a separate bowl, mix together oyster sauce (2 tbsp), light soy sauce (1 tbsp), dark soy sauce (1 tsp), and water (4 tbsp).
Blanch veggies
Prepare a bowl of cold water. We’ll use in a bit to shock the blanched bok choy.
Bring a pot of water to a boil and add oil (1 tbsp).
Once the water has come to a boil, add the bok choy and blanch for just 2 minutes.
Once cooked and vibrantly green, immediately transfer the bok choy to the bowl of cold water. Shocking the vegetables prevents them from cooking in their residual heat and maintains their beautiful green color.
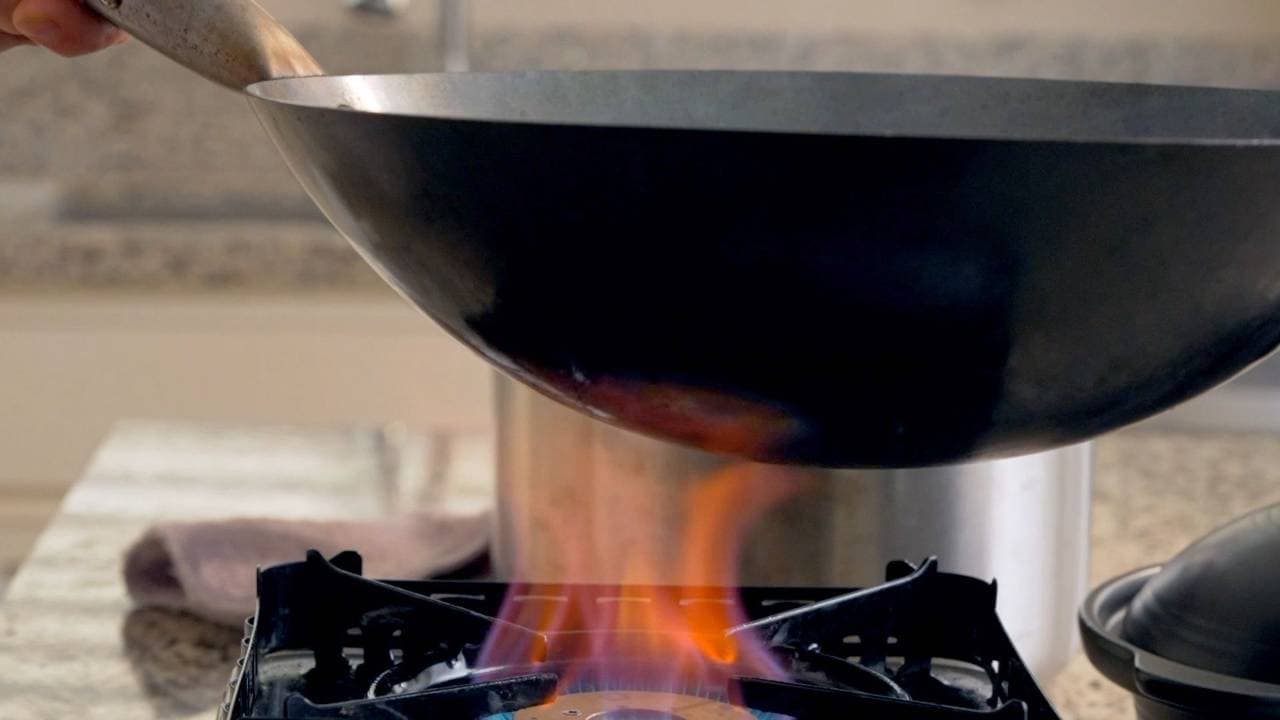
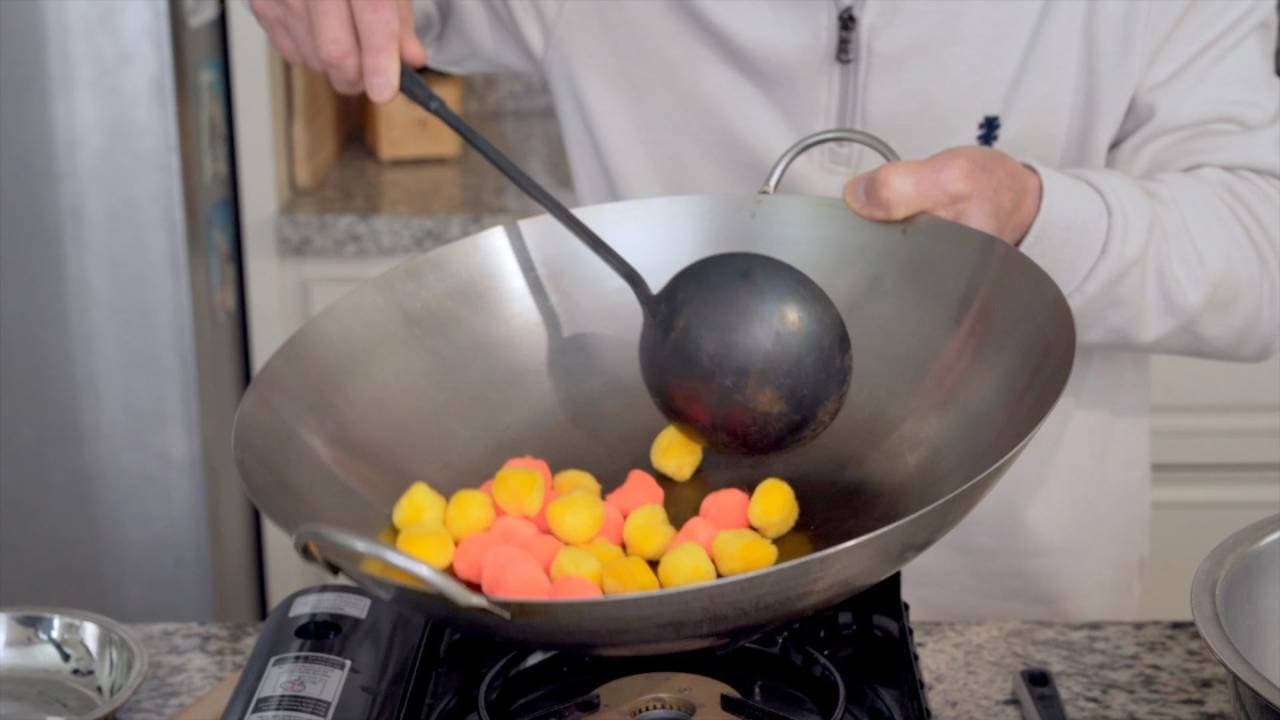
Fry tofu
Next, heat up your wok or pot for frying. Choose any vessel with deep walls that you feel safe deep-frying in.
Once the wok is hot, add in oil (12 oz).
While you’re waiting for the oil to reach 320° F, start shaping the pipa tofu.
Begin by rubbing some oil onto a plate and 4 soup spoons. The oil prevents sticking so the food will release from its mold easily, and the soup spoons specifically give us the desired shape of pipa tofu.
Then tightly pack the tofu mixture into each spoon. Add enough to create a heaping spoonful. Firmly press the mixture down to tighten it; you don’t want it to fall apart as it cooks.
When the oil has reached 320° F, you’re ready to start frying. Use another spoon (something with a thin tip will work best) to gently nudge the shaped tofu out of the soup spoon and into the oil to fry. If the oil you spread on the spoon has done its job, the entire piece of pipa tofu should come out of the soup spoon with just a gentle prying motion.
Once you have a few pieces of pipa tofu frying in the oil, they may begin to float towards one another. Use chopsticks to gently nudge these friends apart and keep them from sticking together. Don’t overcrowd the wok or pot with too many pieces at once, or the oil temperature will drop and you’ll lose that crispy exterior on your pipa tofu.
Fry for about 3-4 minutes or until golden brown. Remove the fried pipa tofu from the oil and set aside. Continue frying in batches until you’ve fried all your tofu mixture.
After each piece of tofu has gone through this initial fry, increase the heat to high.
Once your oil reaches 400° F, fry all of the pieces of pipa tofu again for about 60 seconds.
Remove the beautifully crispy pipa tofu from the oil, then set in a strainer to remove any excess oil.
Cook sauce
Prepare a separate pan or pot over medium heat. Add the sauce mixture and cook for 2-3 minutes, or until it begins to boil.
Mix a thickening slurry by combining cornstarch (1 tsp) and water (2 tbsp). Mix until the cornstarch has completely dissolved and no lumps remain.
Slowly add the slurry into the sauce, constantly stirring, until the sauce starts to thicken. Once the consistency reaches your desired thickness, stop adding slurry; you might not use all the slurry.
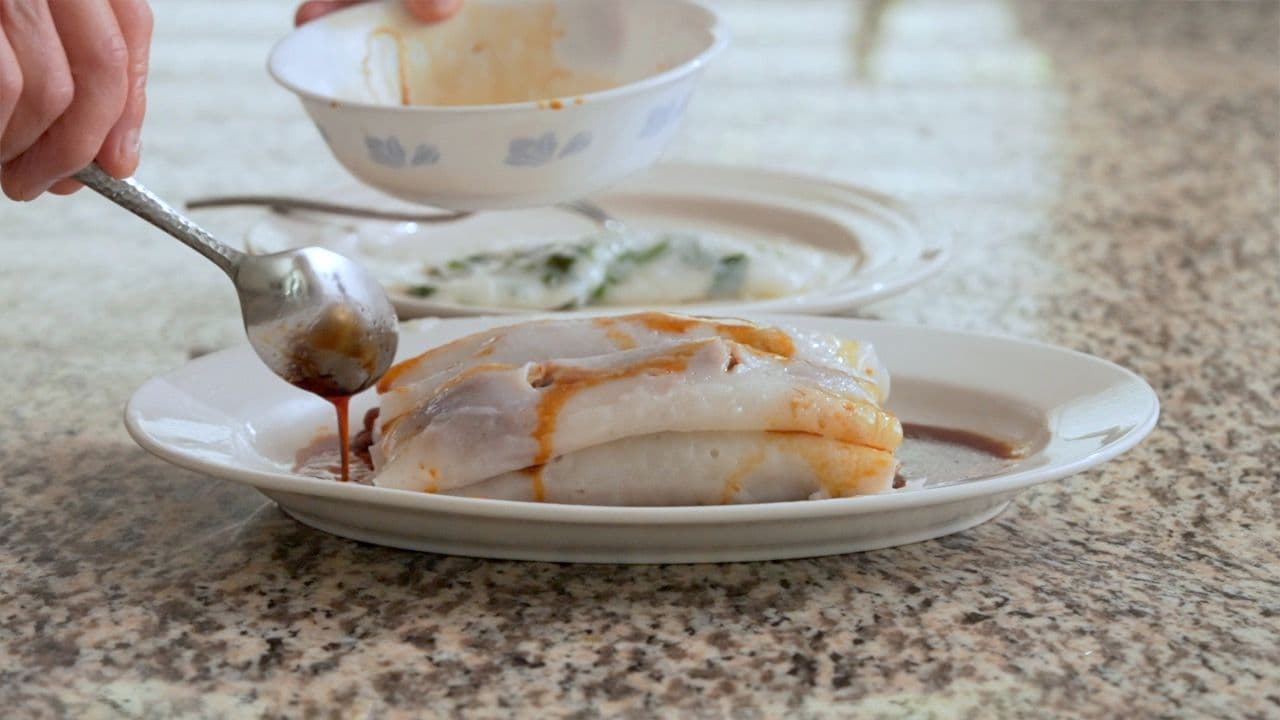
Once the thickened sauce comes back up to a boil, turn off the heat and plate. We recommend putting the sauce it a separate dish to preserve the fried pipa tofu’s crispy exterior, but you can also opt to drizzle it over.
Plate & enjoy
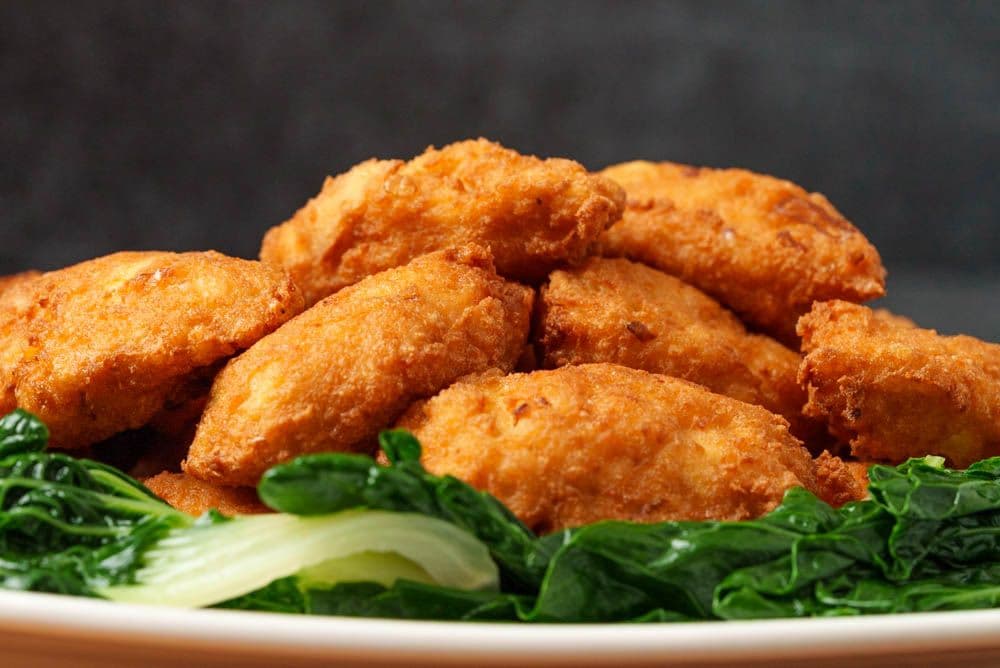
Place the blanched bok choy around the perimeter of the plate.
Pile the fried pipa tofu in the center. Serve with the sauce. Enjoy!
Pairs well with
View all →Made with love ❤️
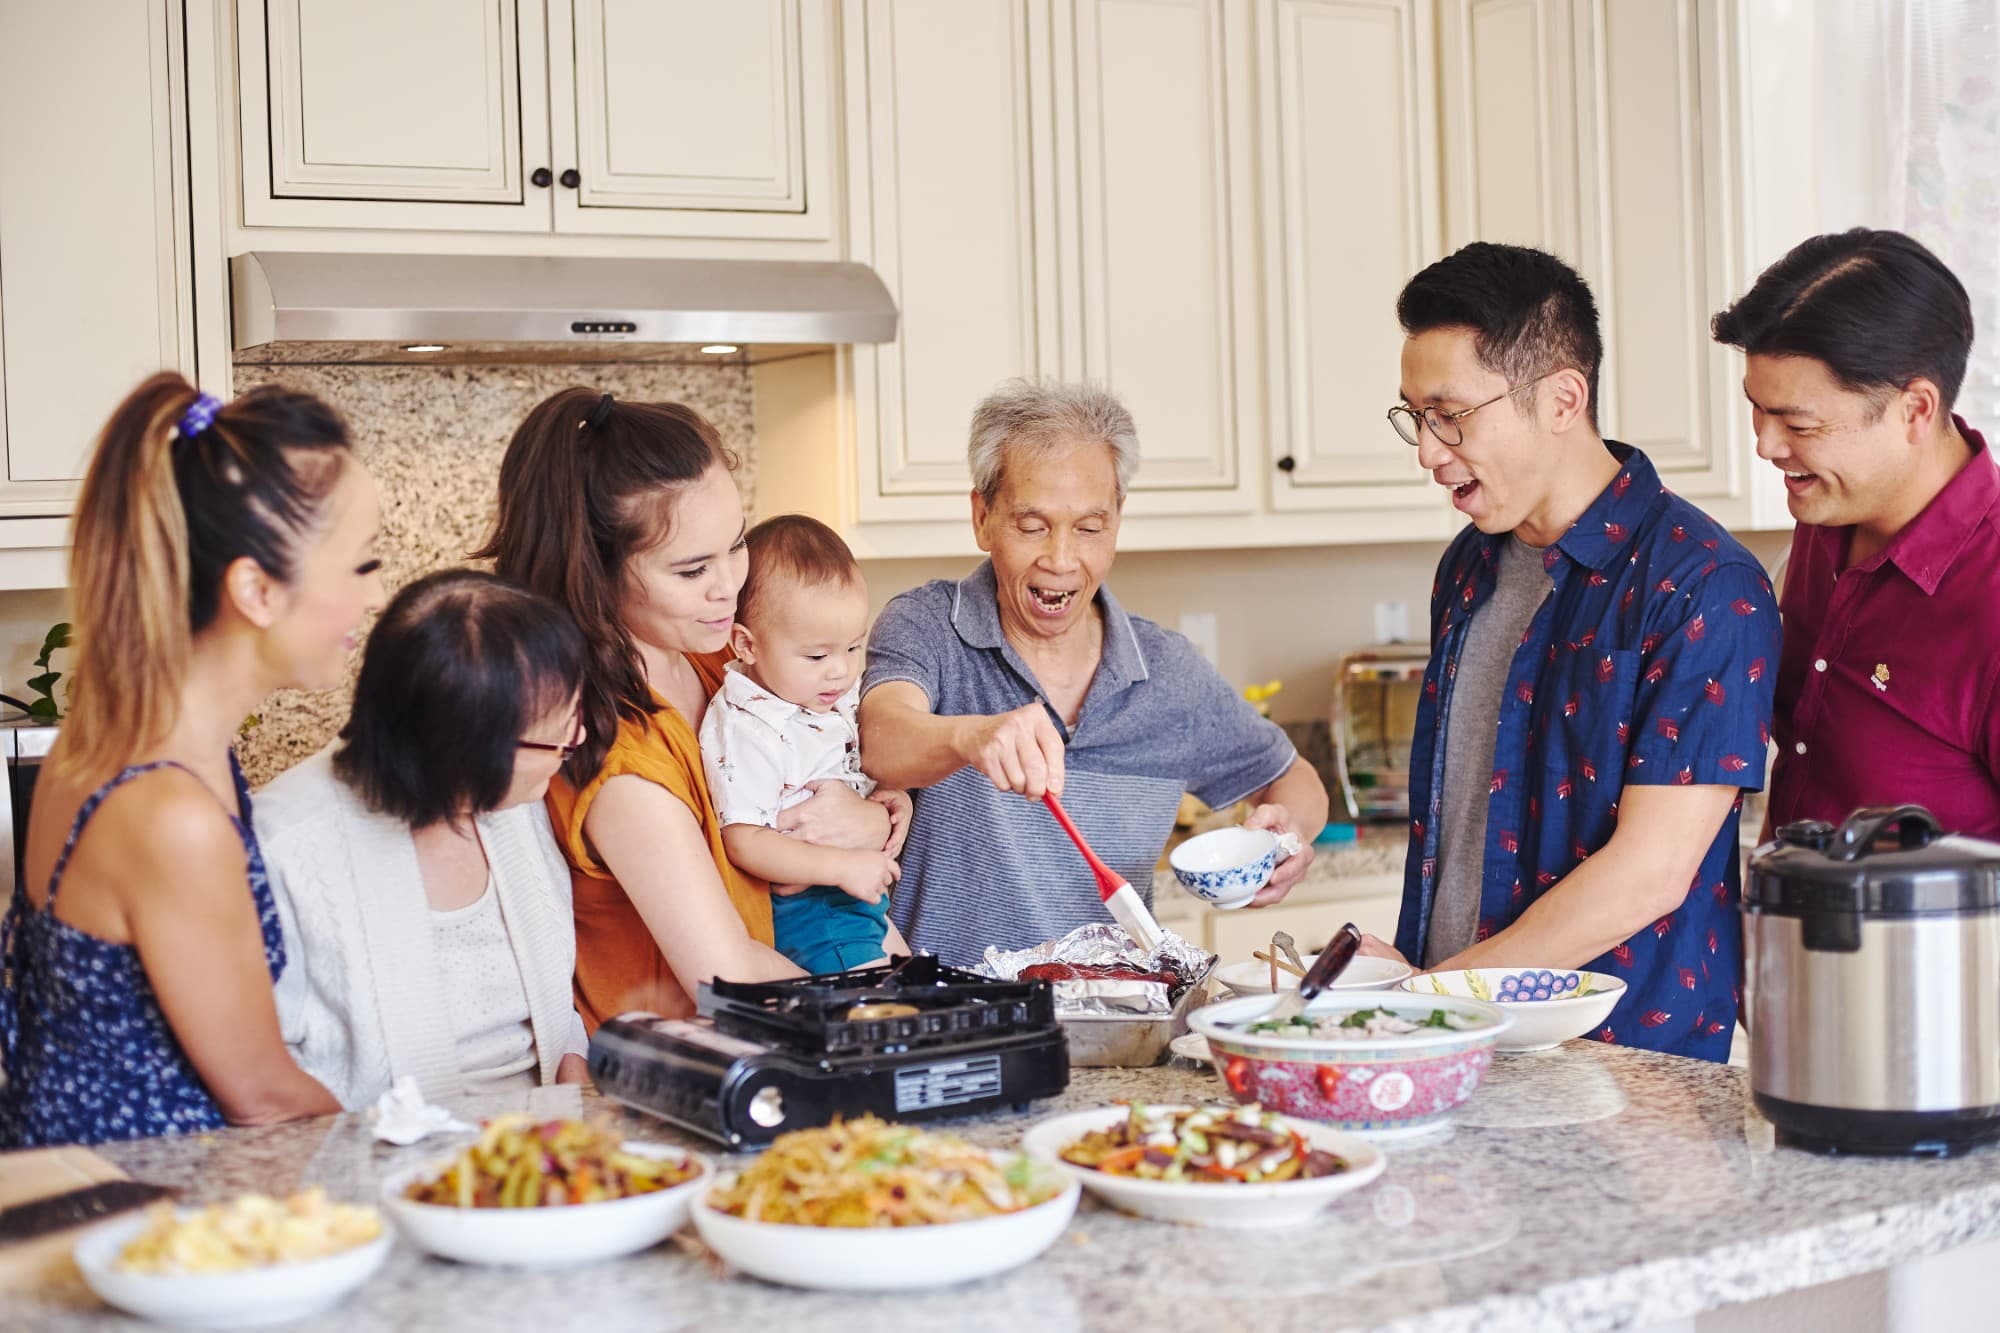
We started Made With Lau to celebrate Cantonese culture and honor the legacy of our wonderful parents, Jenny and Chung Sun Lau.
Our hope is that these recipes and stories help you spread the joy, love, and nostalgia that I felt growing up.