The Chinese Garlic Shrimp My Dad's Made 100,000 Times
Why this recipe

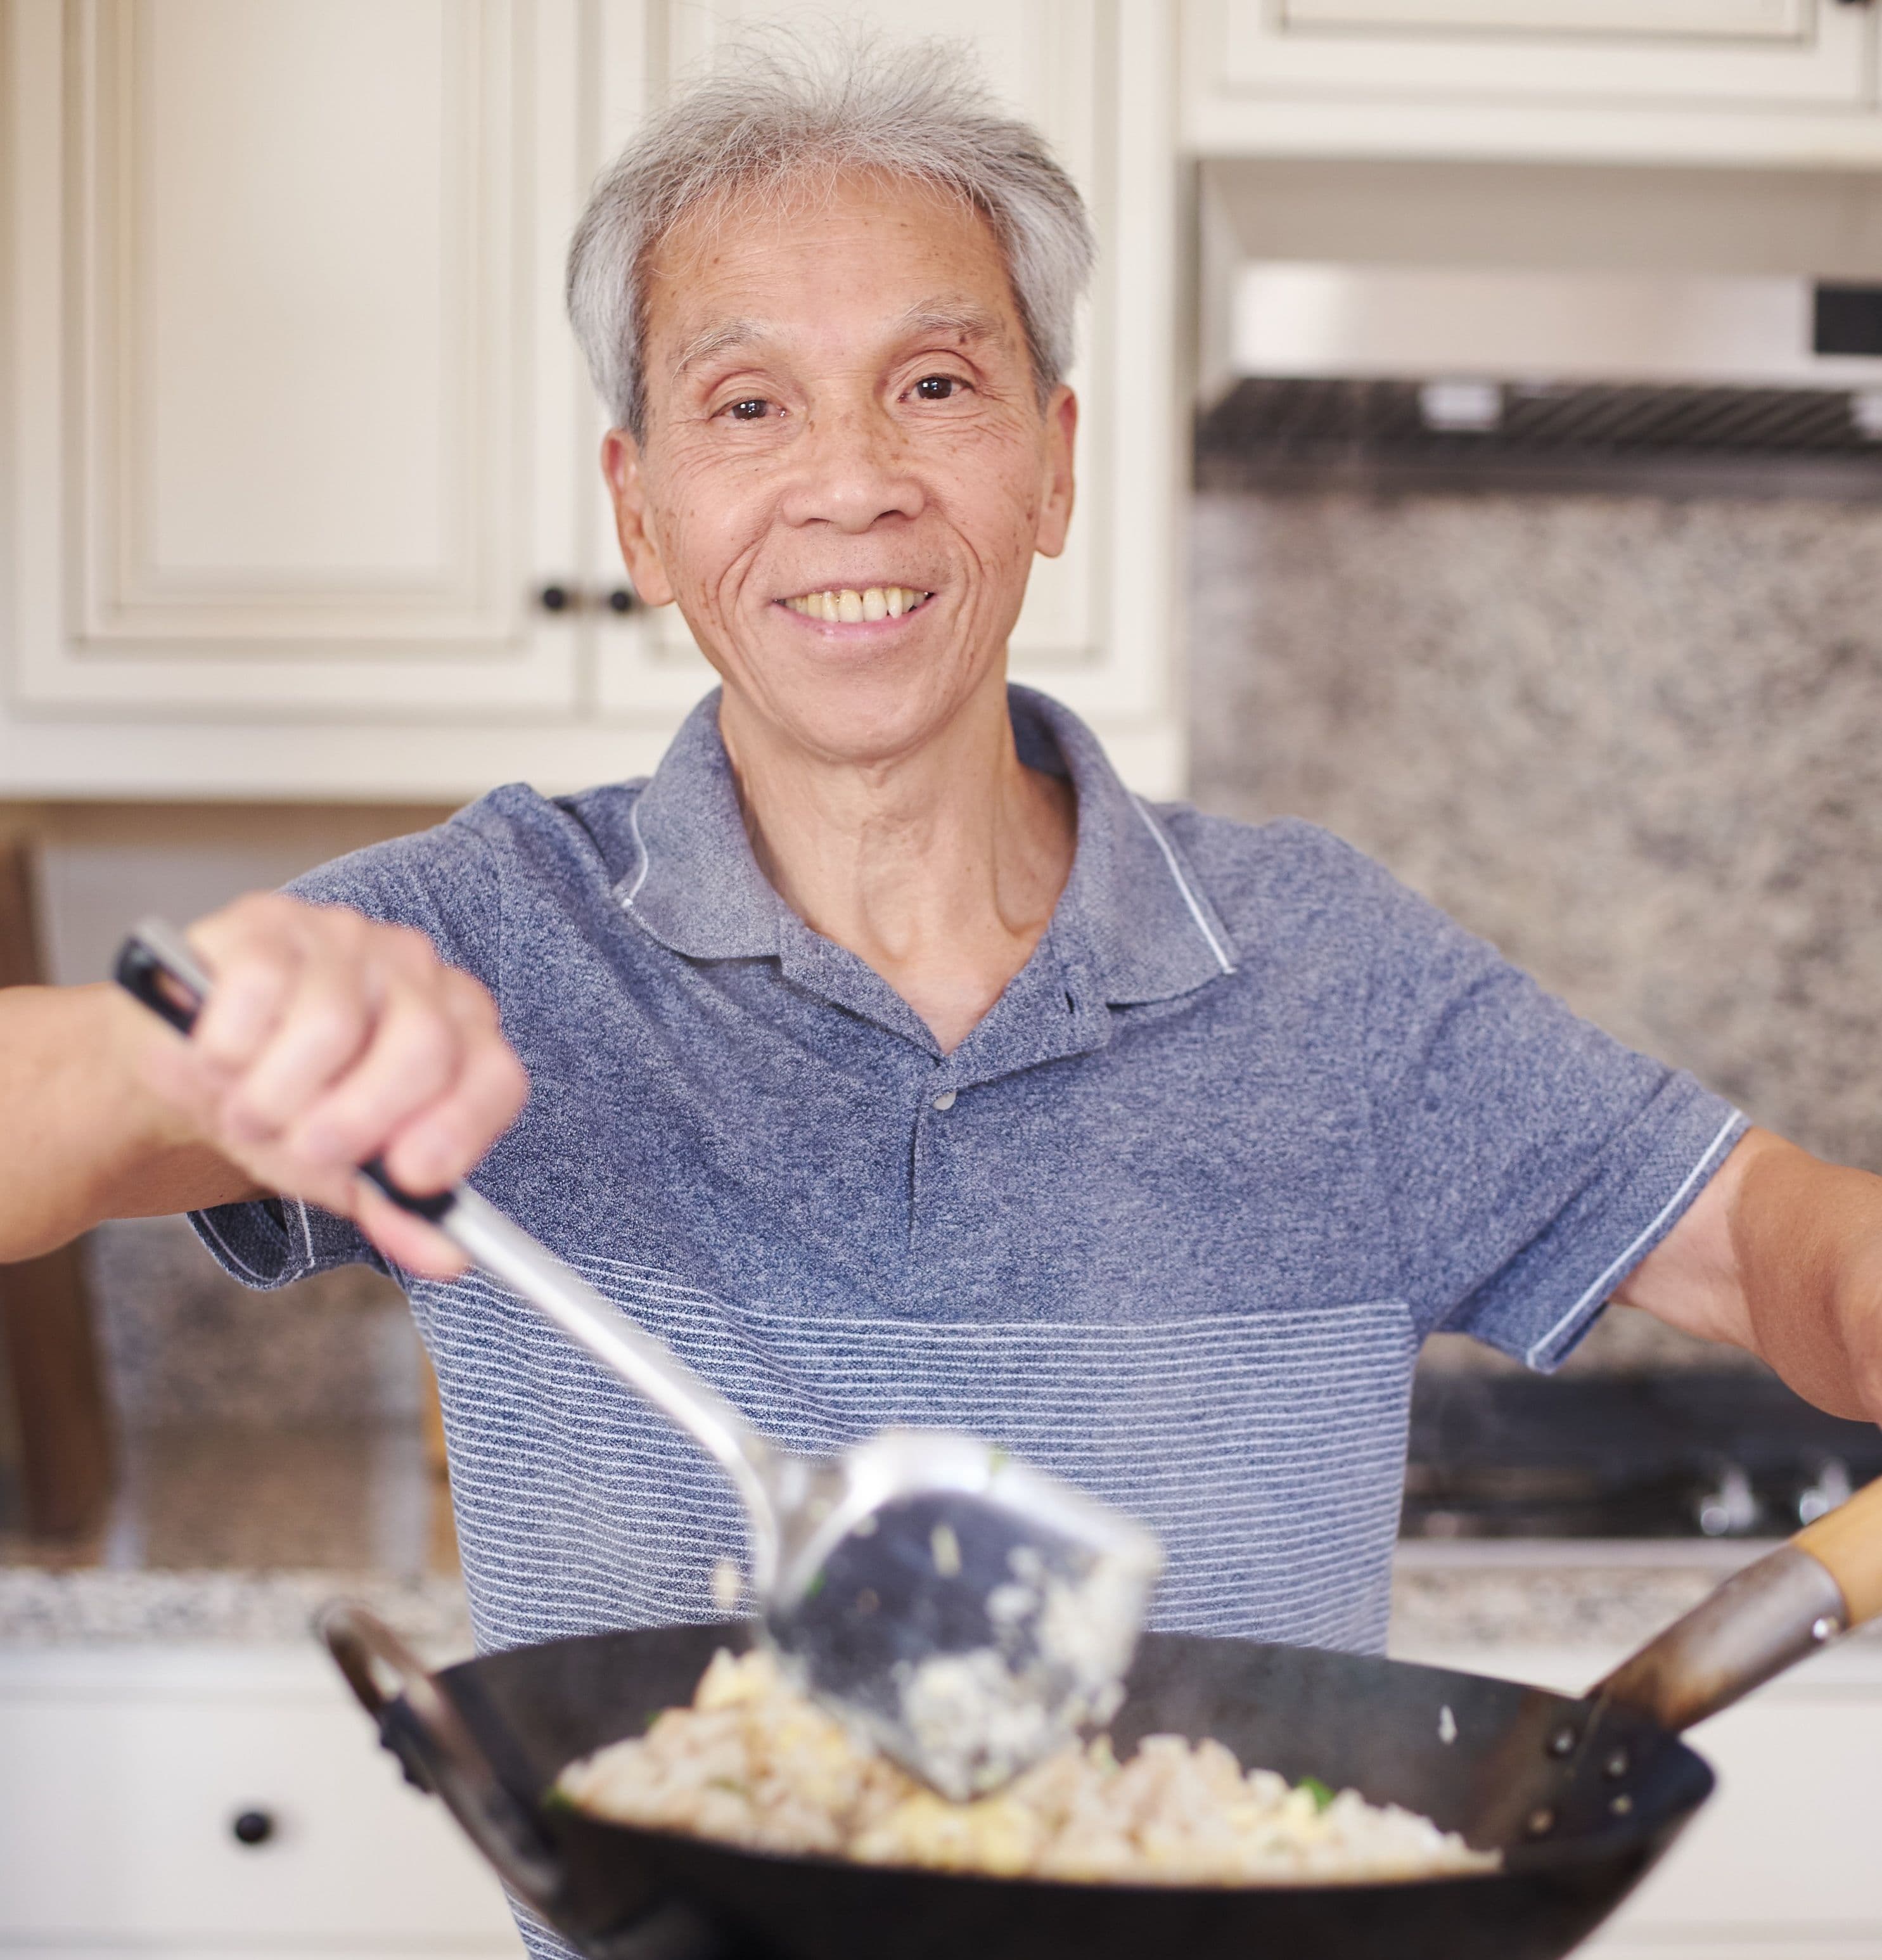
Most chinese garlic shrimp recipes online are tested only a handful of times. My dad used to make this dish multiple times a day, every day, for 60+ years and can make this in his sleep.
I know you'll love it as much as our community does! This recipe has over 221.4K views, 4.7K likes on YouTube.
Preparing seafood can be daunting, but shrimp is a great way to get started! A simple but flavorful pan-fry like this means you can put seafood on the table as part of a fulfilling weeknight dinner.
Ingredients

Shrimp by size
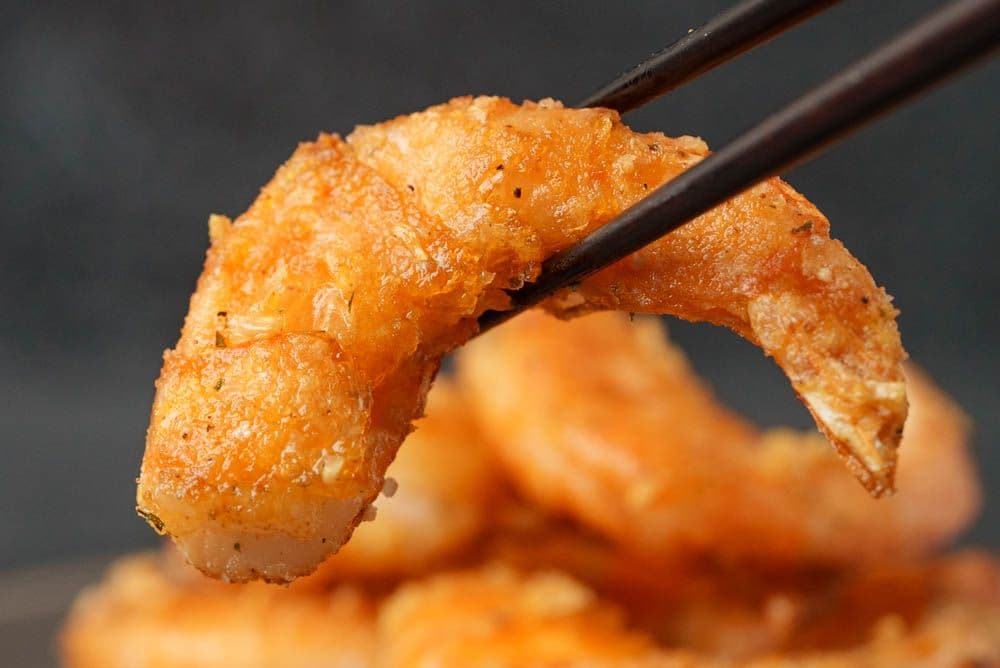
For Pan-fried Shrimp with Minced Garlic, the shrimp is a rather lonely star. It's flavored with aromatic ingredients like garlic, but it's really the only main ingredient. Although we prefer larger shrimp to make this dish, it's really more important to get good quality shrimp.
If you'd like to use the same size that we do in the video, go for what's called "extra large" at 26/30, which means 26 to 30 pieces of shrimp per pound. Smaller or larger shrimp work just fine, though! Remember to adjust the cooking time accordingly. Small shrimp may cook through faster.
Sustainable sources of shrimp
If you’re looking to buy sustainably sourced shrimp, Monterey Bay Aquarium’s Seafood Watch recommends that you avoid shrimp from places like Argentina, China, India.
If you do end up buying shrimp from those areas, it's totally fine (my parents do), but Seafood Watch notes that the shrimp are sourced with less sustainable methods.
To learn more, check out the link at Seafood Watch.
Instructions
Cut & devein shrimp
Start by preparing the shrimp (10 oz). Use scissors to cut off the legs. While you have the scissors out, you can beautify the tail by cutting it into a sharp diamond. this is called "Phoenix-tailed Shrimp".
You can then easily remove the dark vein by jabbing a sharp toothpick horizontally into the shrimp, under the vein. Then, pull the toothpick up out of the back of the shrimp to remove the vein.
Then, split the back of the shrimp open by pushing a small paring knife in and cutting outwards. This is especially important for large shrimp, to help flavor and heat penetrate. It also makes the eating process much easier, as they'll be easy to peel!
Remove the legs and devein all of the shrimp.
Season & coat shrimp
Put the prepared shrimp in a bowl to season them. Add garlic salt (0.25 tsp) and toss the shrimp until it's evenly coated. Then, add cornstarch (1.5 tsp) and toss to coat. The cornstarch is important to help crisp up the shell and give the dish an amazing fried aroma.
Prepare garlic & dry seasoning
Give the garlic (5 clove) a quick smash, so it's easy to peel. Trim and discard the hard ends of each clove. Then, you can smash the cloves with a heavier hand to get it really broken up, giving the garlic flavor its best chance to release into the dish. The smashed cloves will be much flatter and easier to mince roughly. Set the minced garlic aside.
Prepare the dry seasoning in a separate bowl. Add garlic salt (1 tsp), salt, sugar, black pepper, and white pepper. Mix well.
Pan-fry shrimp
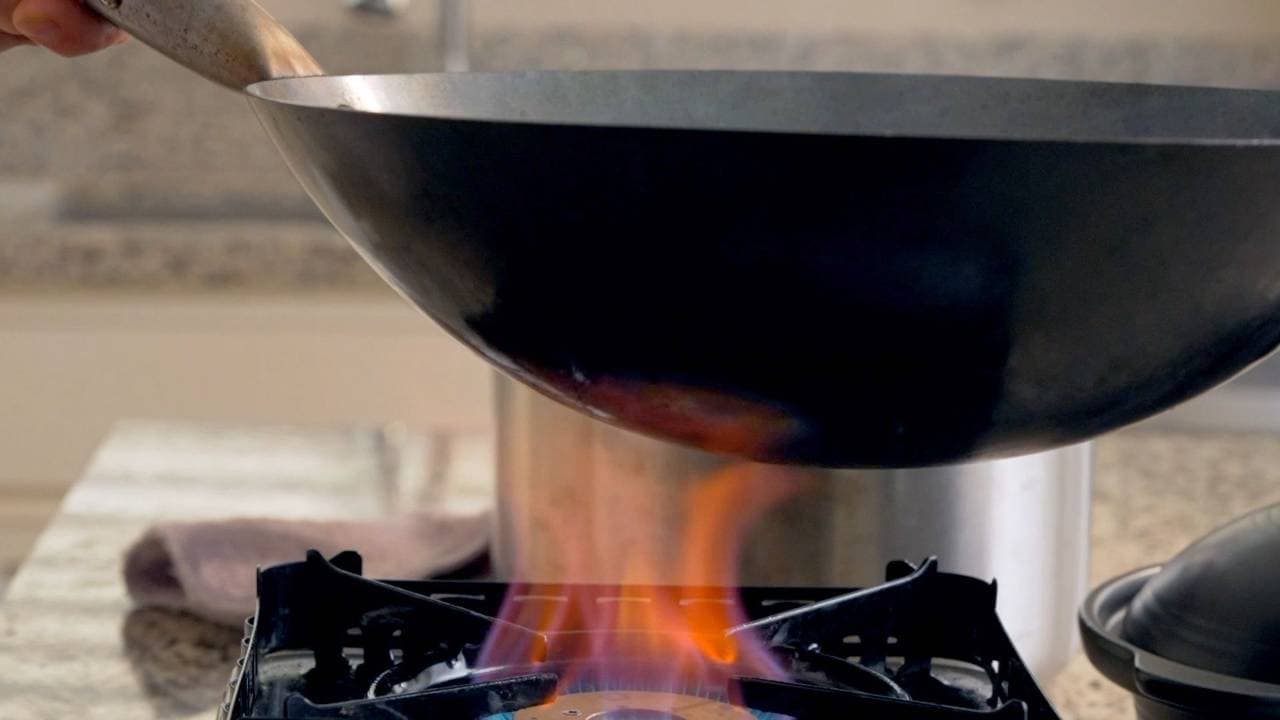
Heat a flat pan on high. Once the pan is hot enough, lower the heat to medium to avoid burning your lovely shrimp. Add oil (2 tbsp) and swirl the pan to spread it around. Then, individually place each shrimp down onto the pan, pulling them a little straighter as you put them down.
Let the shrimp cook without moving or flipping them. Add more oil (1 tbsp) along the edge of the pan.
When the bottom side of the shrimp turns red, or about 2 minutes, flip the shrimp. It's easier to use chopsticks or tongs to flip each piece individually than trying to turn them with a spatula.
Cook on this side for another 2 minutes, or until it turns reddish-orange. Plate the shrimp for now.
Stir-fry everything
No need to clean yet! Add the minced garlic to the pan. Turn the heat down to low and stir-fry the garlic alone to get it aromatic. It'll take about 30 seconds for the garlic to start turning golden.
Once the garlic is fragrant and golden, turn the heat off add the shrimp back in. Mix it around to help the garlic coat the shrimp.
Turn the heat back on to low, then start sprinkling in the dry seasoning. Avoid creating large clumps of seasoning by sprinkling it in a bit at a time while stirring and tossing the shrimp.
When you've added all the seasoning and it's thoroughly mixed in, plate the shrimp. Don't forget to get all the crispy bits of golden garlic out of the pan!
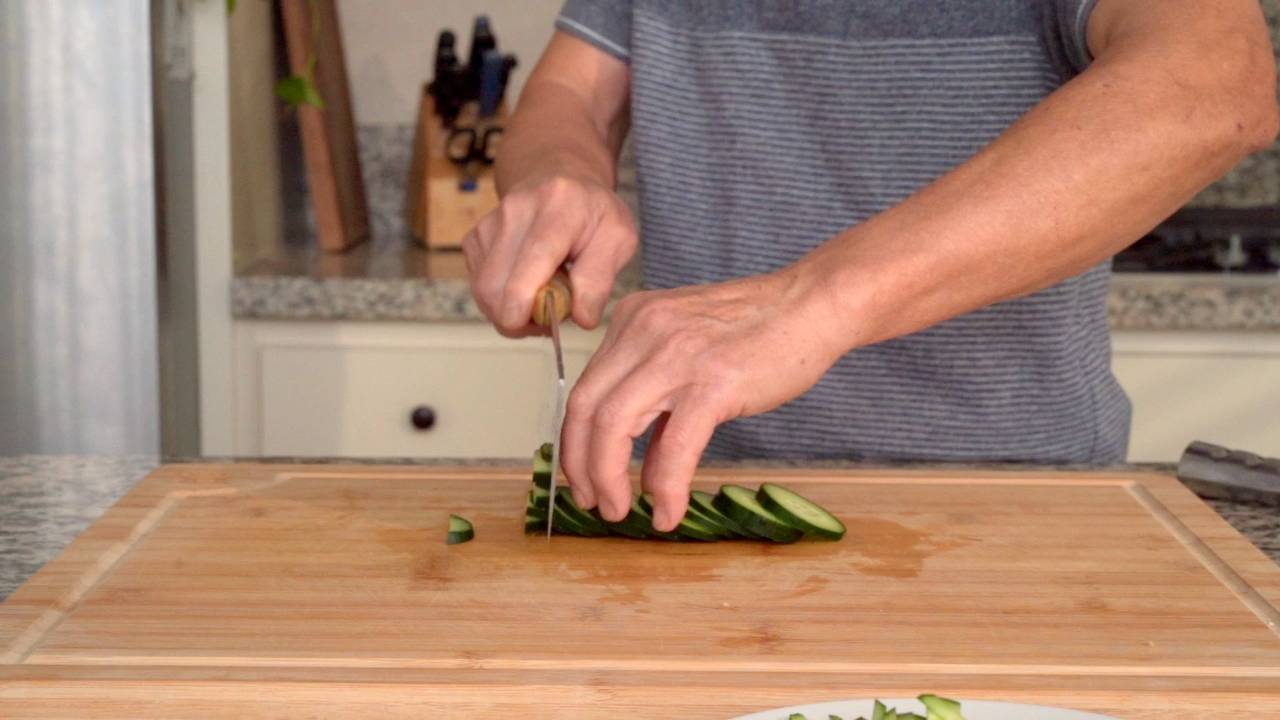
Pairs well with
View all →Made with love ❤️
We started Made With Lau to celebrate Cantonese culture and honor the legacy of our wonderful parents, Jenny and Chung Sun Lau.
Our hope is that these recipes and stories help you spread the joy, love, and nostalgia that I felt growing up.