Chinese Fish Cakes

Learn how to make this versatile, delicious protein patty!

Cooking Summary
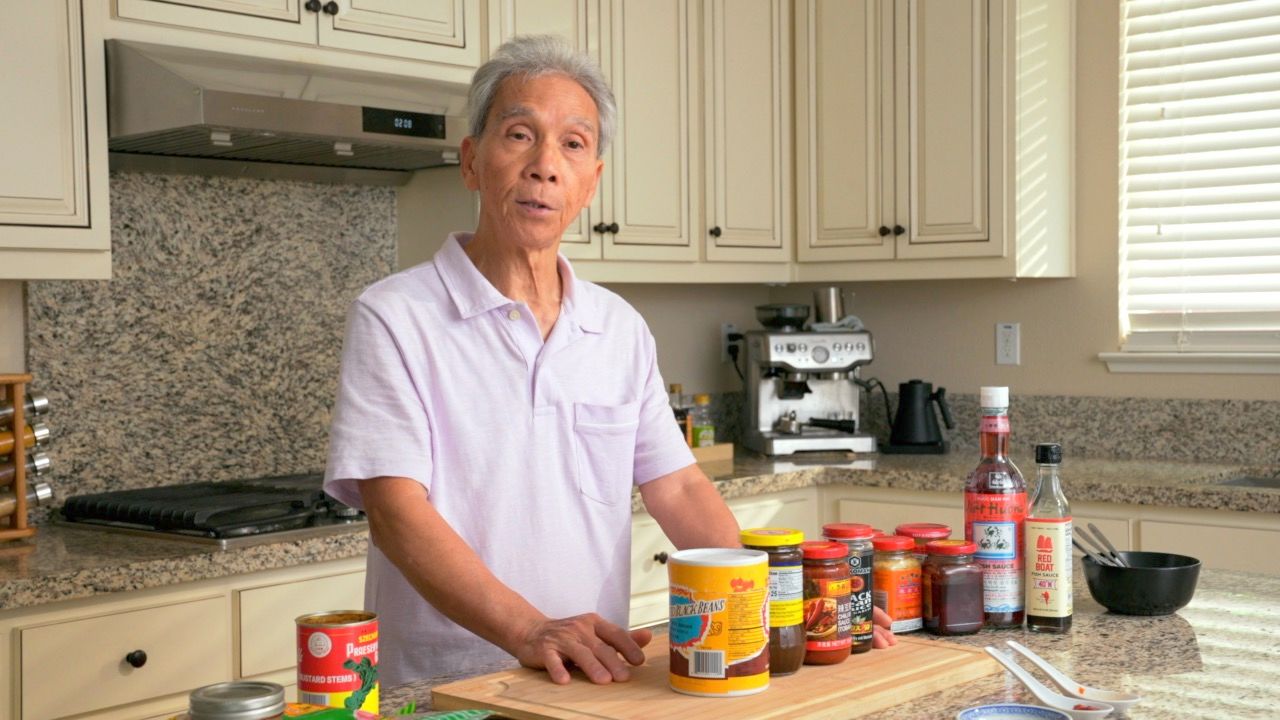
Ingredients: (detailed list)
- Main Ingredients: fish, shrimp, dried scallop, cilantro, green onion, egg, cooking oil
- Marinade: sugar, salt, chicken bouillon powder, white pepper, cornstarch, water, Kikkoman® Sesame Oil
- Sauce: Kikkoman® Oyster Sauce, Kikkoman® Soy Sauce, sugar, water, cornstarch
Jump To Section
Top 3 Mistakes
- Leaving the shrimp too wet:
Squeeze excess water from the cleaned shrimp before making the paste. Too much liquid loosens the mixture and makes the fish cakes more likely to fall apart during cooking.
- Stopping before paste forms:
Keep gathering and smashing the sliced fish until it becomes a sticky paste. Simply chopping it into small pieces does not give you the cohesive texture used to shape these cakes.
- Skipping the soaking step:
Rehydrate the dried ingredients before you start cooking. Follow the recipe’s soaking instructions so they soften properly rather than staying tough in the finished dish.
Overview
Every Chinese family has their own take on the versatile fish cake. You can make this with endless combinations of ingredients, such as tofu, ground pork, and more! For this recipe, my dad shows off his simple combination of fish, shrimp and dried scallops, seasoned to perfection with a luscious marinade.
Thank you, Kikkoman!
This recipe is brought to you in part by Kikkoman. My dad has been using Kikkoman flavors throughout his 50-year career as a chef, and it's a privilege to get to partner with them on such an iconic recipe, Pan-fried Fish Cakes!
- Kikkoman products are a major flavor enhancer and bring out the “umami” taste, and help balance and round out flavors
- Kikkoman® Less Sodium Soy Sauce is perfect for home cooks who are looking to cut down on their sodium levels, without sacrificing flavor
- Kikkoman offers a wide range of Gluten-Free Asian sauces, including Gluten-Free Oyster Sauce and Gluten-Free Hoisin Sauce
- The KikkomanUSA.com Chinese site offers easy Asian recipes that home cooks can enjoy any night of the week
You can learn more about Kikkoman and follow them on social media here:
- Website: https://www.KikkomanUSA.com
- Facebook: https://www.facebook.com/KikkomanChineseUSA (Kikkoman 萬字在美)
- Instagram: https://www.instagram.com/kikkomanusa_chinese/ (Kikkoman 萬字在美)
Ingredients
Why this recipe
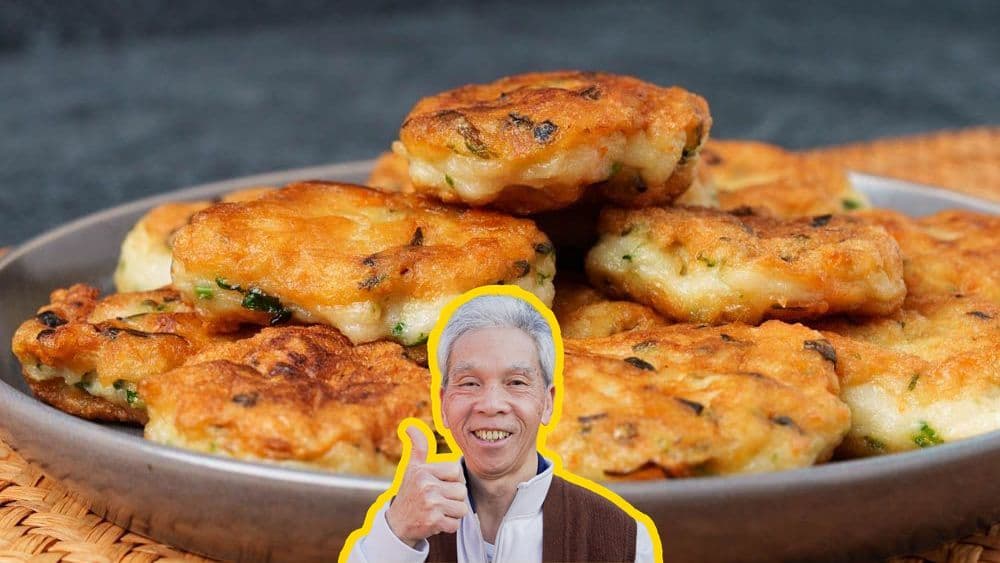
Most chinese fish cakes recipes online are tested only a handful of times. My dad used to make this dish multiple times a day, every day, for 60+ years and can make this in his sleep.
I know you'll love it as much as our community does! This recipe has over 358.4K views, 5.9K likes on YouTube.
Counteracting fishy odors
There are several ingredients hard at work here to keep the fish cakes from getting fishy.
First, the fish itself should be of good quality. If it already smells bad to you in the store, don't get it. Find a piece that smells fresh and clean.
Pungent herbs like cilantro and green onion are essential for cutting through potential fishiness. If you need a bigger punch, press the juice out of some fresh ginger and add that to the marinade.
The spices and flavorings that we use are not meant to cover up bad odors, but they do help to kill possible fishiness. Never forget your white pepper here! And just like our fresh ginger juice tip, you can also opt to sprinkle in some ginger powder.
Soy sauce, chicken bouillon powder and sesame oil also work hard to boost the light, savory flavor of the fish. In fact, Kikkoman® Soy Sauce's usefulness in fighting unpleasant fishy odors is why it's often served with sashimi and other fish dishes.
Please overmix me
My dad always has the same advice when working with fish paste: mix, mix, mix! This might sound strange if you come from a background of burger-making where it's more imperative to not overwork the protein. Why are we doing the opposite?
It's all about a structural protein in the fish (and also other meats) called myosin. Myosin is usually bound up with other proteins, but as you mix it and make it move, the myosin dissolves out of the protein complex that's tying it up and starts getting distributed throughout the paste.
Free, free at last! As the freed myosin travels around, it forms a gel to bind the paste and give it structure. As you mix it even more, around and around, the myosin forms longer links and creates more gel, which binds the paste even tighter. You can actually see the linked myosin in well-developed fish paste. They look like sticky fibers and they'll stick out like long fuzz if you pull your spoon out from the fish paste.
A tighter paste makes firmer, springier fish cakes! Three cheers for fish cakes that don't fall apart.
How to make Chinese Fish Cakes
Create fish & shrimp paste
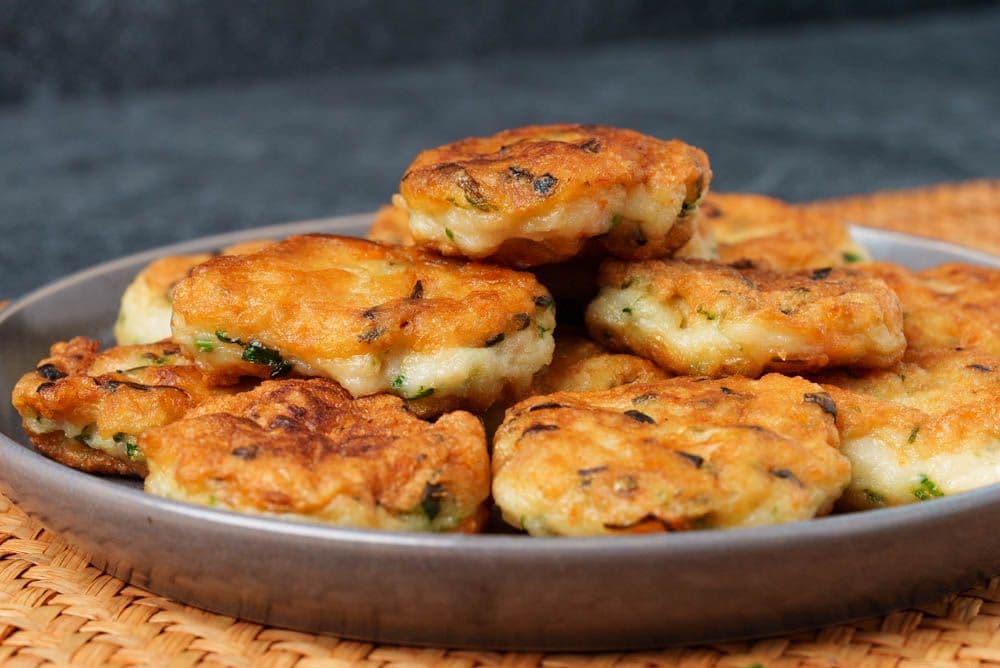
Time management hint: Before you start , make sure you get your dried scallops (1 oz) soaking in some warm water. They’ll need to be rehydrated and soft enough to chop by the time you’re finishing making the fish-and-shrimp paste.
We’ll get a head start on the marinade first. In a small bowl, combine sugar (1 tsp), salt, chicken bouillon powder (1 tsp), white pepper (0.25 tsp), and cornstarch (3 tbsp).
Peel and clean the shrimp (5 oz). To peel the shell off, twist and wiggle the tail off. Then, hook a finger under the remaining shell and pull it straight off. Then, butterfly each piece of shrimp by slicing it in half. This will expose the veins so they’ll wash right out. Put the sliced shrimp in a bowl of clean water and give them a good rinse with gentle, firm squeezes and swishes. Make sure that the veins wash out.
When the shrimp are clean, remove them from the water and gently squeeze out excess water. Too much water will make the mixture loose and prone to falling apart. Set the shrimp aside.
Slice the fish (12 oz) thinly. Once the fish is all chopped into thin slices, you’re going to start smashing it. It’s best to use the broadest knife you have for this, the closest thing you have to a cleaver.
Grip your cleaver high on the handle, extend your index finger out to push down on the blade, and turn the cleaver horizontally. Carefully smash the fish slices down into the cutting board. You won’t need a lot of sudden, dramatic force, as the fish is delicate and will succumb easily to smashing. Just come down with a bit of force, and then drag the knife back to crush the fish underneath.
The smashed fish slices should begin to form a paste, and as you go through the fish, gather it back up into new piles to smash again. It should get stickier and more paste-like with the second pass.
Set the fish paste aside and mash the shrimp using the same motion; the shrimp doesn’t need any slicing beforehand.
Fold the shrimp over itself and continue mashing for 1-2 minutes; if there are any tendons or connective tissue, you can roughly chop at it to break it down.
Fold your shrimp paste into your fish paste and roughly combine them.
Of course, you can use a food processor to make these pastes. We recommend processing the fish and shrimp separately, and then combining the two pastes.
Mince the rehydrated dried scallops, then fold it in with the rest of your mixture. Then, mash and fold your seafood mixture repeatedly until all the elements are well-combined. Then, set it aside.
Dice aromatics
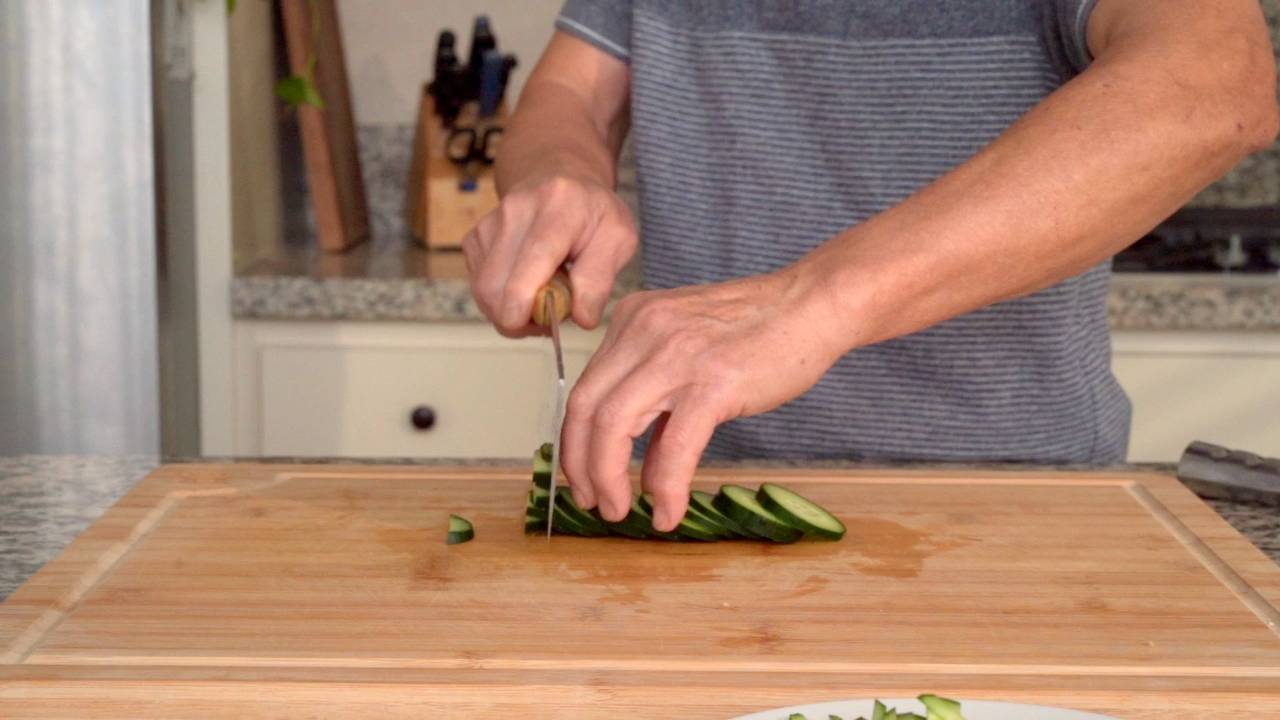
Roughly chop the cilantro (0.50 oz) and the green onions (3 stalk). Add them to the mixture.
Marinate paste & mix
Add water (2 tbsp) to the marinade that you prepared earlier, and stir until well-combined. Add the marinade to the fish paste and use chopsticks to stir until it’s completely incorporated.
Add a beaten egg and continue to mix. You really want to work the paste; the ideal texture of the cooked fish cakes is firm and springy, which you achieve by overworking the fish paste now to fully develop the myosin that binds it together.
Mix for at least 1-2 minutes, then add more water (1 tbsp) and continue to mix. Develop that myosin! Add the final amount of water (1 tbsp) and… you guessed it… keep mixing it in.
Add sesame oil (1 tsp) and keep mixing for at least 2-3 minutes.
Incorporate some professional restaurant technique by scooping up the mixture and slamming it back down into the bowl. This motion really helps work the fish paste.
Create dipping sauce
Take a break from working the fish paste to create the dipping sauce. (Make sure your hands are clean!) In a small bowl, combine oyster sauce (1 tbsp), light soy sauce (1 tbsp), sugar (1 tsp), water (5 tbsp), and cornstarch (1 tsp). Mix until the sugar and cornstarch dissolve.
Pan-fry fish cakes
Because we want even heat over a large surface, it’s best to use a flat-bottom wok or a flat skillet for pan-frying the fish cakes. Heat up your pan and add oil (1.5 tbsp). Once the pan is hot, turn off the heat.
Prep your hands and utensils by applying a light coat of cooking oil (0.50 tbsp). My dad wears a glove and oils that up. This helps prevent the paste from sticking to you.
Form the fish paste into balls and set them into the pan. Remember, you’ll be flattening them later, so give them some space to breathe. My dad made approximately 2 oz balls, but you can make this whatever size you like, as long as you adjust your cooking time accordingly.
Once everyone is in the pan, turn the heat on to high. Let the fish balls cook for 2-3 minutes, then use a well-oiled spoon or paddle to flatten each one into a cake. Add more oil to the pan as needed; you really don’t want these to stick.
When the bottom surfaces of the fish cakes turn a beautiful golden brown and releases from the pan (about 5 minutes for us), flip them over.
Once you’ve flipped all the fish cakes over, turn the heat to medium. Let that cook until the fish cakes are cooked through (approximately 5 minutes); they’ll be firm and springy to the touch and have an internal temperature of 145° F. Now, you can increase the heat to add more color to the crust.
When you’re satisfied with the color, plate the fish cakes.
Cook sauce & serve
To cook the sauce, heat oil in a pan (you can just use whatever oil is left from pan-frying) and add the sauce mixture. Cook over high heat.
Stir frequently so it doesn’t burn as it thickens. If the consistency starts to get too thick for your liking, loosen it up with a bit of water or chicken broth. When you’re happy with the consistency, pour it into a dish and serve it alongside your beautiful fish cakes. Enjoy!
Pairs well with
View all →
Made with love ❤️

We started Made With Lau to celebrate Cantonese culture and honor the legacy of our wonderful parents, Jenny and Chung Sun Lau.
Our hope is that these recipes and stories help you spread the joy, love, and nostalgia that I felt growing up.
