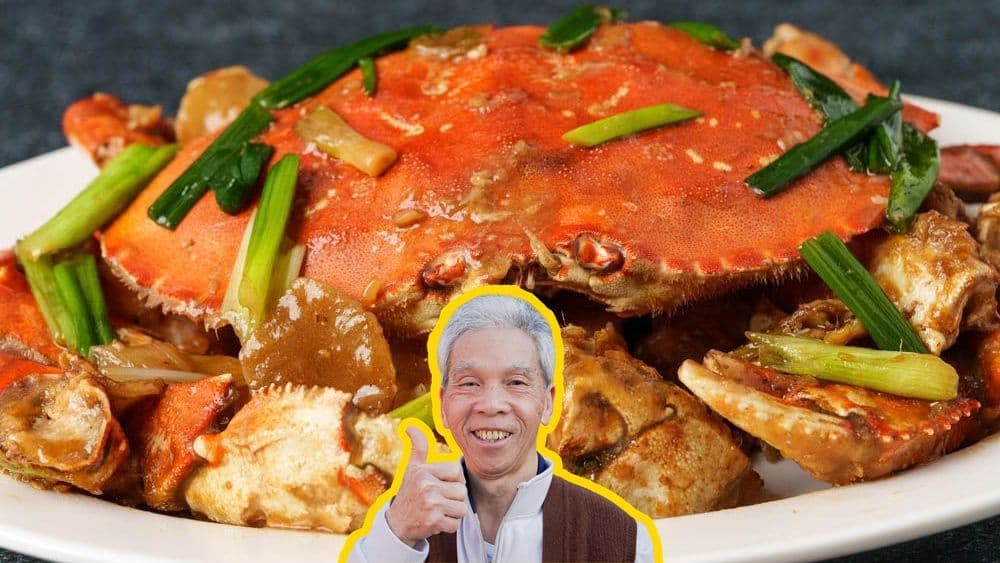
The Ginger & Scallion Crab My Dad's Made 100,000 Times
Why this recipe
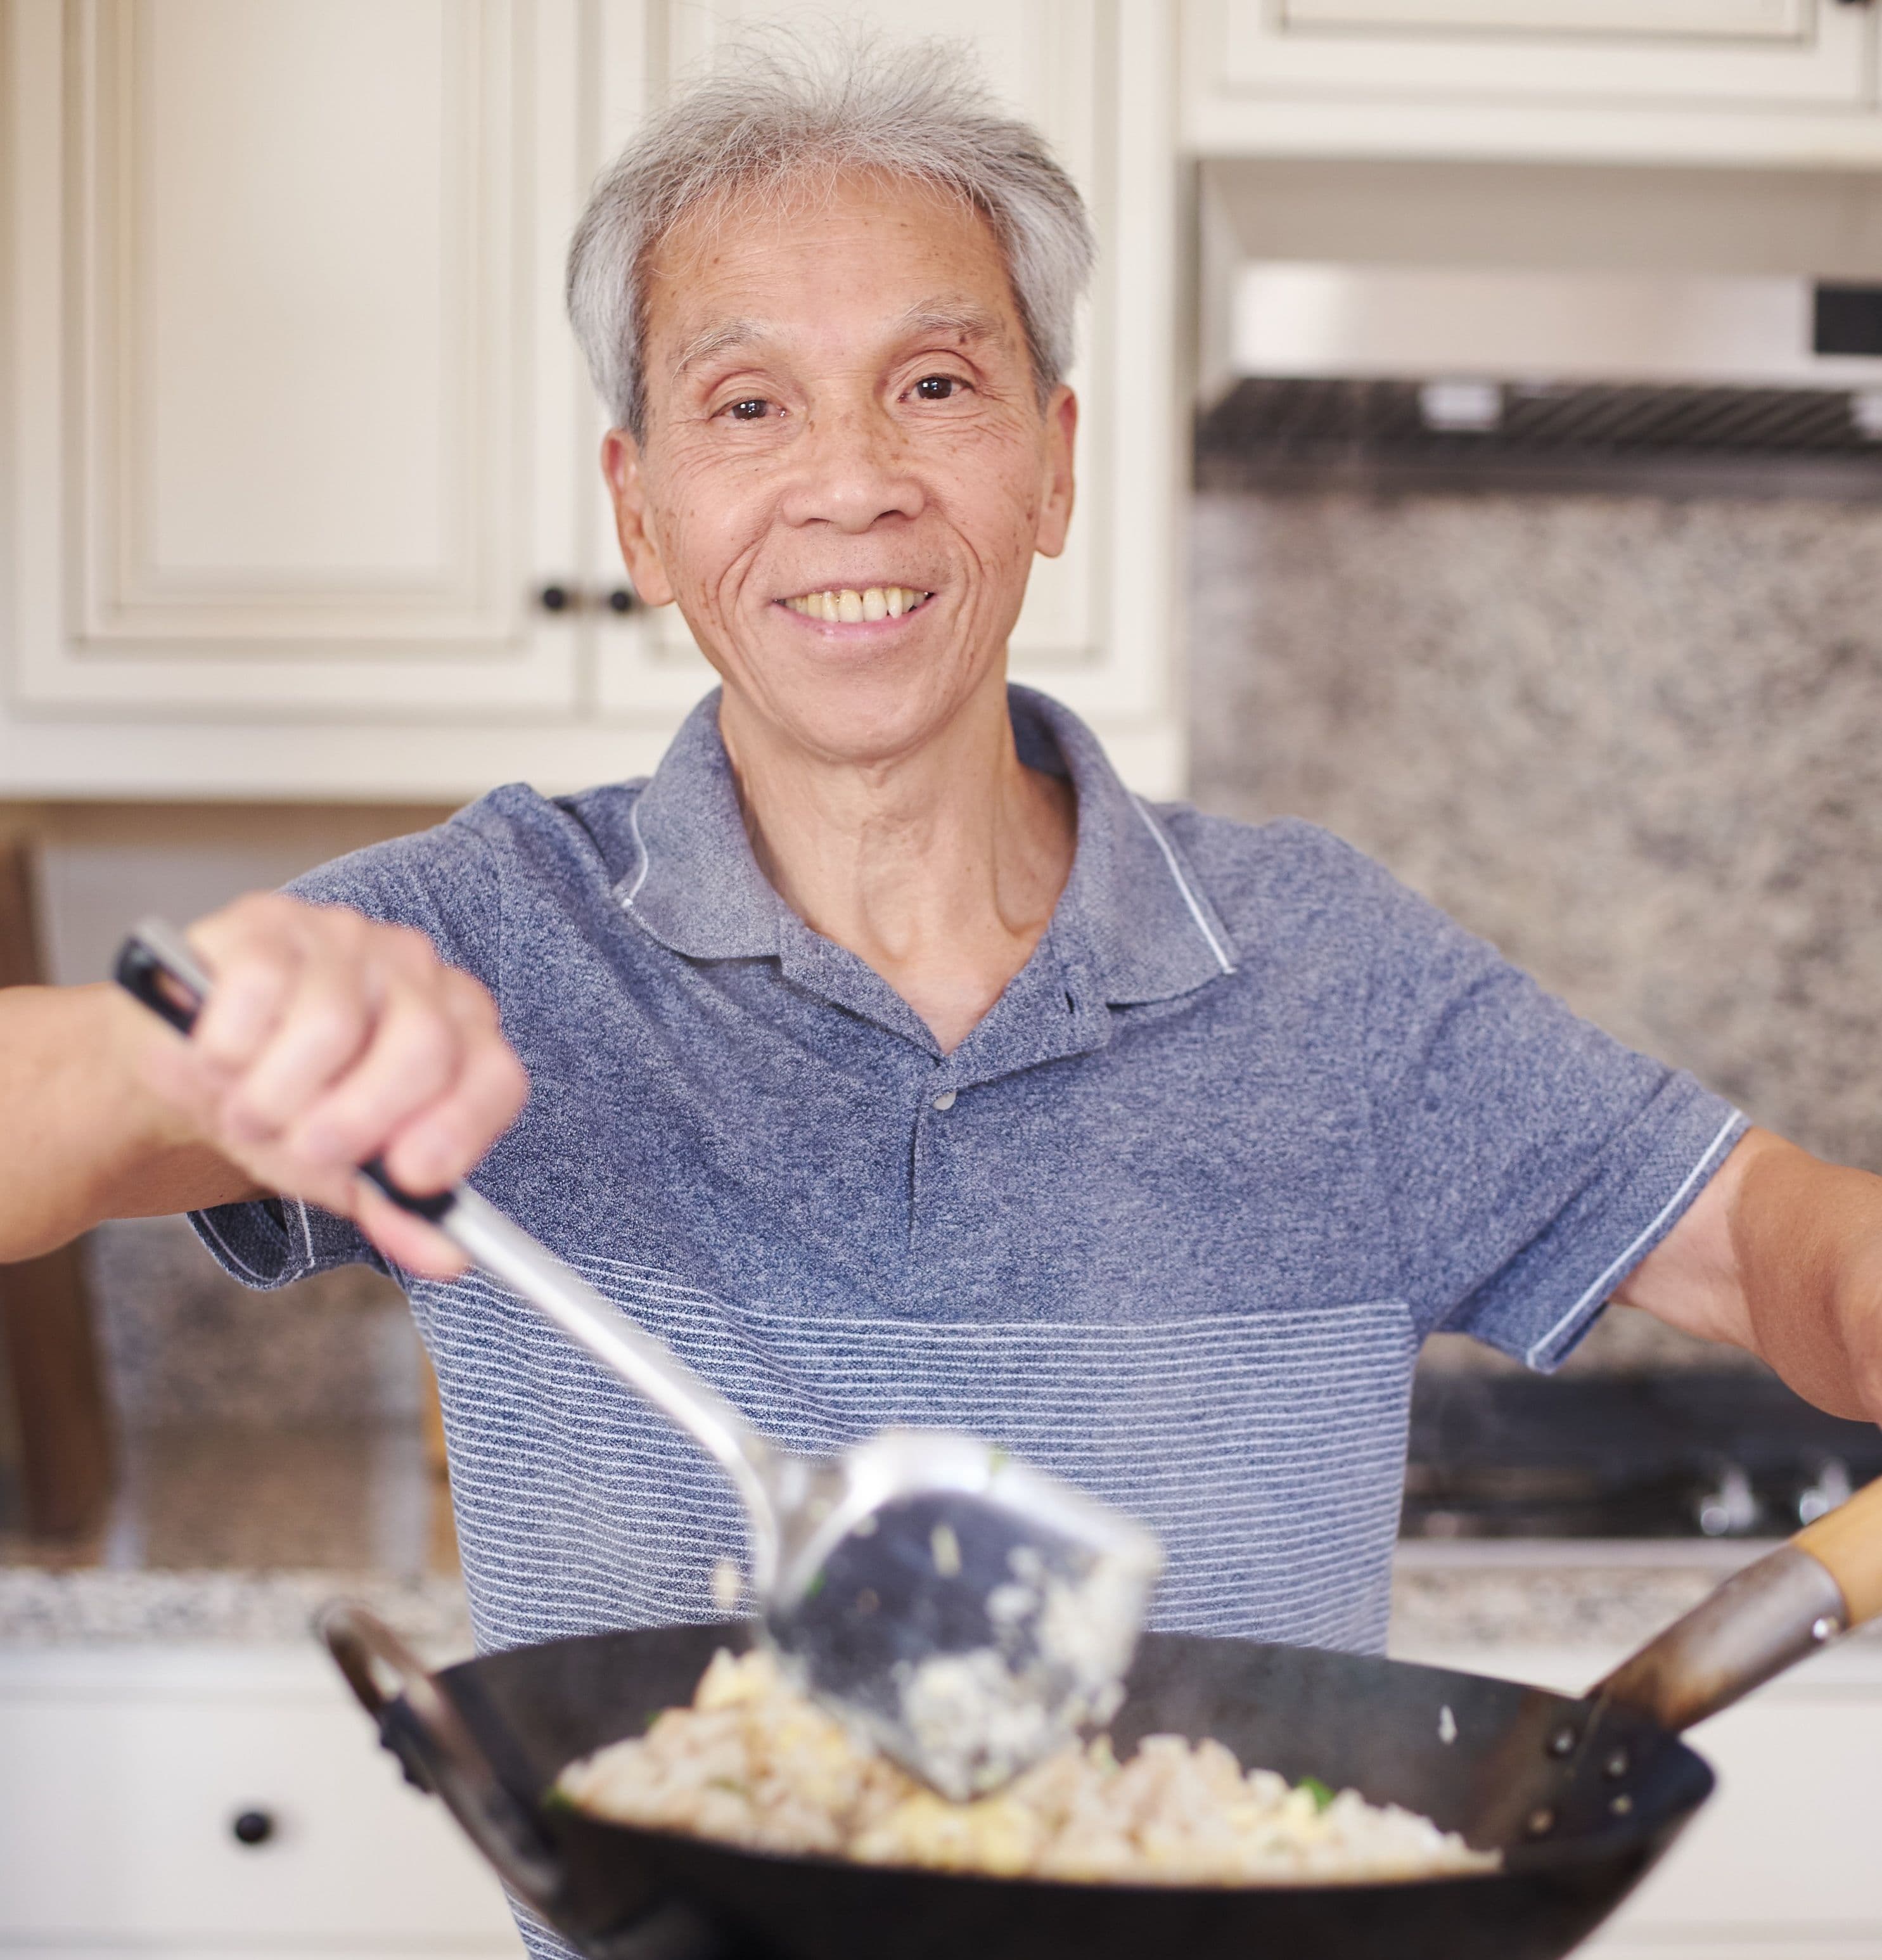
Most ginger & scallion crab recipes online are tested only a handful of times. My dad used to make this dish multiple times a day, every day, for 60+ years and can make this in his sleep.
I know you'll love it as much as our community does! This recipe has over 355.9K views, 5.1K likes on YouTube.
This savory centerpiece can look intimidating, but don't let it scare you! Follow Daddy Lau step-by-step to achieve this tasty and beautiful dish. Together, you can make this shellfish enjoyable and easy to eat at the table, with a savory, garlicky sauce that perfectly highlights the crab flavor.
Thank you, Kikkoman!
This recipe is brought to you in part by Kikkoman. My dad has been using Kikkoman flavors throughout his 50-year career as a chef, and it's a privilege to get to partner with them on such an iconic recipe, Ginger & Scallion Crab!
- Kikkoman products are a major flavor enhancer and bring out the “umami” taste, and help balance and round out flavors
- Kikkoman® Less Sodium Soy Sauce is perfect for home cooks who are looking to cut down on their sodium levels, without sacrificing flavor
- Kikkoman offers a wide range of Gluten-Free Asian sauces, including Gluten-Free Oyster Sauce and Gluten-Free Hoisin Sauce
- The KikkomanUSA.com Chinese site offers easy Asian recipes that home cooks can enjoy any night of the week
You can learn more about Kikkoman and follow them on social media here:
- Website: https://www.KikkomanUSA.com
- Facebook: https://www.facebook.com/KikkomanChineseUSA (Kikkoman 萬字在美)
- Instagram: https://www.instagram.com/kikkomanusa_chinese/ (Kikkoman 萬字在美)
Ingredients

Instructions
Wash & freeze crab
(If you're using a frozen crab and are satisfied with its cleanliness, you can skip this step and move on to the next step.)
Begin by washing the live crab (2 lb). Of course, please watch your hands and fingers as you do so, and avoid poking yourself on sharp edges and spikes. Scrub down the shell, the legs, and the claws with a clean, abrasive sponge and cold water. This simply gets rid of excess surface debris.
Then, put the crab in the freezer to knock it out. After 30 minutes in the freezer, it will be unconscious and you can humanely process it with minimal fuss.
Prepare aromatics
If you prefer to peel your ginger (1.5 oz), you can scrape off the peel with a spoon or with a peeler. You can also choose to keep the nutritious peel on, as long as you wash it thoroughly.
Then, you can choose to either slice the ginger thinly, or smash it into small, crushed pieces. Thin slices are easier to eat, whereas smashed pieces will give more flavor to the dish. You can get the best of both worlds by having some of each shape.
Trim off and discard the roots of the green onions (2 oz). Then line them up and give the white parts a quick smash to break them open and release their flavor. Slice the green onions into 2-inch segments.
Smash, peel, and roughly mince the garlic (3 clove).
Create sauce
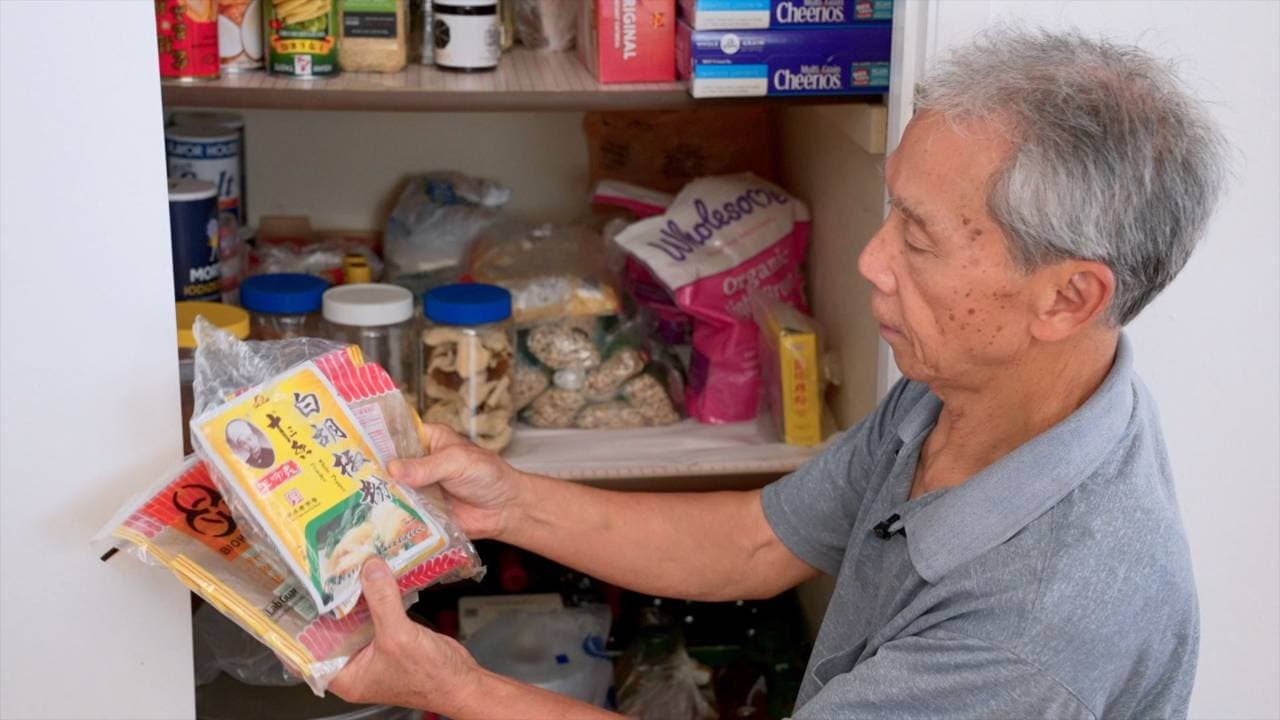
In a separate bowl, mix together oyster sauce (2 tbsp), light soy sauce (2 tbsp), dark soy sauce (1 tsp), white pepper (0.25 tsp), and sugar (0.50 tsp). Set it aside for later.
Cut & coat crab
When the crab is knocked out, remove it from the fridge and take it to the cutting board to start processing it.
First, pull the shell (the main, round one covering the body) straight off. Pour off and discard the liquid. Inside the body, you'll see the gills of the crab. Those are the crab's filters, and we don't want to eat them. Pull them out.
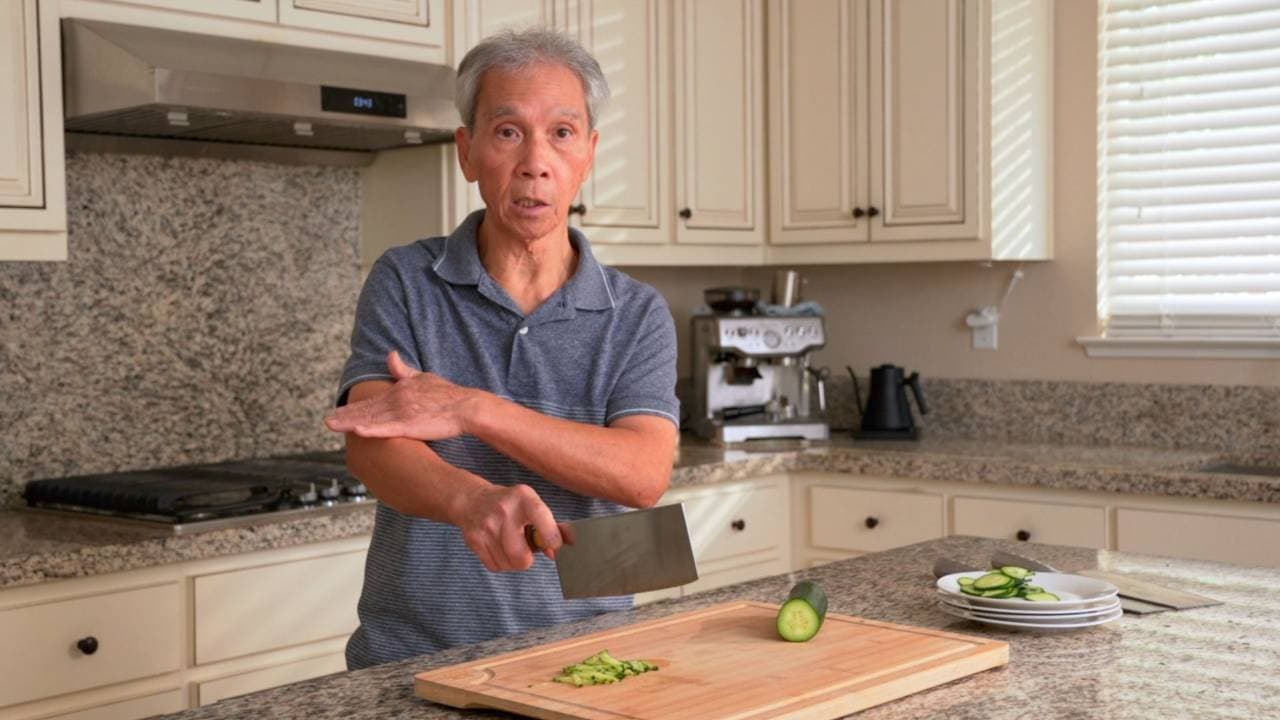
Then, chop the crab's legs off with the cleaver, aiming for the highest joint that's closest to the body.
Next, chop the main body in half, into two symmetrical halves. We'll chop these halves into a few more pieces. There'll be lines running from the center of the body outwards, like a grain. Chop down following those grain lines to cut each half into 4 pieces that are more manageable sizes to eat.
We'll also cut off the tips of each leg. They're dangerously sharp, so we don't want to serve them. Cut the tips off with kitchen shears or with a quick chop of your knife. Then, lay the leg down on the cutting board with the flat sides of it upright, so you can smash down onto its "calves" with the back or side of your knife. This breaks up the shell so that it's much easier to open up and eat later.
Take each claw of the crab and cut through the soft joints to make two smaller pieces. Then, smash the shell a bit with your knife.
Finally, we'll take care of the shell. Remove the crab's stomach by pressing down on it from near the eyes, then pulling it completely out. This, and the liquid that comes from around it, is bitter, so make sure to discard it. Then, use the heel of your knife, where you have most control of its movement, to chop away the edges of the shell. You'll see some yellow crab roe as you chop the edges off; that's delicious, so keep the roe.
The crab is now chopped up. Congratulations! Next, we'll put a light coat of cornstarch on these pieces so they'll be extra aromatic when we fry them, and to make a bit of a crust for texture and to keep the juicy flavor in.
Sprinkle cornstarch (3 tbsp) over all the body and claw pieces. You can skip the leg pieces because they're mostly enclosed in shell. Sprinkle some cornstarch into the main shell as well, to keep it from drying out.
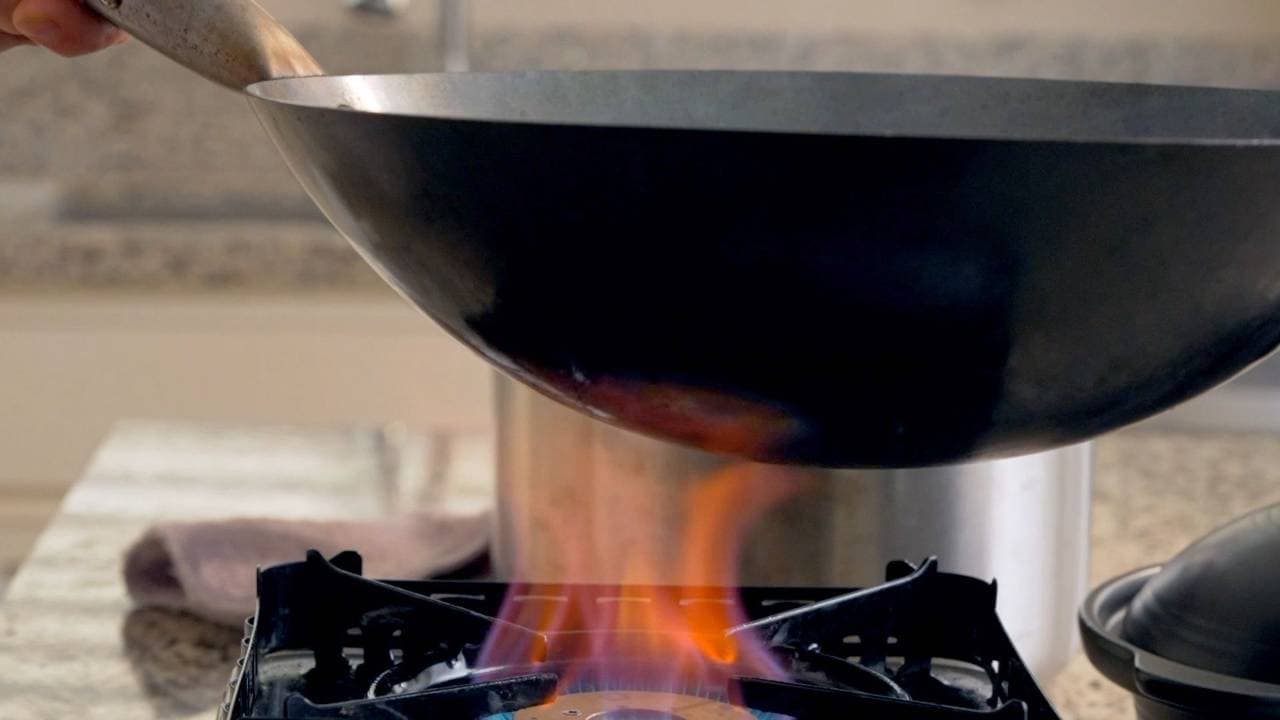
Stir-fry crab
Heat the wok on the highest setting. Once it's hot, add corn oil (4 tbsp), and swirl to coat the wok. It'll only take a few seconds for the oil to heat up, at which point, you can add the coated crab pieces in one at a time. For this initial stir-fry step, skip the legs and main shell.
The pieces need to be added individually in order for each piece to have contact with the heat and oil; if you were deep-frying in a larger amount of oil, you could consider dumping everyone in at once.
Tilt the wok around so that the oil can swirl to meet all the different pieces. After a minute of cooking, lower the heat. The bottom of the pieces should be golden brown, so flip them in order to start cooking the other sides.
Turn the heat back up to get the fry going. Cook for another minute, then take out the crab. It'll basically be cooked through at this point; seafood in general cooks very quickly!
Pour the oil out into a bowl. You'll be taking some to reuse in the next step.
Stir-fry everything
Set the heat to high, then add in oil (1 tbsp), reserved from the previous step. Add the garlic, ginger, and the white parts of the green onions, and fry until fragrant, or about 20 seconds.
Add the crab legs and stir-fry with the aromatics for 30-40 seconds.
Add all of the pre-fried crab pieces. Then, add cooking wine (1 tbsp). Add water (1 cup) and the sauce that you mixed earlier. Add the crab shell and put a lid on the wok so that everything can steam and cook together.
While it's cooking, mix together a slurry of cornstarch (1 tsp) and water (1 tbsp) in a separate bowl. Stir until the cornstarch is completely dissolved. The slurry will keep the crab meat juicy and make sure the delicious juices are thick enough to keep coating the crab pieces as you eat them.
After 3 minutes of cooking, uncover the wok. Take the main shell out, and give everything a good stir. Set the heat to low. Give it a taste, in case it needs some adjusting. When you're happy with the flavor, add in the cornstarch slurry while gently stirring.
Add the rest of the green onions and turn off the heat. Drizzle sesame oil (1 tsp), and then take a bit more of the reserved frying oil (1 tsp) to drizzle over as a finishing oil. These final oils will give the crab a shiny gloss and a smooth texture.
Double-check the consistency of the sauce; over the last few minutes, it will likely have tightened and thickened up further. If it's too thick for your liking, you can add a bit more water. In our video, my dad added 2 tbsp of water to thin out the sauce and to get more volume of sauce.
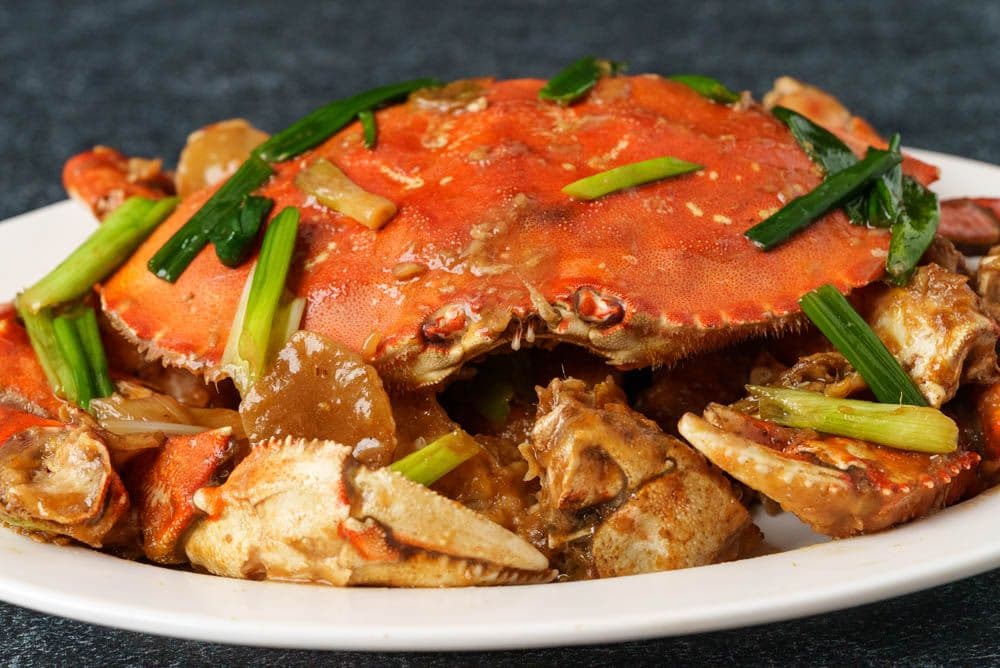
For maximum presentation points, rearrange the crab pieces into the shape and structure of the original crab as you plate them. Don't forget to sauce up the main shell. Enjoy!
Pairs well with
View all →Made with love ❤️

We started Made With Lau to celebrate Cantonese culture and honor the legacy of our wonderful parents, Jenny and Chung Sun Lau.
Our hope is that these recipes and stories help you spread the joy, love, and nostalgia that I felt growing up.