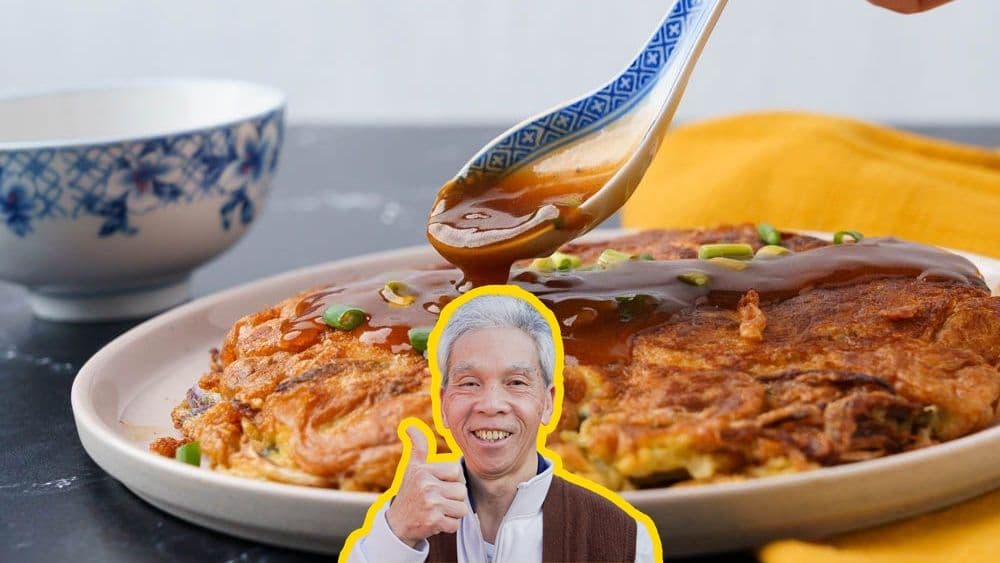
The Egg Foo Young My Dad's Made 100,000 Times
Why this recipe
Most egg foo young recipes online are tested only a handful of times. My dad used to make this dish multiple times a day, every day, for 60+ years and can make this in his sleep.
I know you'll love it as much as our community does! This recipe has over 721.6K views, 16.8K likes on YouTube.
Egg Foo Young was once a staple of all Chinese American menus. For some reason, it's been quietly fading and is less commonly found now.
But did you know about Egg Foo Young's place in Chinese American history? Specifically, it's one of the dishes that played a big role in the restaurants that Chinese immigrants opened in America back during the Gold Rush. The familiar format of an egg omelette appealed to white Americans, while exposing them to new flavors and seasonings. Can you say... gateway?
Don't let this piece of history disappear! This shallow-fried egg dish is delicious, full of complementing textures, and super easy to make at home.
Thanks From Here To Sunday!
FROM HERE TO SUNDAY began in a fake bodega within a real museum by artist Diana Ho with the simple act of sharing baked goods. This gesture is at the root of the business, which values creating an inclusive community through artful gift-giving.
Each product is lovingly made in limited quantities by talented artists – ranging from paintings, to zines, to jewelry, to baked goods, and beyond. This small business continues to evolve in different contexts, whether it is a pop-up shop or an art exhibition.
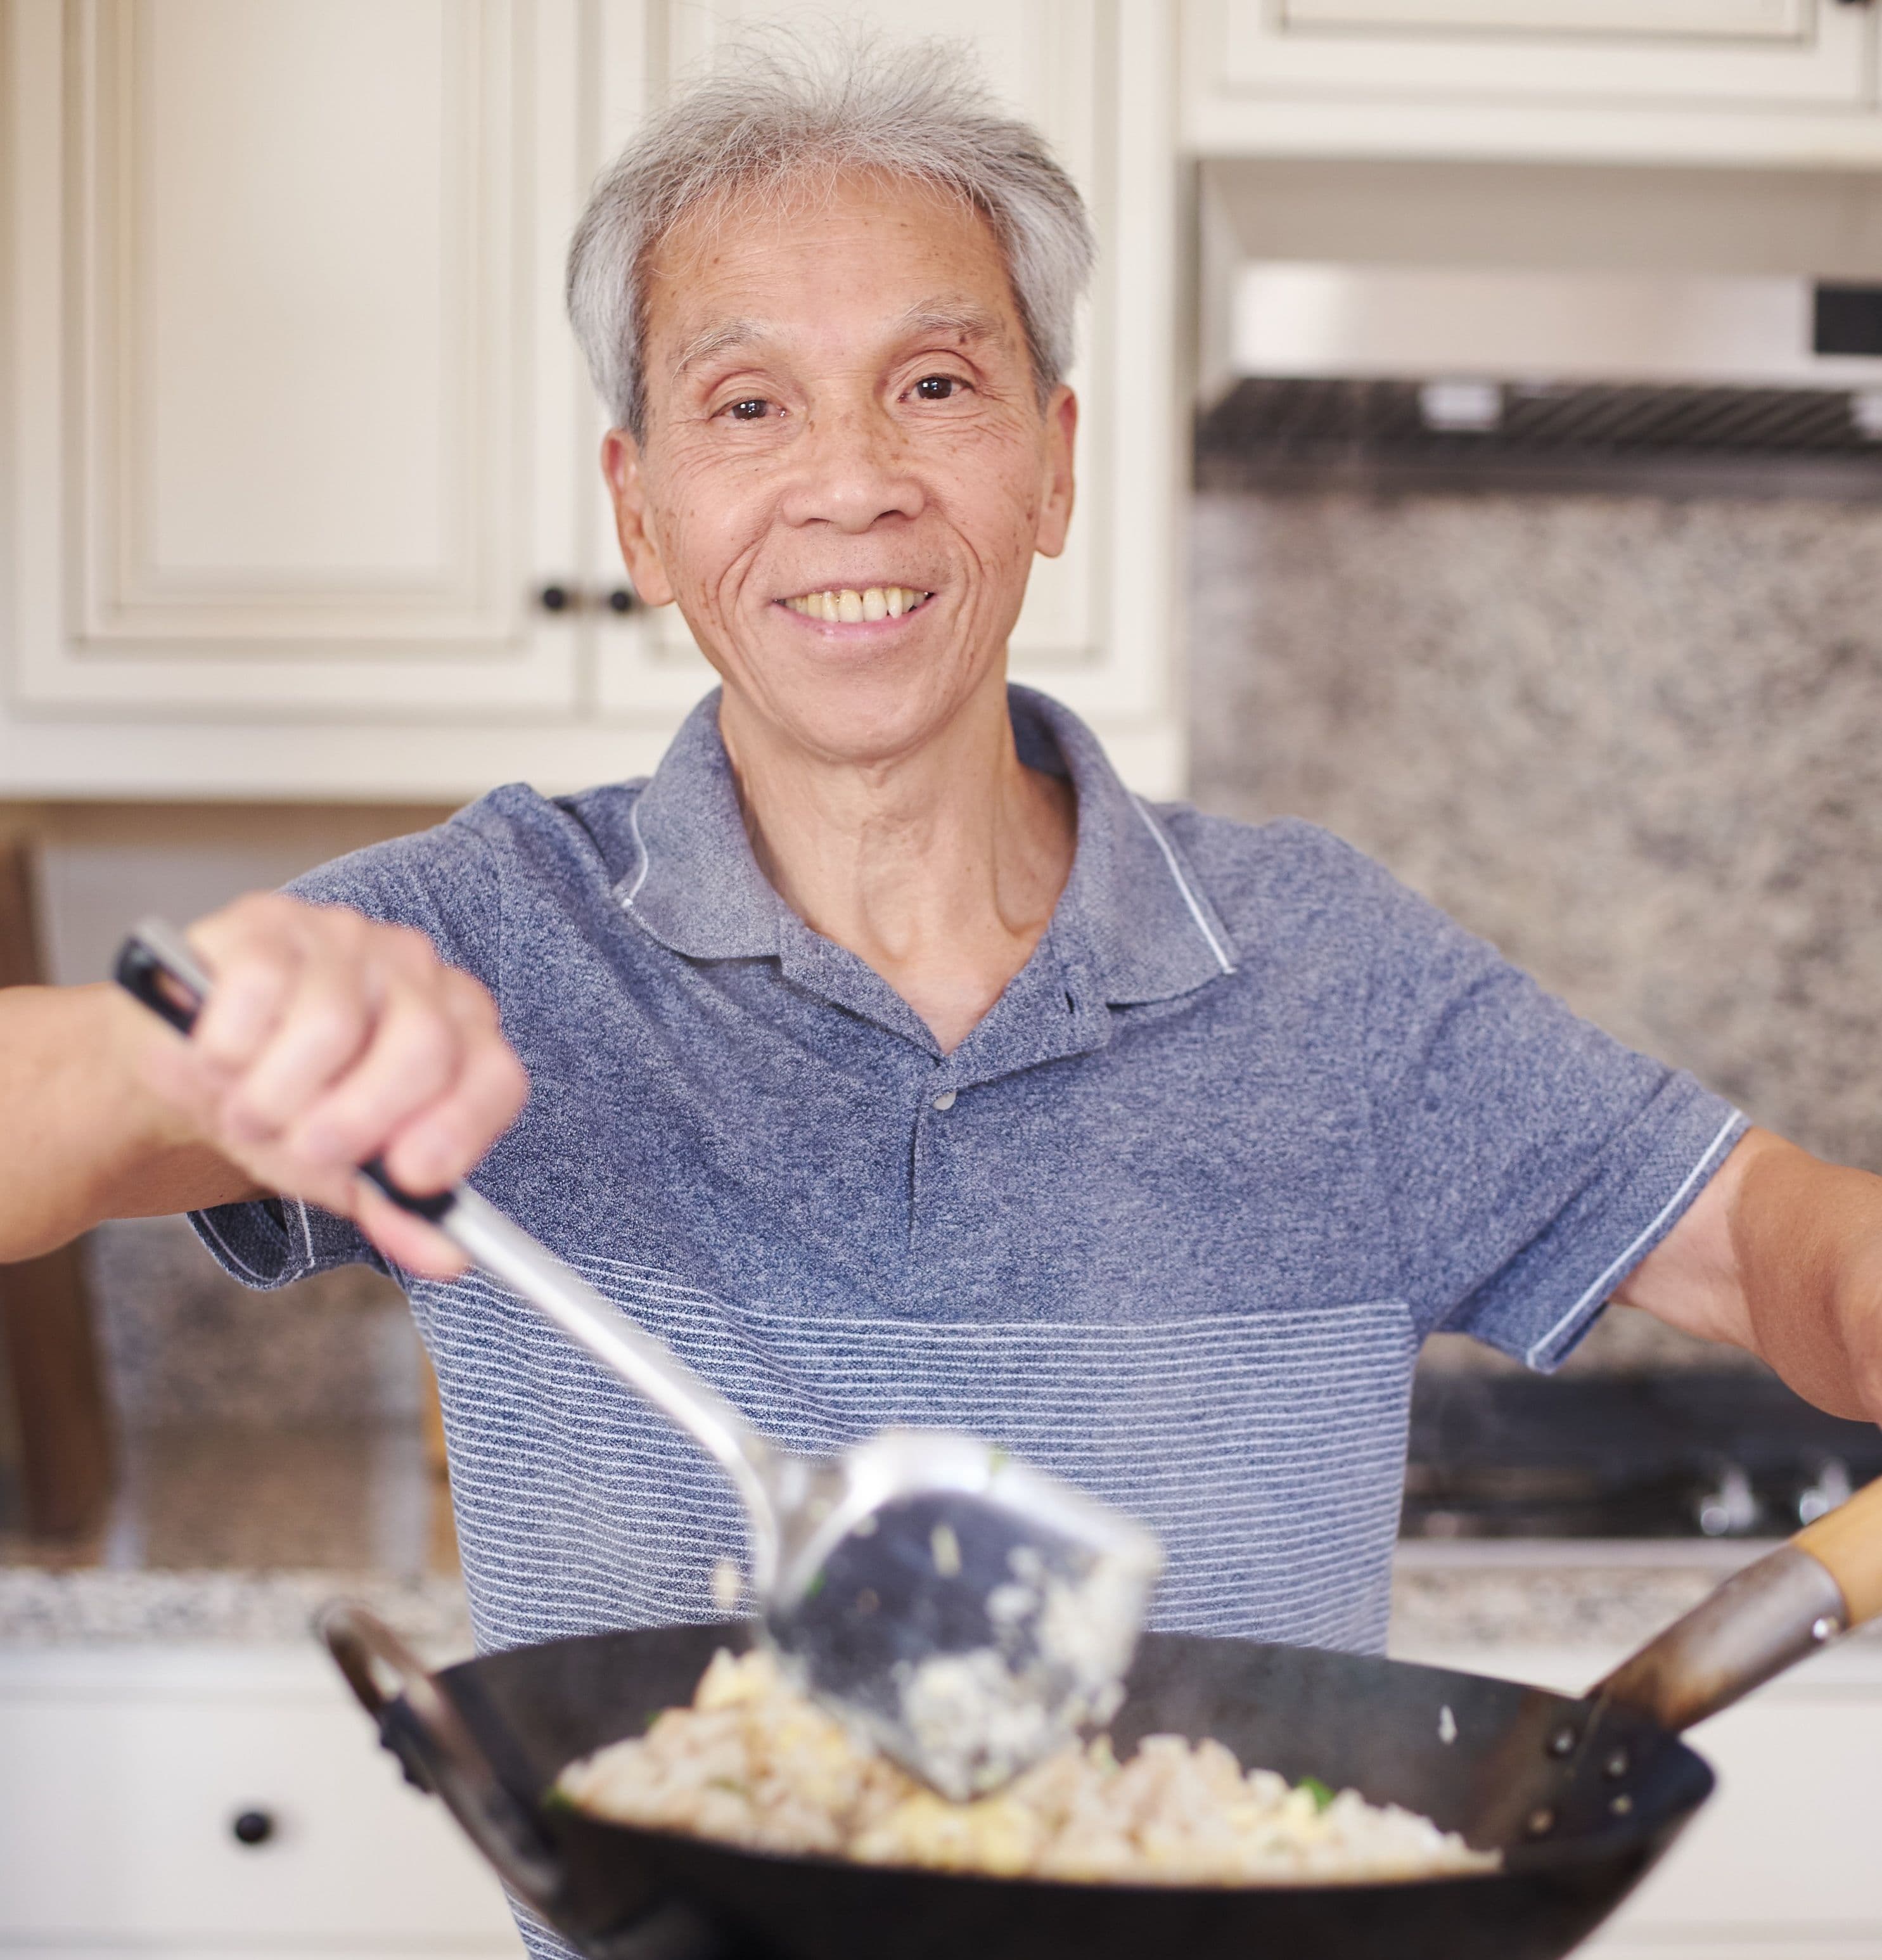
Now with a brick-and-mortar space in Brooklyn, NY, From Here to Sunday strives to utilize its platform to uplift marginalized artists through a decolonized lens. Thanks so much From Here To Sunday for partnering with us on this recipe! Go to https://www.heretosunday.com/pages/mwl and use the code MWL10 to get 10% off the shirt Randy is wearing in the recipe video!
Check out their socials here!
Instagram: https://www.instagram.com/heretosunday/
Website: https://www.heretosunday.com/
Ingredients

Instructions
Prepare shrimp
Peel the shrimp (4 oz). Start by pulling off the third segment from the tail. Then, it'll be easy to pull off the back and the tail completely. To peel the rest, hook your finger under the segment next to what you just removed, and pull the shell away. It should come off quite cleanly!
Of course, if your shrimp is pre-peeled, you can skip to de-veining.
Slice the shrimp in half lengthwise, and put into a small bowl of water to rinse off any debris and errant bits of shell. Pull off the veins as you remove the shrimp from the bowl and transfer to a plate to dry off.
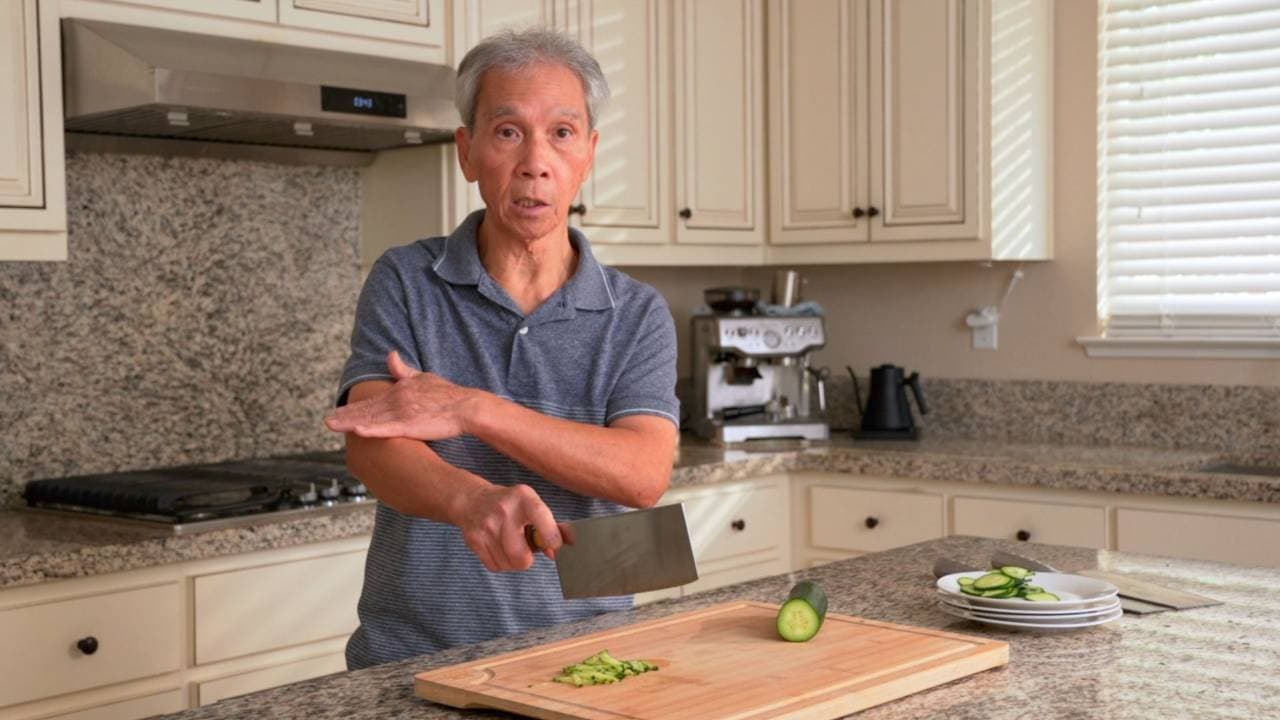
Prepare veggies
Cut the onion (2 oz) into slices, and then cut the onion slices in half so that the strips are not overly long.
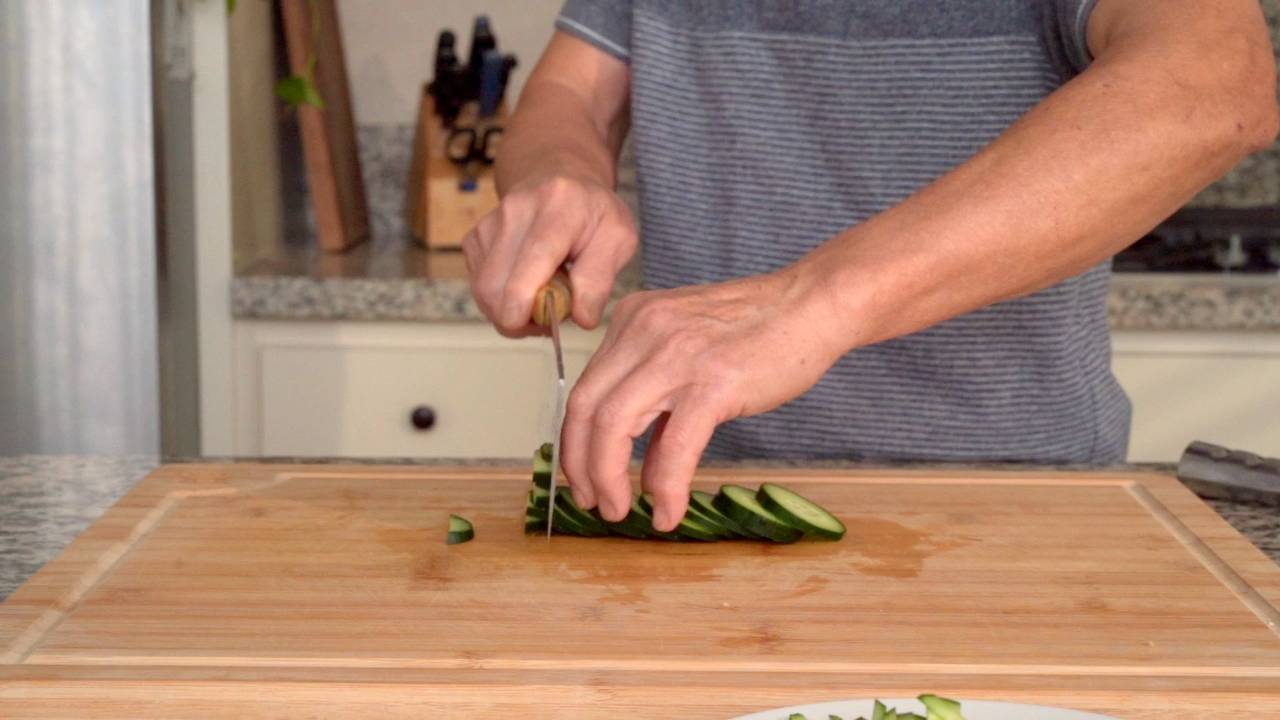
Cut the green part of the green onion (2 stalks) into short pieces, about 1 inch long. Dice the whites, and keep them separate from the greens. The greens will go into the egg mixture, and the whites will be for final garnish.
Prepare eggs
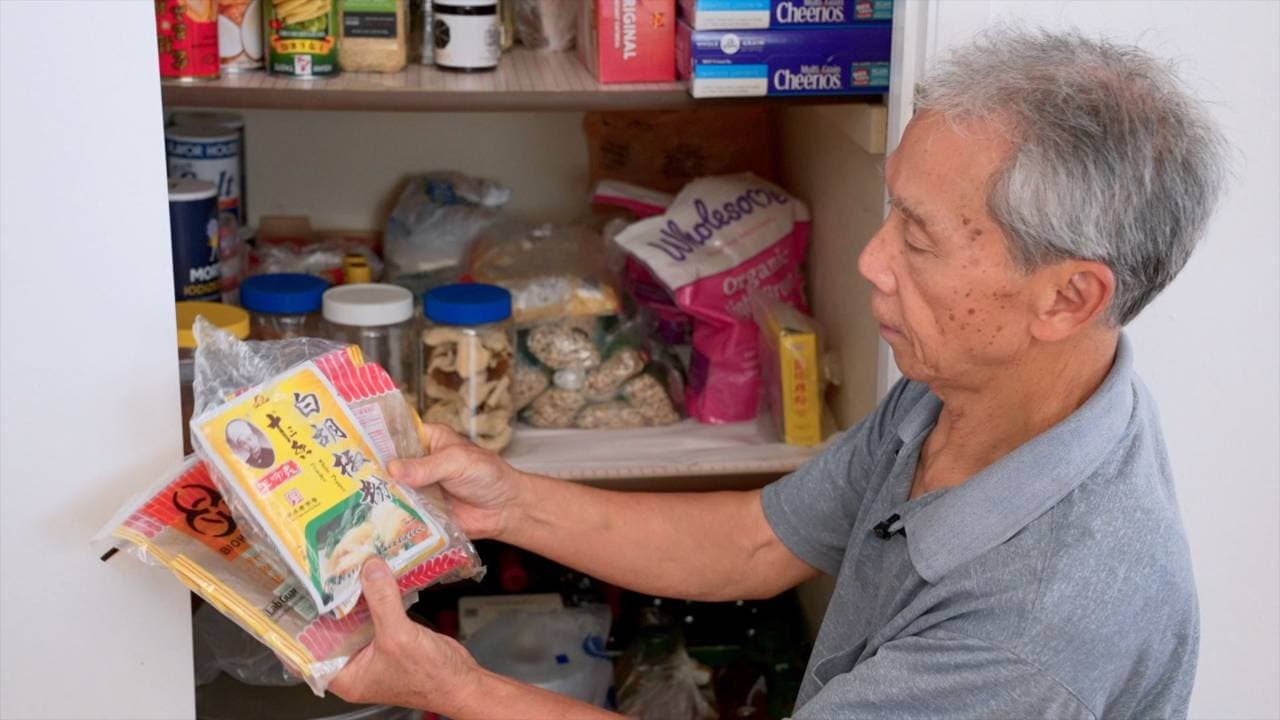
Crack the eggs into a bowl, and season with salt (0.50 tsp), white pepper (0.25 tsp), and sugar (0.50 tsp). Don't beat the eggs yet; save that for right before they're ready to go into the wok.
Sugar is our secret ingredient for fluffy fluffy eggs! Don't worry, it's not enough to make the eggs taste sweet.
Create sauce & slurry
In a small bowl, mix together oyster sauce (1 tbsp), light soy sauce (1 tbsp), dark soy sauce (1 tsp), sugar (1 tsp), white pepper (0.25 tsp), water (4 oz), and cornstarch (2 tsp). Stir well to dissolve clumps now to avoid texture problems later.
Separately, mix together cornstarch (1 tbsp) and water (1 tbsp) to create a thickening slurry. This slurry will go into the egg mixture and give the omelette a lot of additional structure.
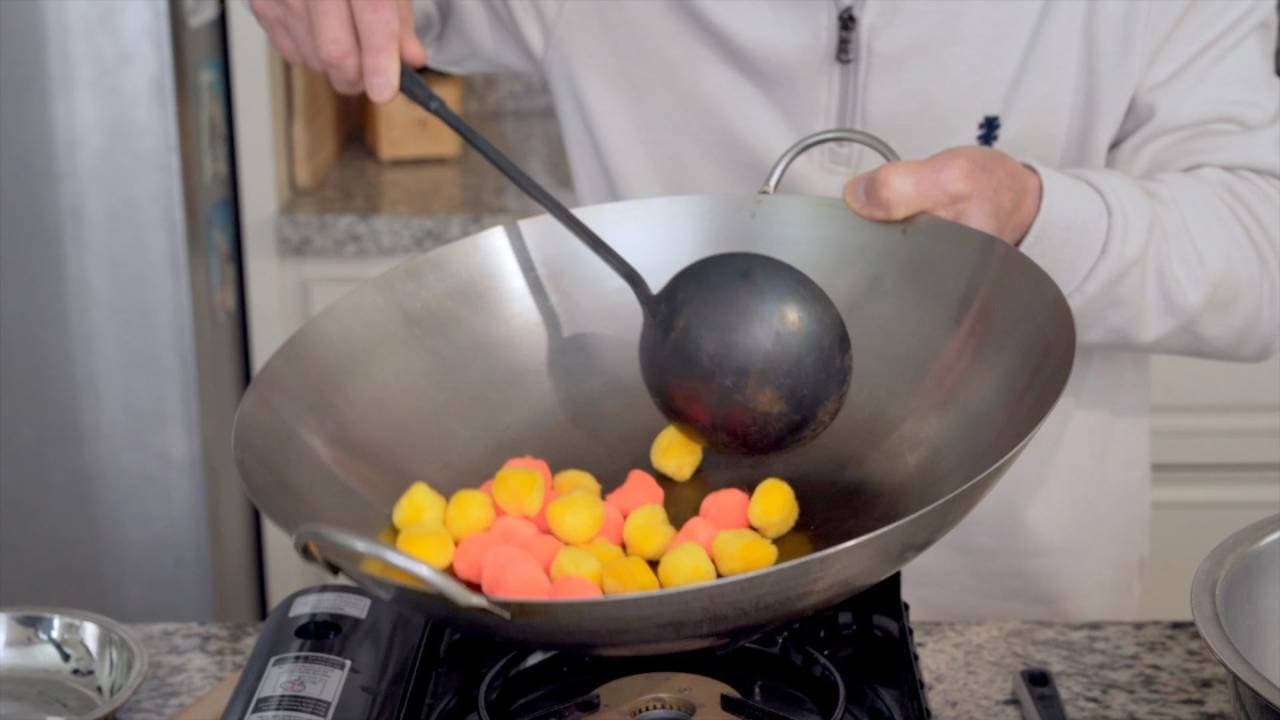
Blanch ingredients
Turn the heat on to high, and add boiling or hot water (2 cup) to the pot. Once it comes to a boil, add the shrimp and boil for a quick 15-20 seconds. This is enough to cook them about 90% through. Remove the shrimp and set them aside.
Add the bean sprouts (5 oz).
Wait 10 seconds, then add the onions.
Cook them for 30-40 more seconds, then drain the vegetables into a strainer or colander.
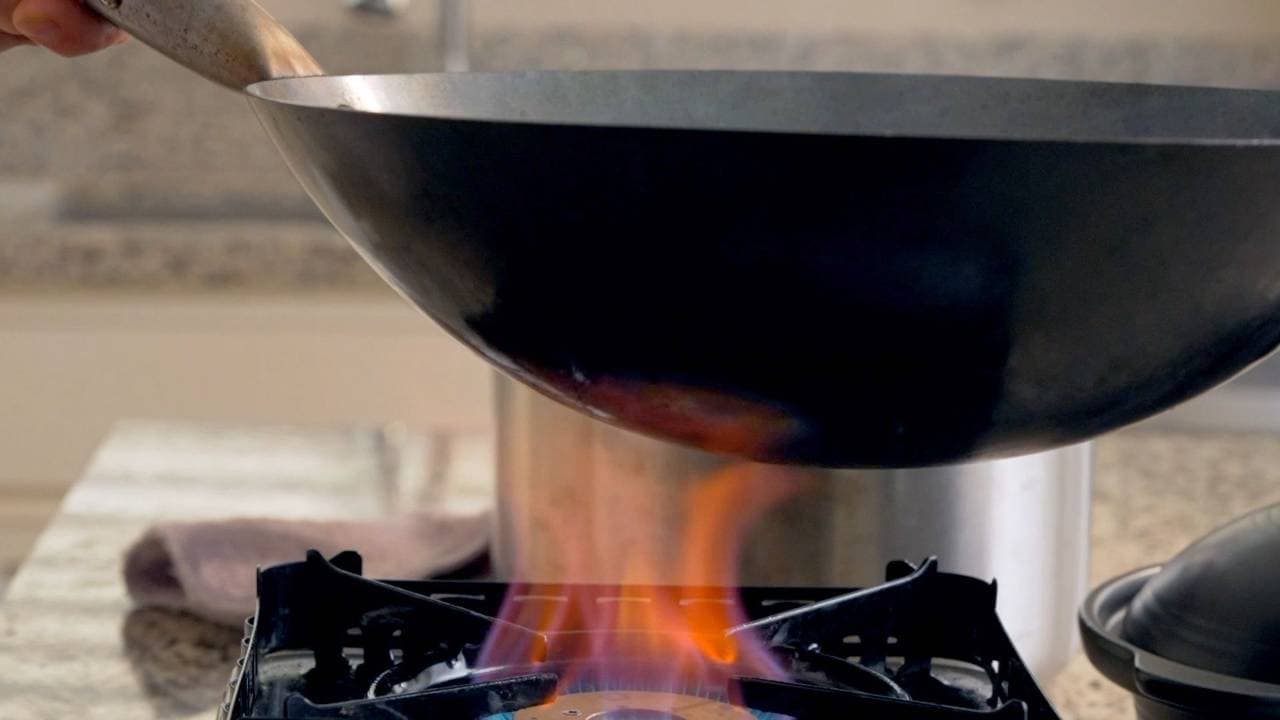
Heat wok & prep egg mixture
Heat the wok on high. While it heats up, beat the seasoned eggs. Add the cornstarch slurry and whip it into the eggs. Add oil (2 tbsp) into the wok and give it a quick swirl to coat. Don't skimp on the oil! In fact, feel free to add a bit more if you think it'll help.
As Daddy Lau says, this omelette is half pan-fried, half deep-fried; so basically, shallow-fried. It's how you get fragrant, golden brown eggs that won't stick to your wok as you cook.
While the oil heats up, add the blanched shrimp and vegetables into the eggs and mix well. Daddy Lau gets in there with his hands to make sure they're incorporated evenly.
Pan-fry omelette
Once the egg mixture is ready, pour it straight into the wok. You can gently move the ingredients around so it’s evenly spread out on top, but be careful not to move it too much, as we want the bottom to fry into a beautiful layer of golden brown crust. Letting the bottom fry peacefully, undisturbed, is the best way to prevent stickage.
Let the egg mixture continue frying on high heat for about a minute, at which point the bottom should be golden brown. Then, turn the heat to low. You can carefully rotate (not flip) the egg, which should be a fairly solid piece by now, for even cooking.
After about a minute of pan-frying on low, it should be ready to flip. To flip, push your spatula under the omelette so that it's supporting most of the omelette's weight. Pull it to the side of the wok to create a broader landing spot, and decisively flip it!
Nudge it into place and poke any straggling bits back into the omelette.
Pan-fry on this side for about 3-4 minutes. Again, it's fairly solid and won't need meticulous tending, but you can rotate it every now and then to make sure it cooks evenly, and to make sure it's not sticking. You can also slide it around. Check the bottom occasionally to see if it's turned golden brown yet.
Flip once more when the color looks good, and cook for another 30-40 seconds.
Turn off the heat and plate the omelette.
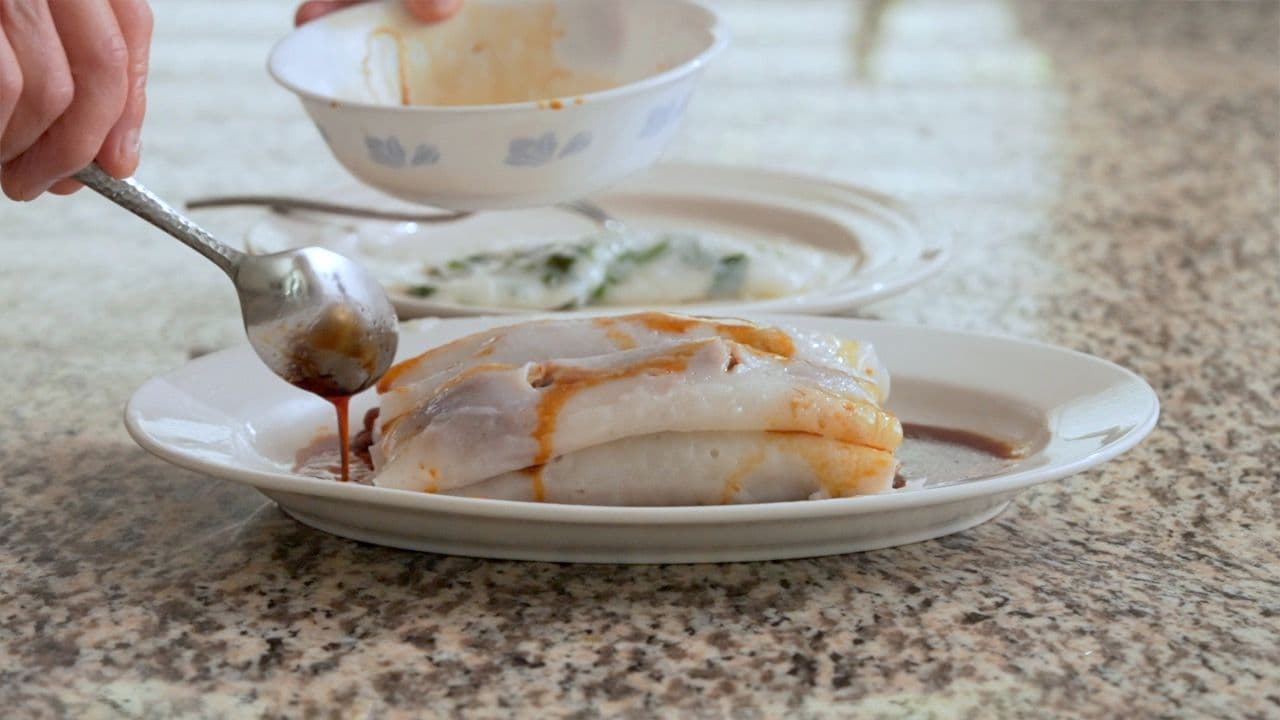
Cook sauce
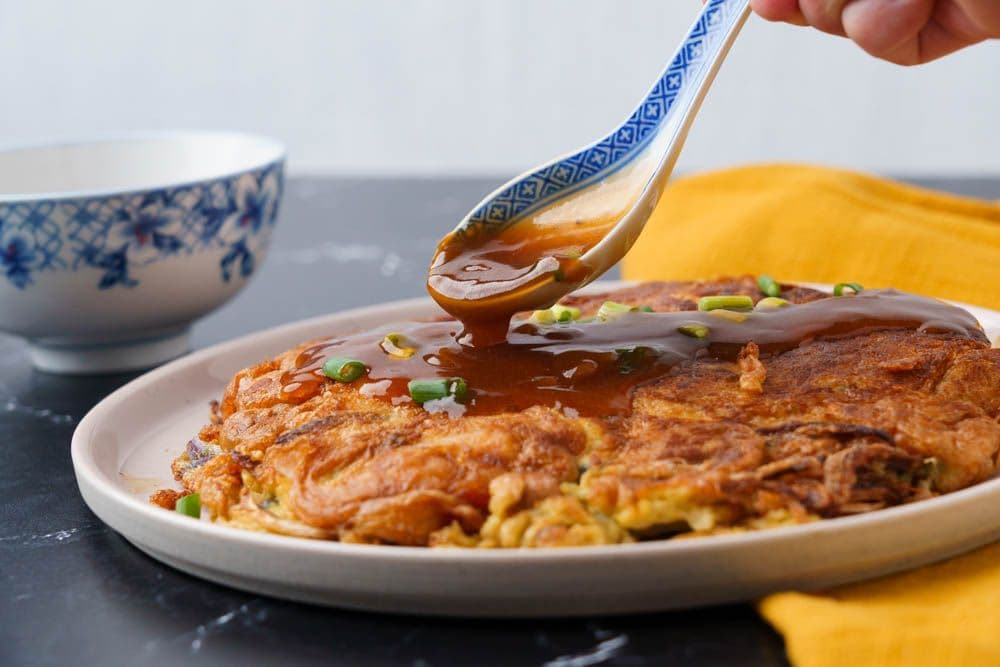
Pour the sauce into the still-hot wok. Then, turn the heat on to low and continuously stir to avoid lumps. Our family prefers a thinner gravy, so we add water (1 tbsp). You can add however much water you like according to your own preferences.
Once you're happy with the consistency, add sesame oil (1 dash), turn off the heat, and pour the sauce out into a bowl. You can sprinkle the diced green onion whites on the gravy, or the omelette, or both. Enjoy!
Pairs well with
View all →Made with love ❤️
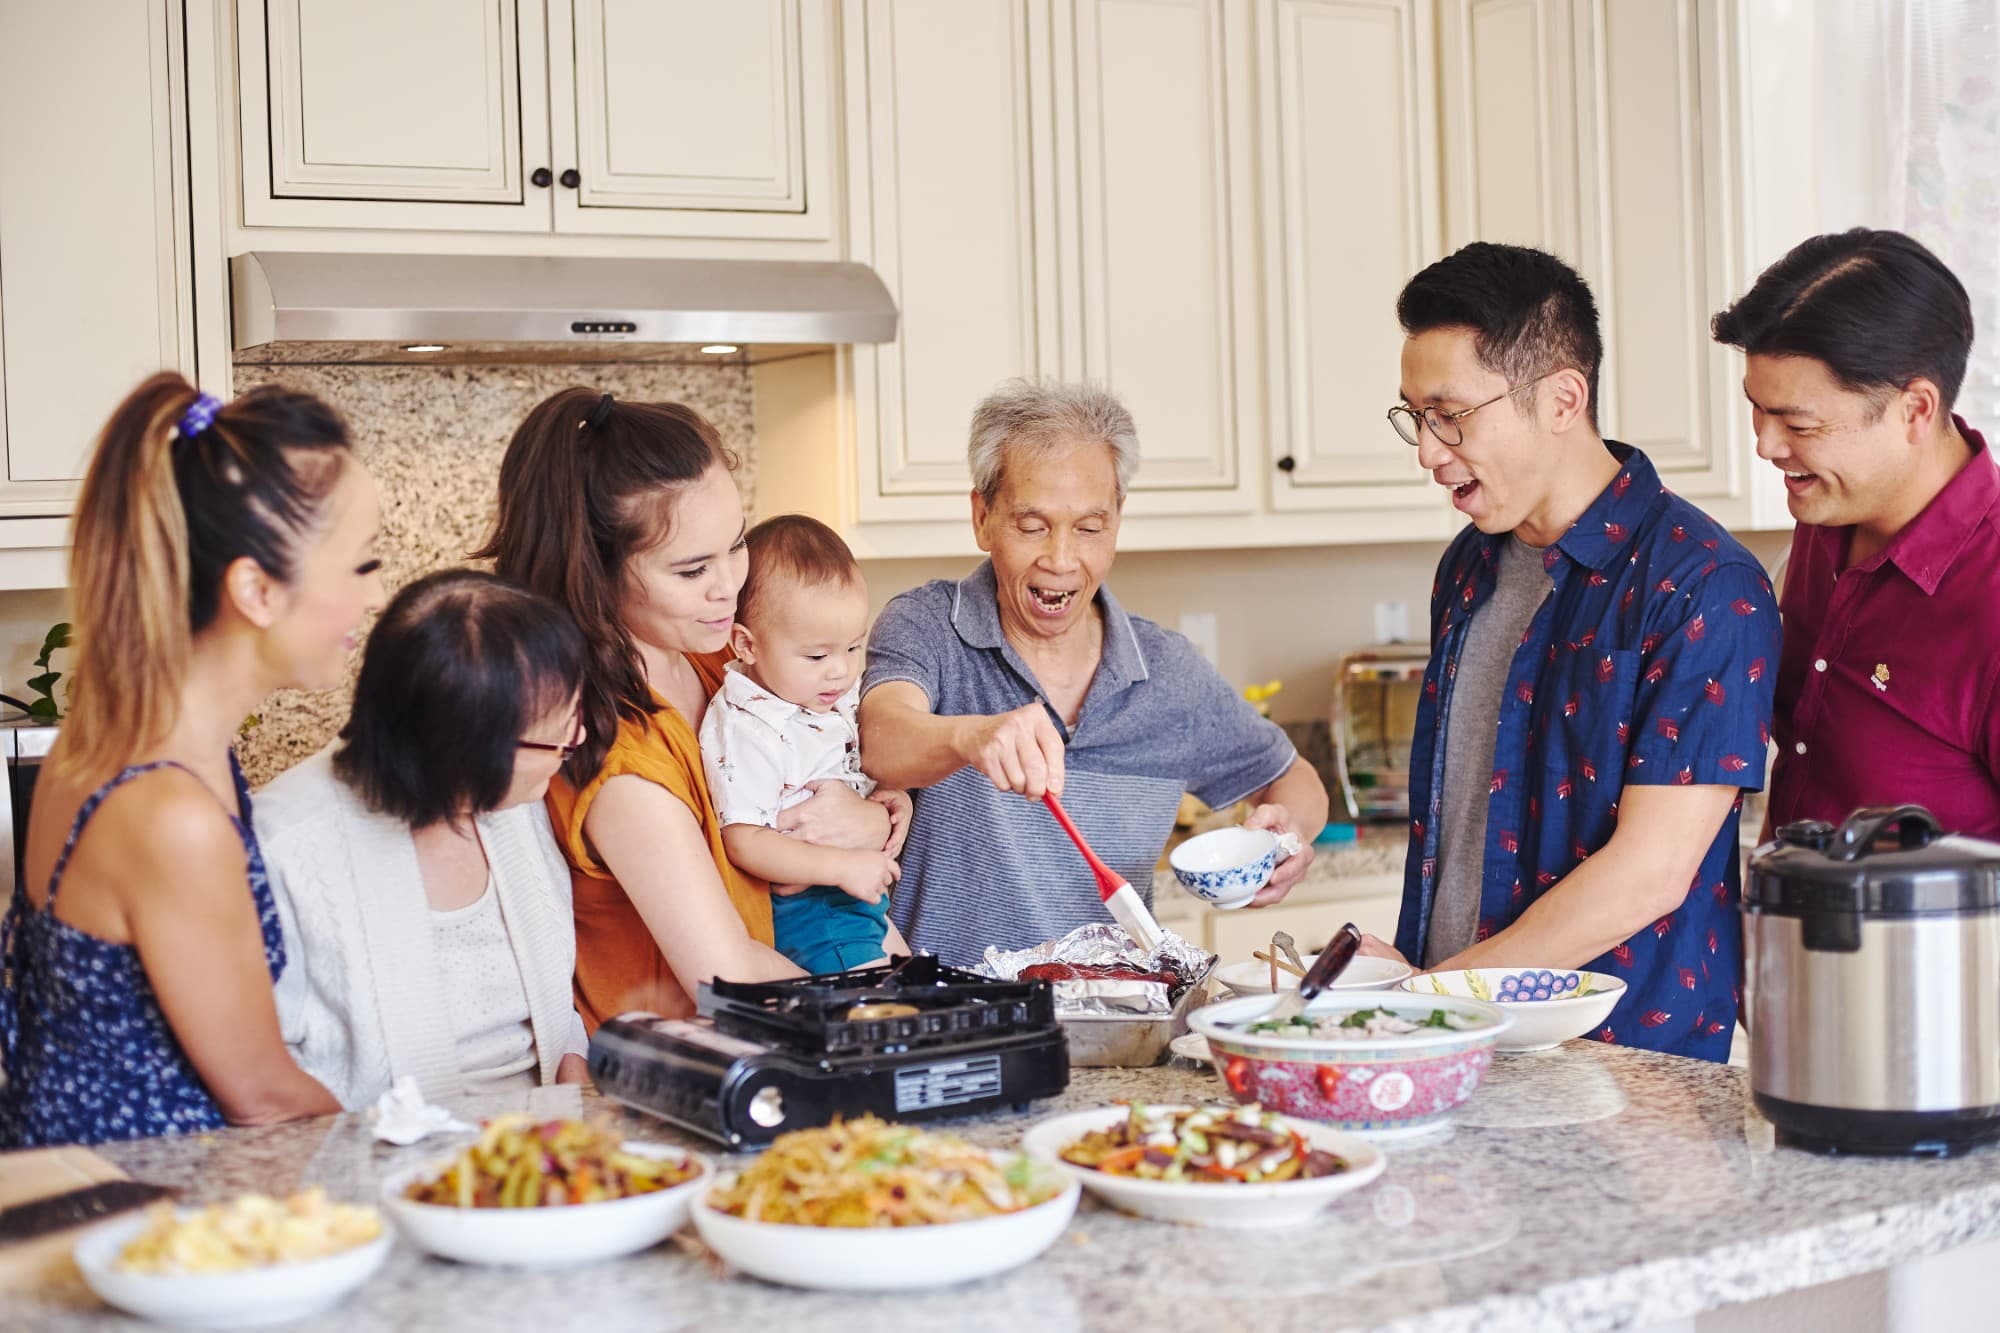
We started Made With Lau to celebrate Cantonese culture and honor the legacy of our wonderful parents, Jenny and Chung Sun Lau.
Our hope is that these recipes and stories help you spread the joy, love, and nostalgia that I felt growing up.