The Chinese Stuffed Peppers My Dad's Made 100,000 Times
Why this recipe
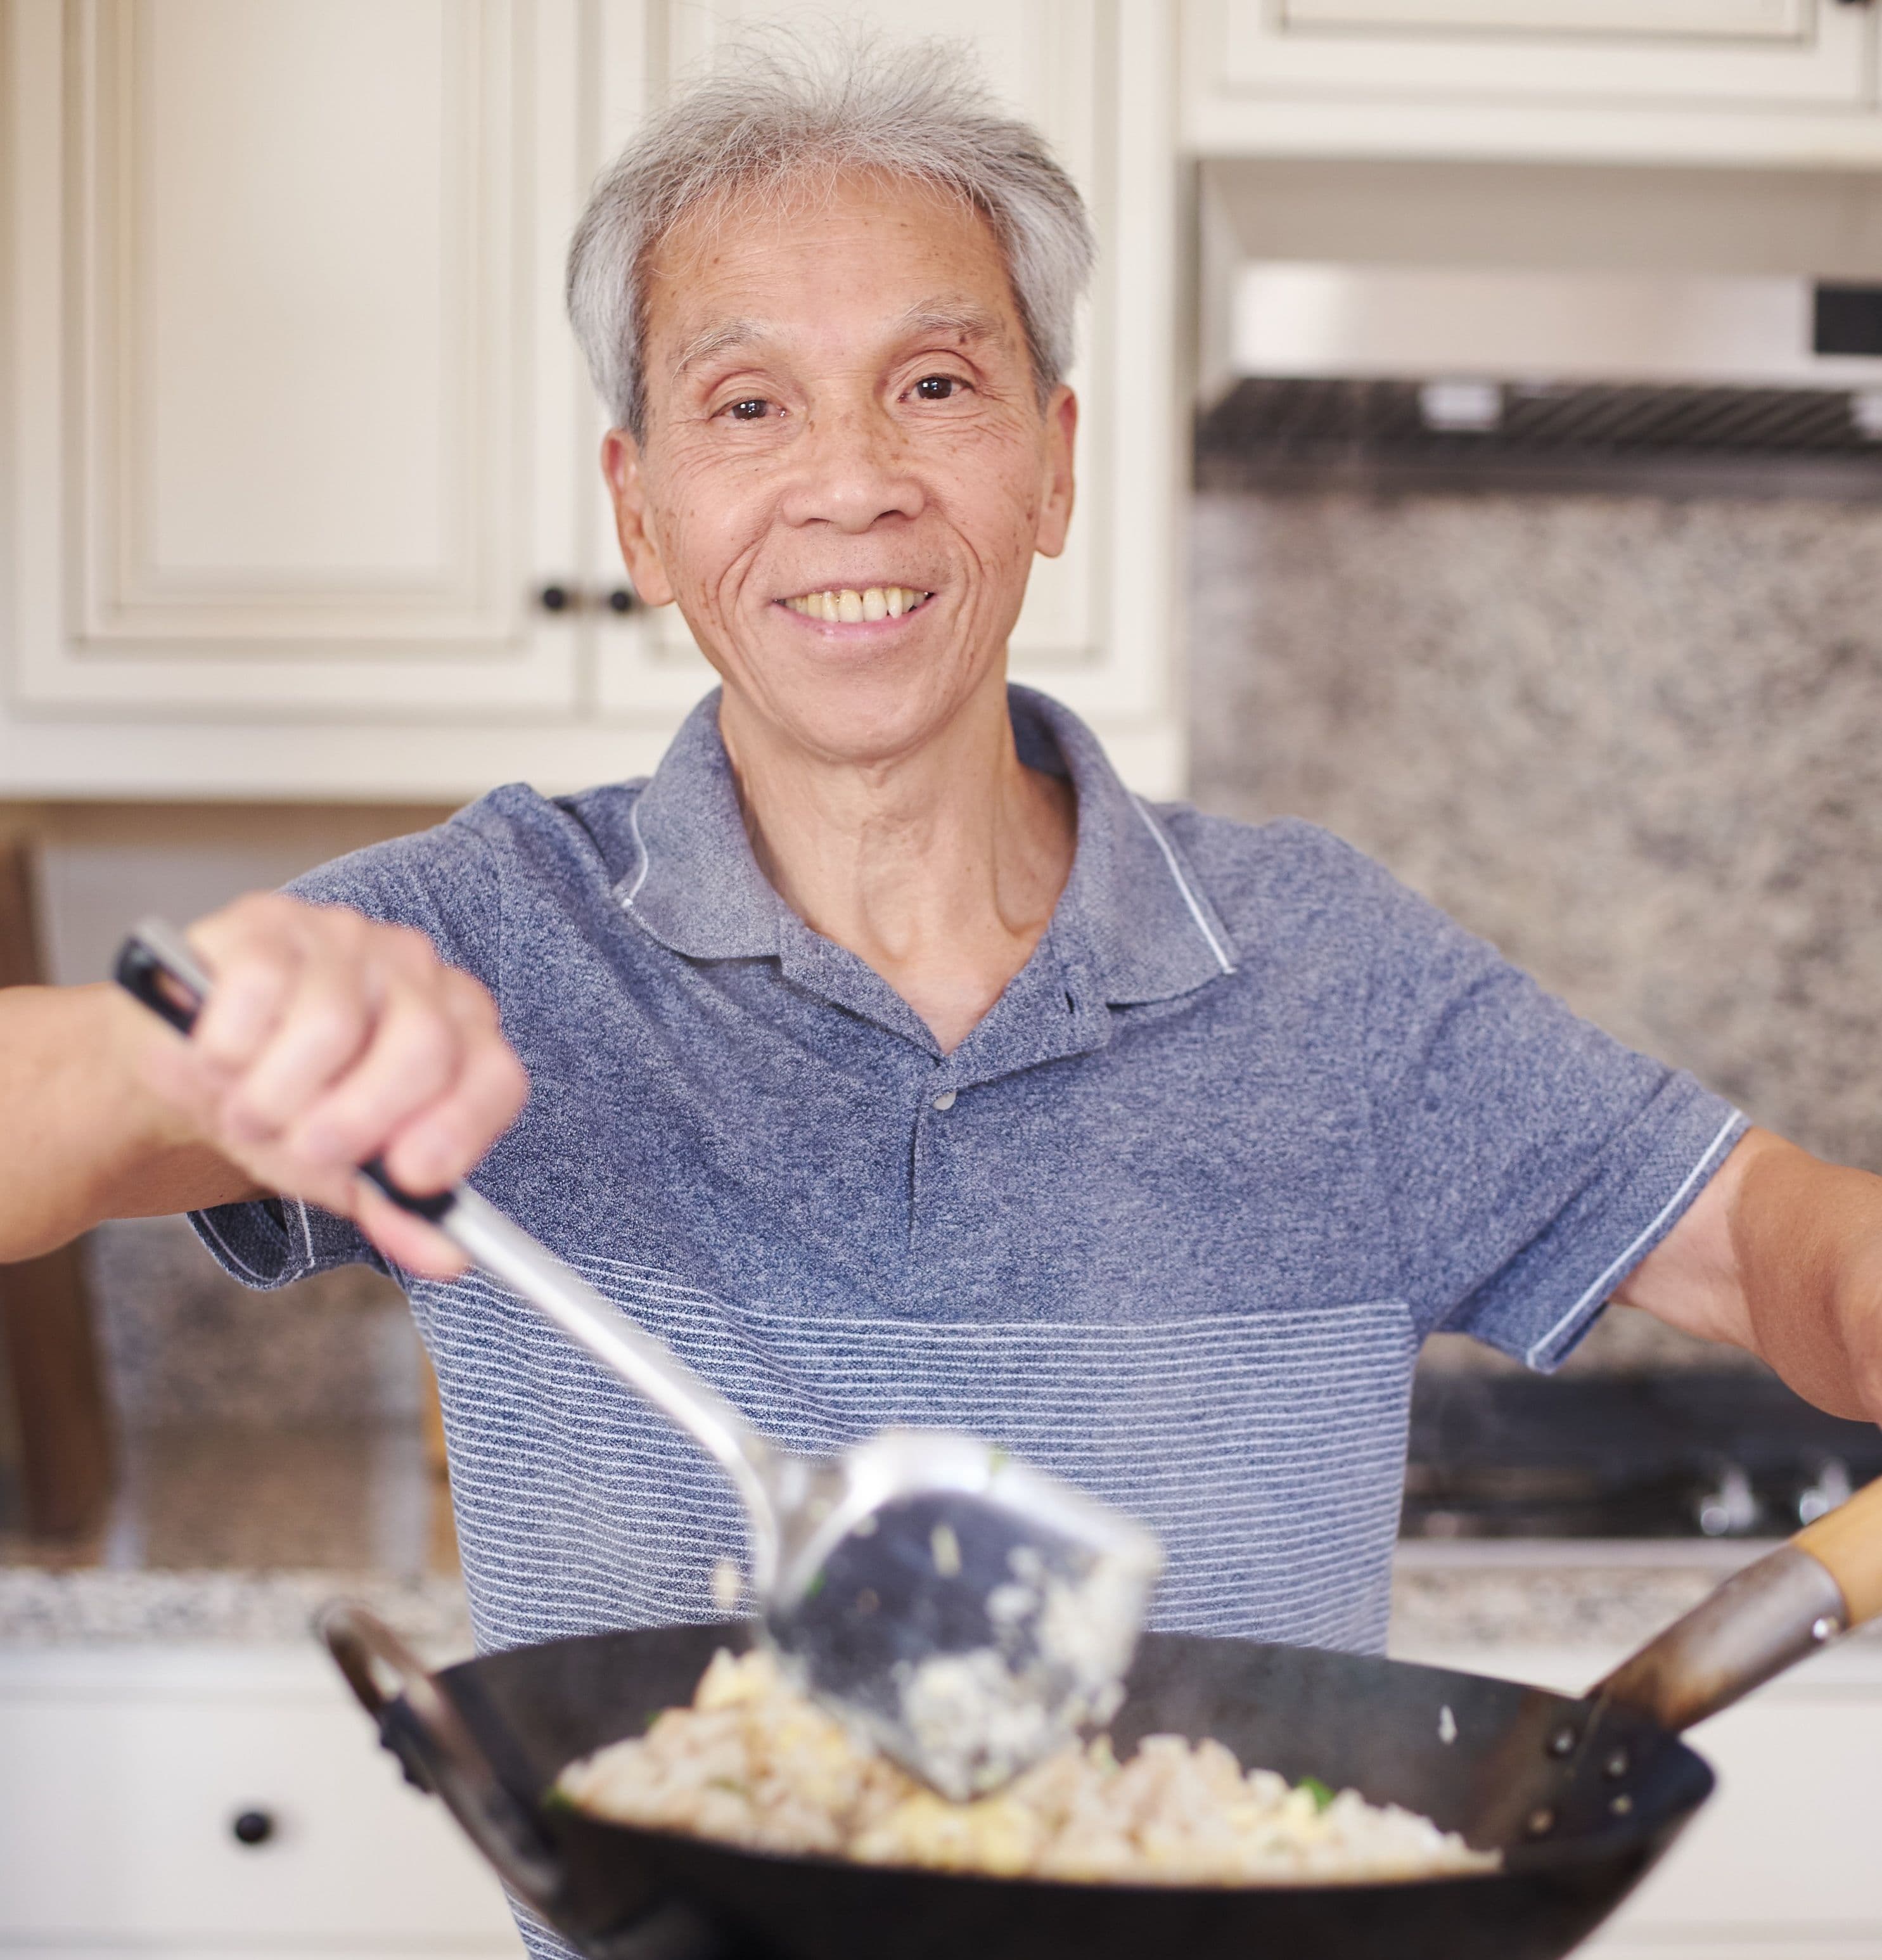
Most chinese stuffed peppers recipes online are tested only a handful of times. My dad used to make this dish multiple times a day, every day, for 60+ years and can make this in his sleep.
I know you'll love it as much as our community does! This recipe has over 263.4K views, 5.4K likes on YouTube.
This dish is one of Mommy Lau's favorites!
In Cantonese cuisine, these stuffed peppers are a traditional snack or side dish. Families love to order this at dim sum, or create their own perfect stuffed pepper at home. The filling is usually a shrimp and pork belly paste, but there are endless combinations. We prefer the lightness of shrimp and fish.
Our recipe produces beautiful stuffed peppers in the classic Lau family style: texturally satisfying, mild to no heat, and oh so comforting!
Ingredients

Instructions
Prepare filling
The filling is a paste that's made of shrimp and fish, and while you can sometimes buy this at a Chinese seafood counter, it's good to know how to make it from scratch!
Start by cleaning and peeling the shrimp (10 oz). To peel the shell off, twist and wiggle the tail off. Then, hook a finger under the remaining shell and pull it straight off. If the shrimp is not de-veined already, slide a toothpick or tip of a knife under the dark vein and pull it out.
Give the shrimp a quick wash with clean water to rinse off any debris and shell bits. Squeeze all the water out, and then set it aside.
Prepare the fish fillet (10 oz) by patting it dry with a paper towel. Then, lay it down on your chopping board and cut it into thin slices. Once the fish is all chopped into thin slices, you're going to start smashing it. It's best to use the broadest knife you have for this, the closest thing you have to a cleaver.
Grip your cleaver high on the handle, extend your index finger out to push down on the blade, and turn the cleaver horizontally. Carefully smash the fish slices down into the cutting board. You won't need a lot of sudden, dramatic force, as the fish is delicate and will succumb easily to smashing.
The smashed fish slices should begin to form a paste, and as you go through the fish, gather it back up into new piles to smash again. It should get stickier and more paste-like with the second pass.
Then, return to a normal knife-holding position and give the fish paste a thorough chop. This will severe any remaining long strands of connective tissue and ensure that the fish paste is nice and soft.
Next, start making the shrimp paste. There's no need to slice it first, so proceed directly to smashing. After smashing the shrimp, then chop it thoroughly. Gather the forming shrimp paste together and smash it further to get the paste even finer and stickier.
Next, mix the fish and shrimp pastes together. Fold them together, then give this mixed paste another thorough smashing.
Marinate filling
Now that we have the shrimp and fish paste, we can finally marinate it. Add salt (1 tsp), sugar (1 tsp), white pepper (0.50 tsp), cornstarch (2 tbsp), and water (2 tbsp) to a bowl. Mix it up and pour it over the shrimp and fish paste.
Mix it very, very thoroughly until the paste has absorbed the marinade and become a sticky paste. The more you mix it, the bouncier and chewier your paste will be when you cook it! Add sesame oil (1 tbsp) and mix it in well.
Put the shrimp and fish paste into the refrigerator to chill while you prepare the peppers in the next step.
Cut peppers
Cut the red bell pepper (1 whole) and green bell pepper (1 whole) open and remove the core and seeds.
Before you proceed with cutting, remember that you'll have to fill them with soft, bouncy shrimp and fish paste. Make sure that they're large and curved enough to hold a satisfying amount of filling, and that they're approximately the same size so that it'll take the same amount of time to cook them all through.
Cut each pepper into large wedges, and then in half to end up with large, curved pieces.
To give you an idea of how many pieces each pepper yields, my dad got 8 pieces from each bell pepper and a few pieces of discards that he saved to cook with other dishes. If you have smaller bell peppers, cut fewer pieces. If you're using long peppers, halving them may be sufficient.
Place all of the pepper pieces on a plate such that the insides face up and the curved sides create a bunch of little cups. Sprinkle a little bit of cornstarch over each piece of pepper. The cornstarch will help absorb some of the moisture and help the paste adhere to the pepper.
Fill pepper
Grab the filling from the fridge.
(To keep the filling from sticking to your spoon as you scoop it out, you can lubricate your spoon with a bit of oil!)
Scoop a generous amount of filling onto each piece of bell pepper, making sure to press down on the paste so that it sticks on. Repeat with all the pieces, or until you've used up all your filling.
My dad uses a tbsp of filling for each piece of bell pepper, but of course, the best amount depends on your pepper pieces and your personal preference.
Prepare sauce
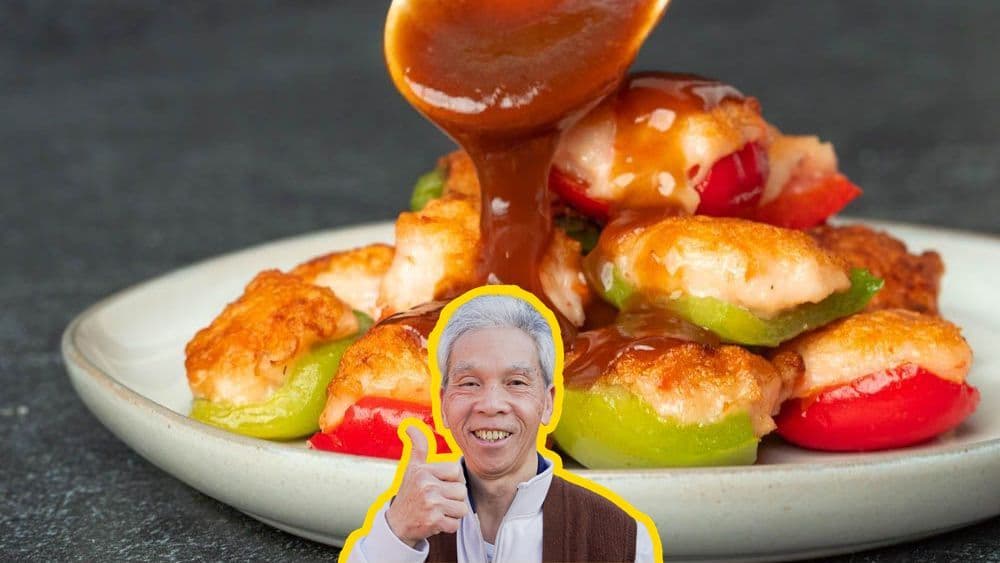
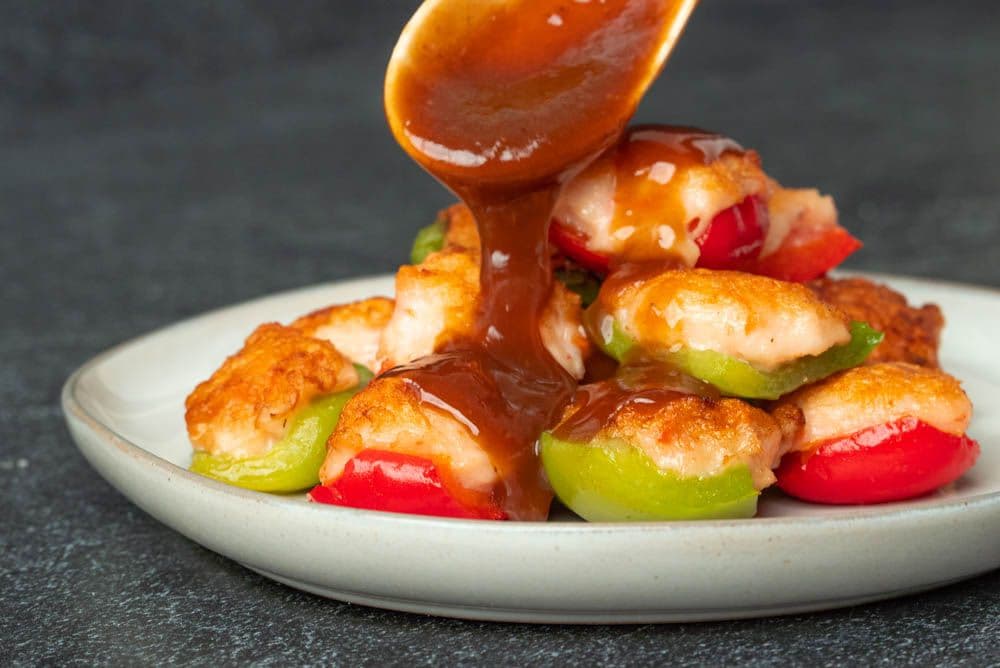
In a separate bowl, stir together black bean paste (1 tbsp), oyster sauce (1 tbsp), light soy sauce (1 tsp), sugar (1 tbsp), cornstarch (1 tbsp), and water (4 tbsp). This will become a smooth black bean sauce that you'll drizzle over (or drown, up to you) your finished peppers.
Adjust the color with more dark soy sauce if you like.
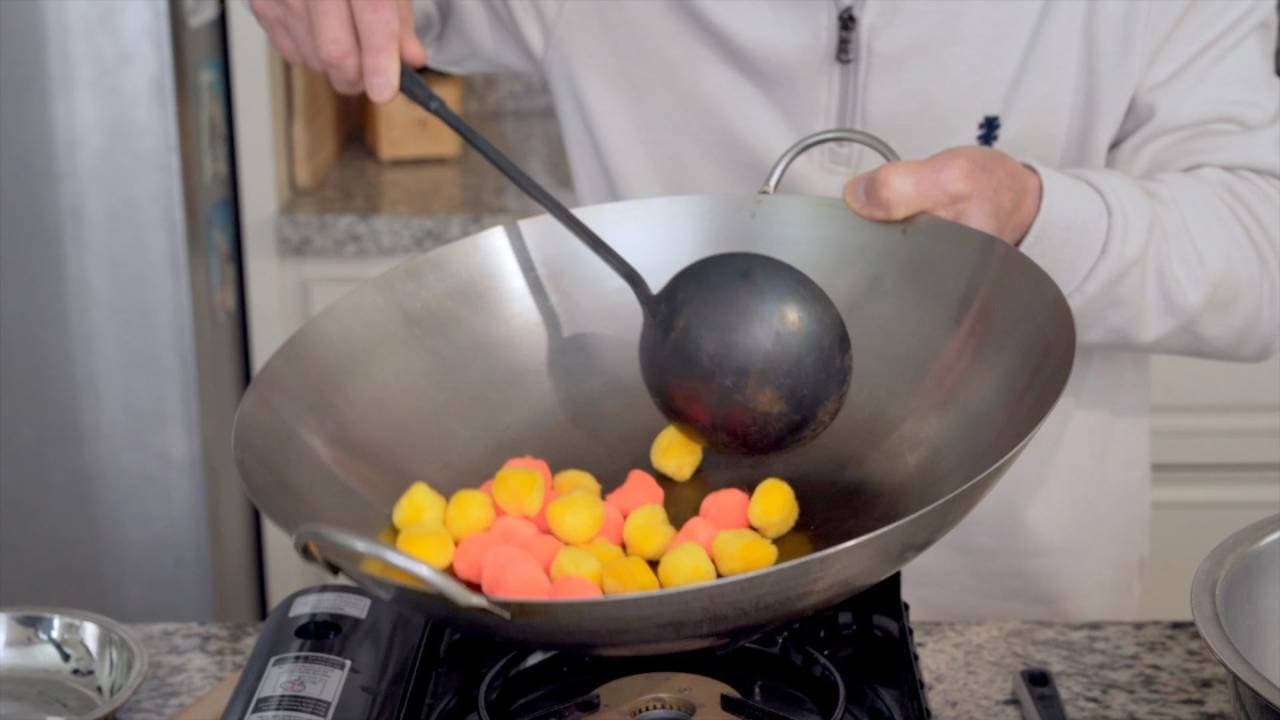
Pan-fry peppers
Grab your favorite flat-bottomed pan. A non-stick pan is really going to help you out here!
Turn the stove to the highest heat. Once the pan is hot, lower the heat and add oil (2 tbsp).
Carefully place the stuffed peppers, filling side down, into the pan. Once they're all in, turn the heat up to medium and cover the pan with a lid. Let it cook for 2-3 minutes, so the filling can cook through and firm up. You can occasionally wiggle the pan so make sure the peppers are not sticking.
After 2-3 minutes of cooking, take the lid off and check for color. Once the filling has crisped into a beautiful golden brown color, you can turn the heat down to low and start to gently flip them over.
Once you've flipped all of the pieces, put the lid back on and cook for another minute. Then, quickly splash in some cooking wine (1 tbsp) to enhance the flavor. Cover, turn the stove off, and keep cooking with the residual heat for another minute.
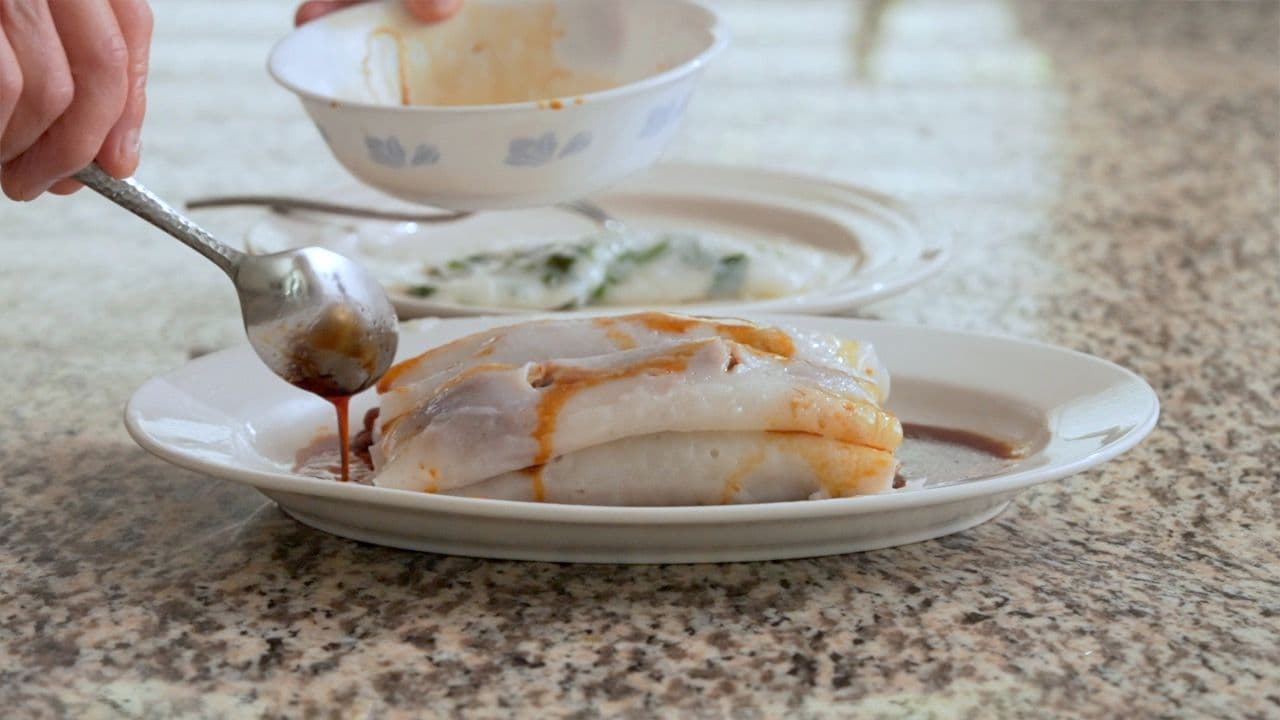
Then, remove the lid and plate.
Cook sauce
There's no need to wash the pan; it's fine to cook the sauce in the residual oil.
Pour in the sauce you mixed earlier and turn the heat to high. As it's cooking, gently stir it to prevent lumps from forming. Once it comes to a boil, turn the heat off.
As it cools, you'll see it thicken even more. If it's too thick, feel free to dilute it with a few tbsp of water.
You can serve this sauce on the side, or pour it directly onto the stuffed peppers. Enjoy!
Pairs well with
View all →Made with love ❤️
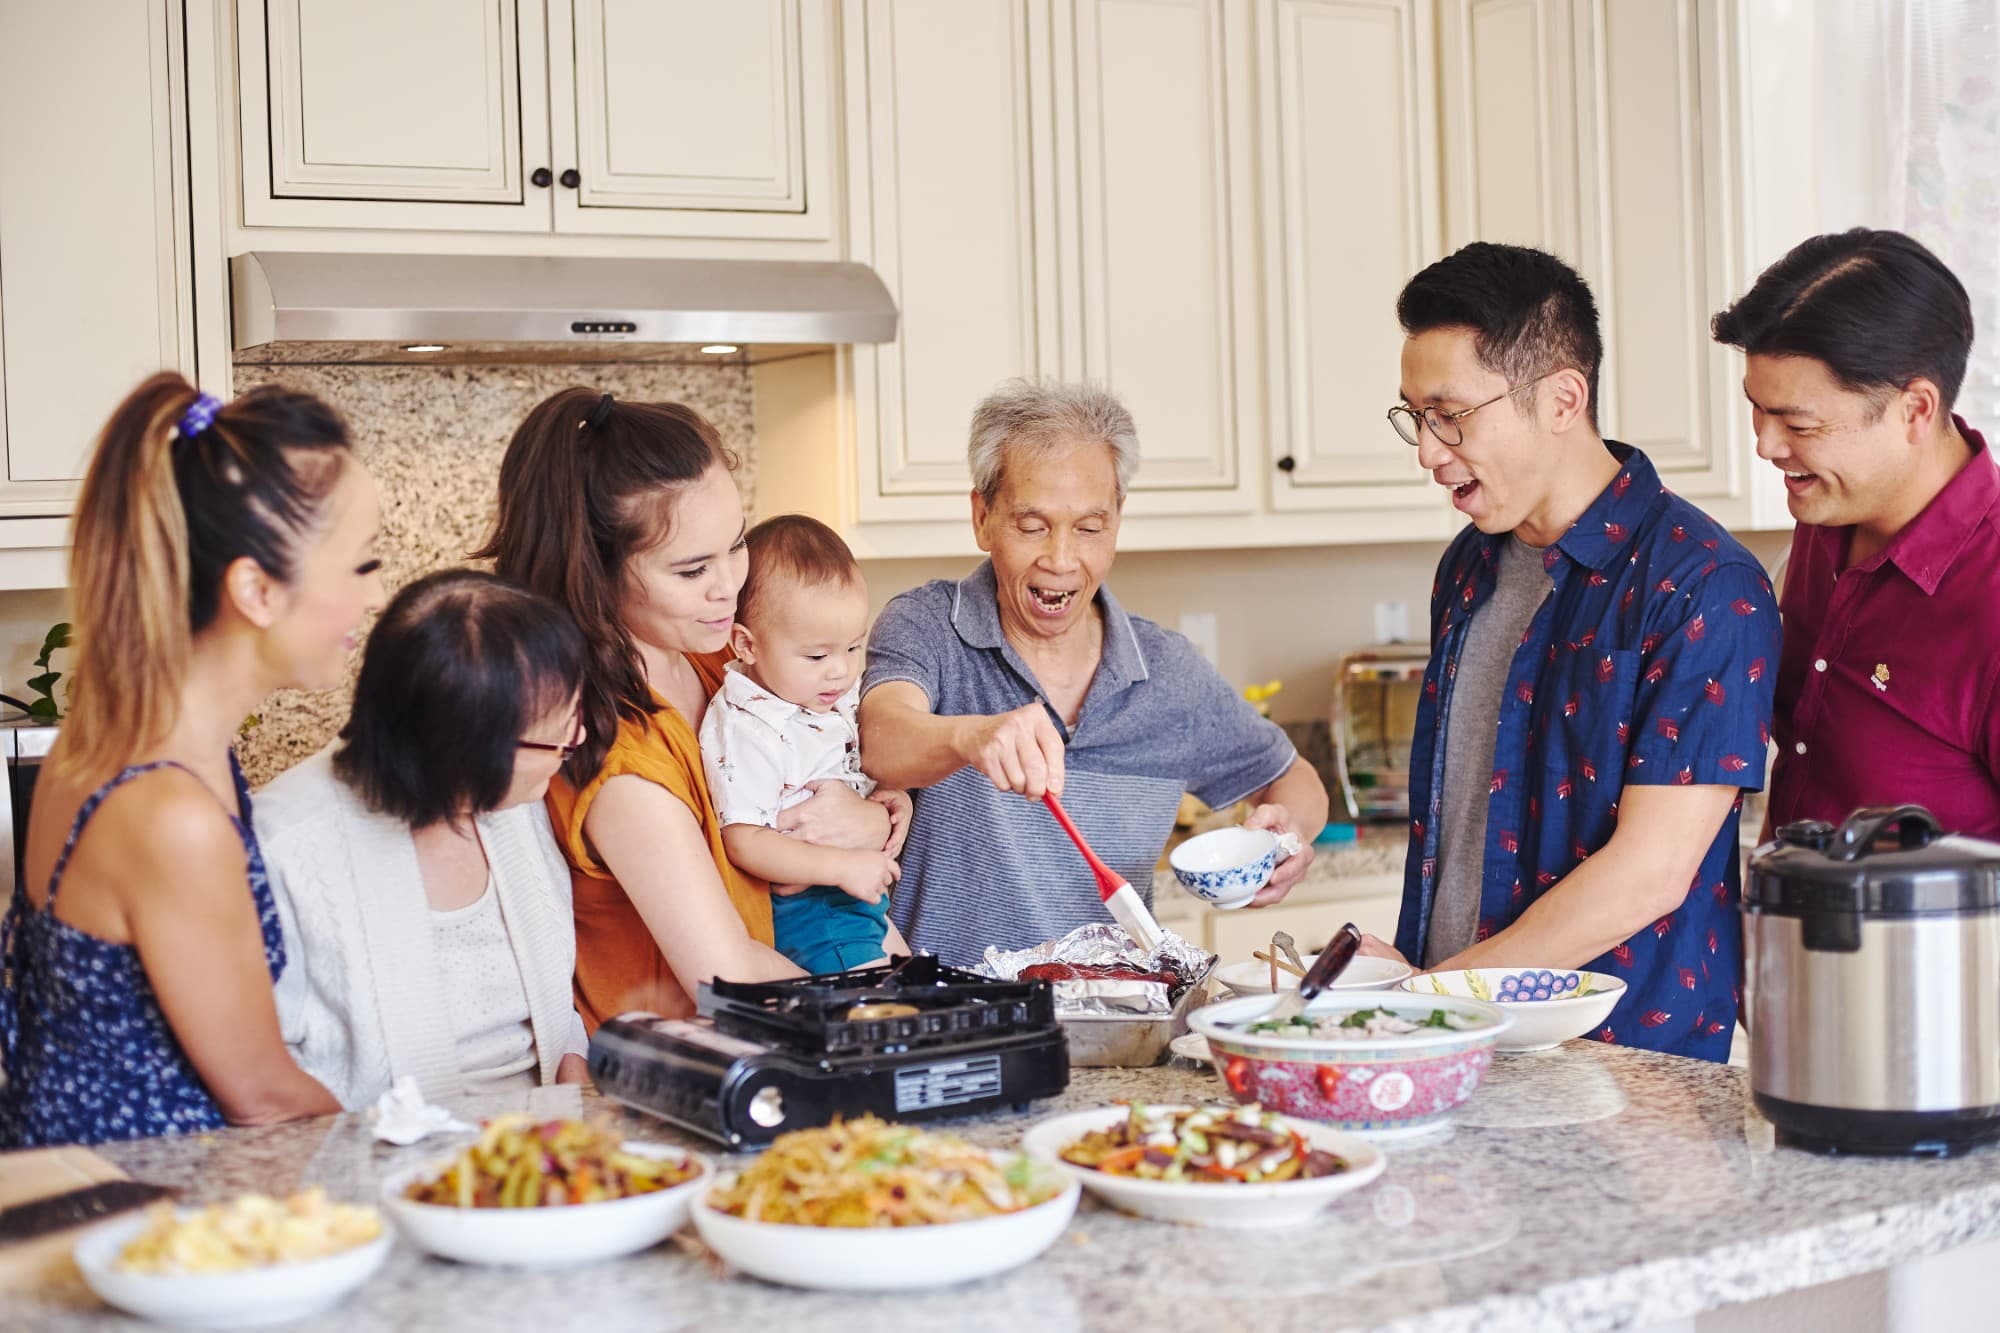
We started Made With Lau to celebrate Cantonese culture and honor the legacy of our wonderful parents, Jenny and Chung Sun Lau.
Our hope is that these recipes and stories help you spread the joy, love, and nostalgia that I felt growing up.