Seared Salmon
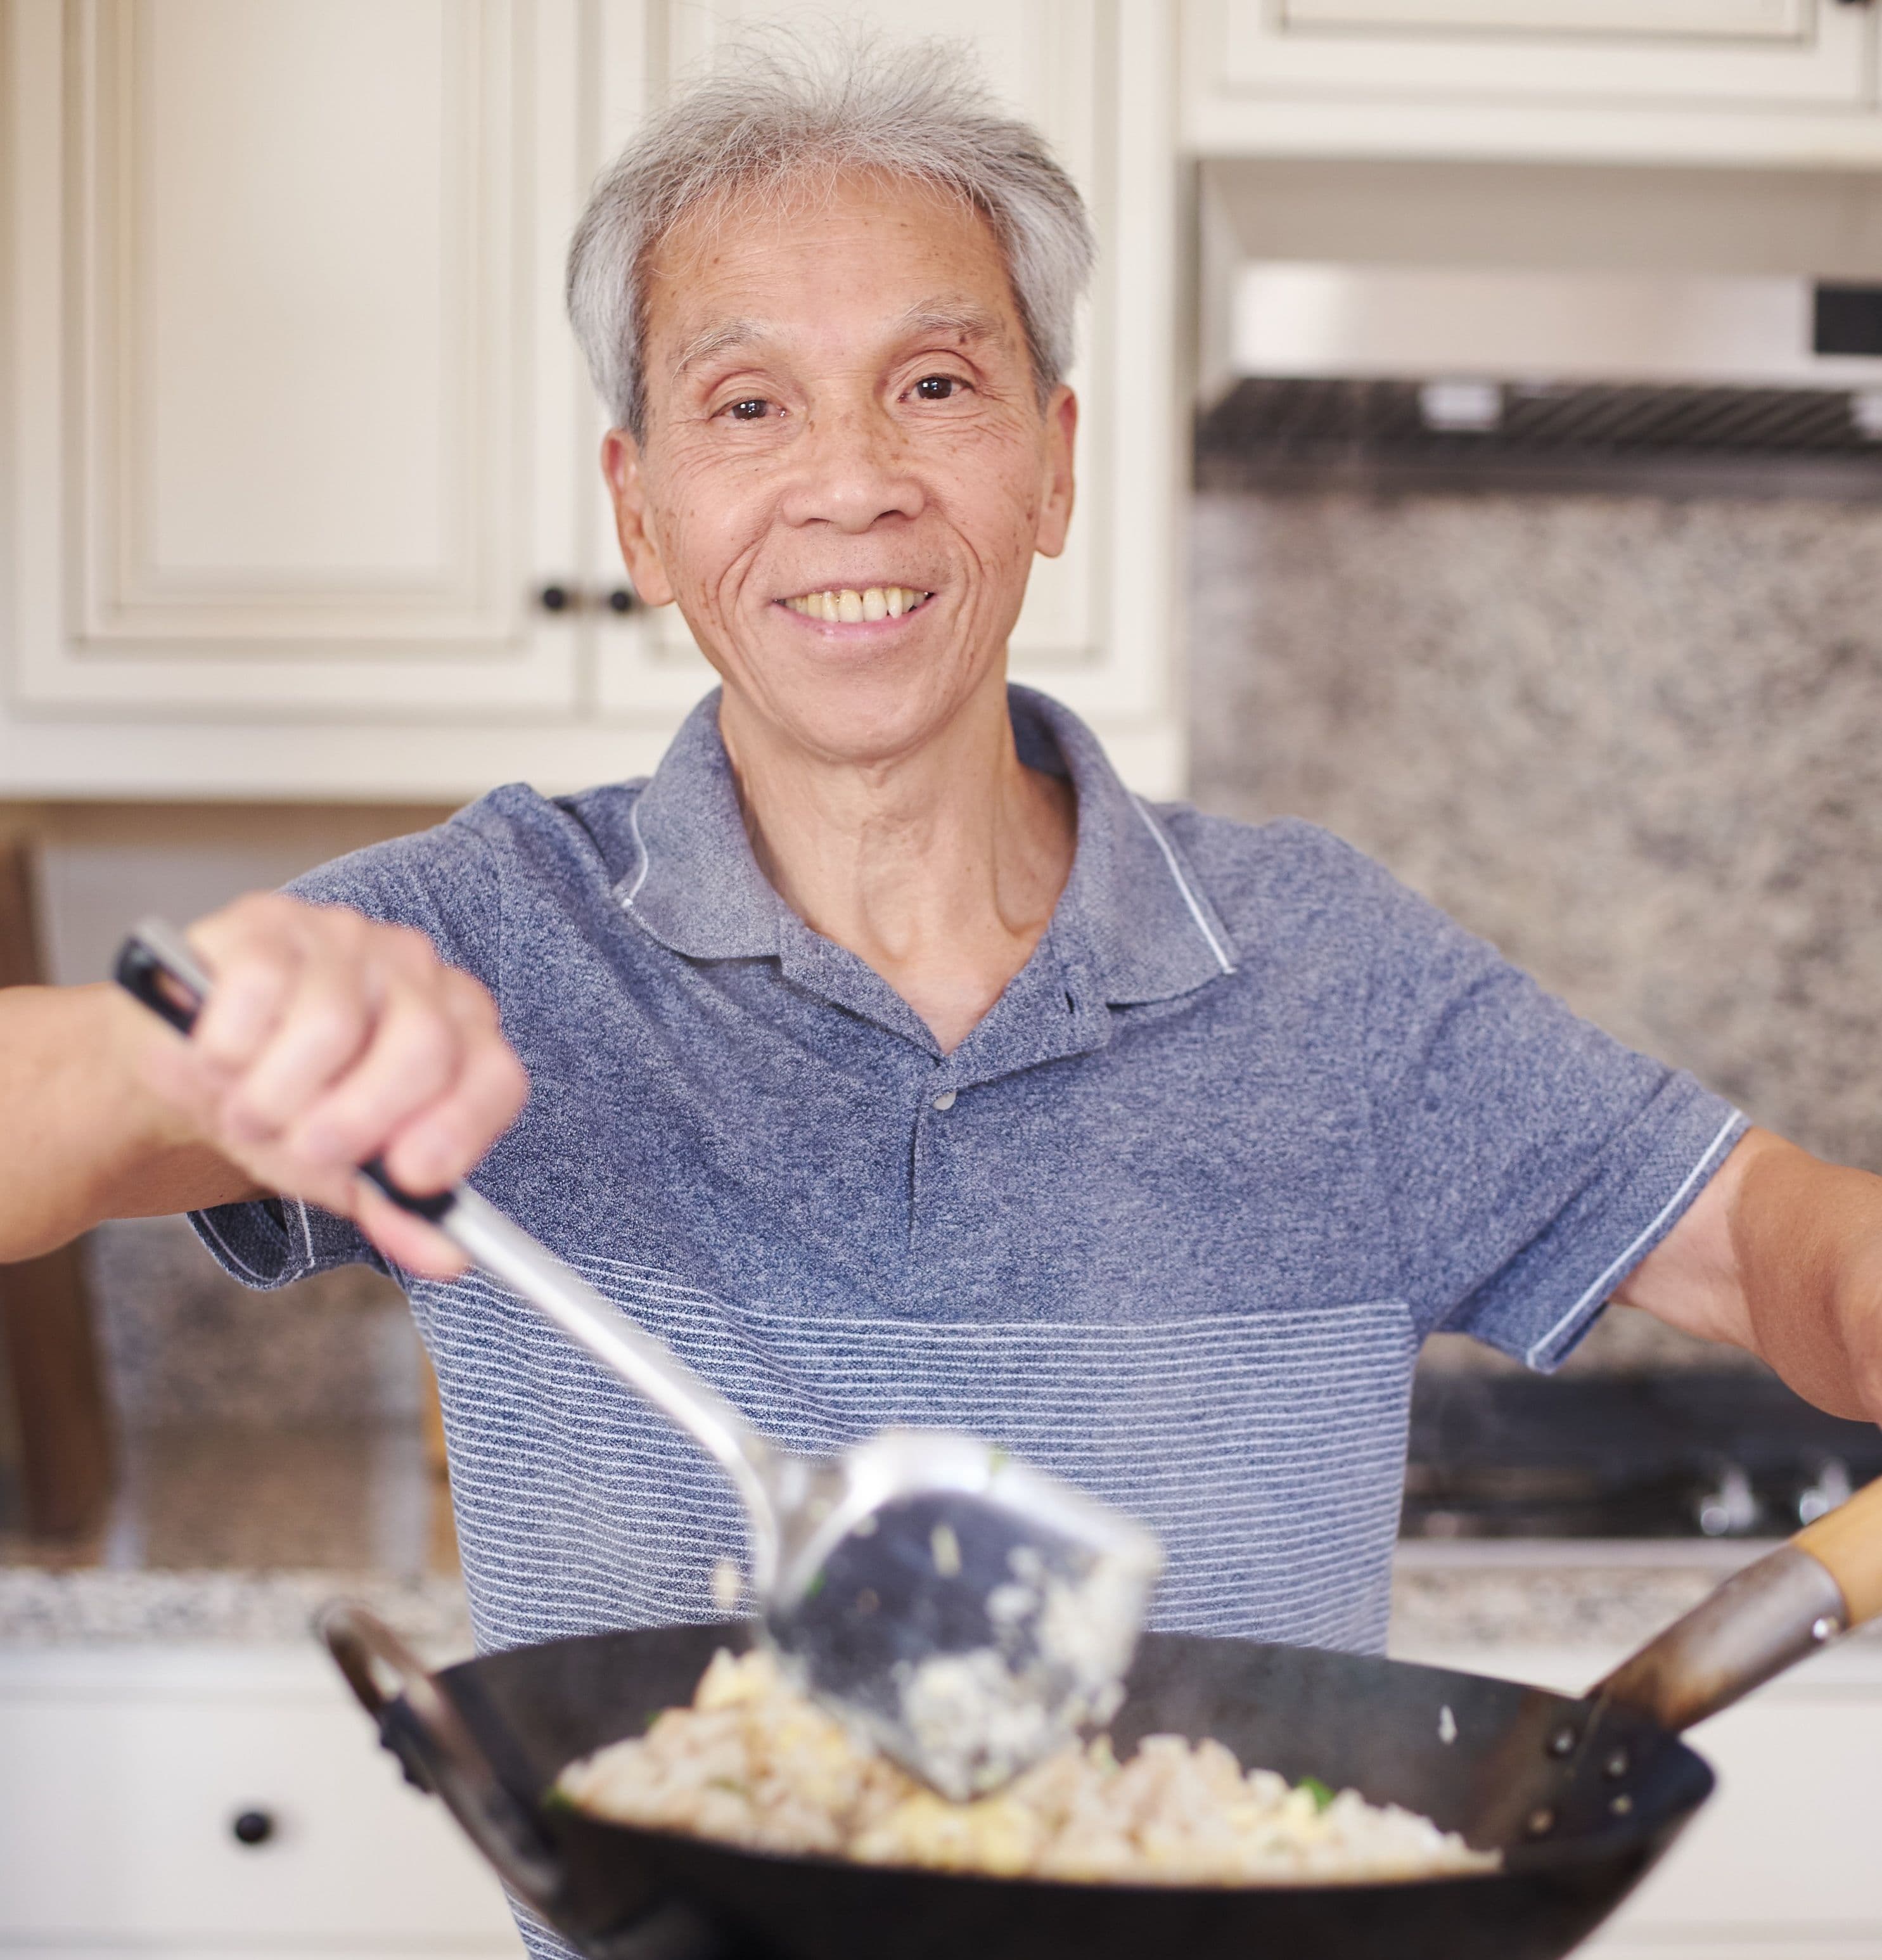
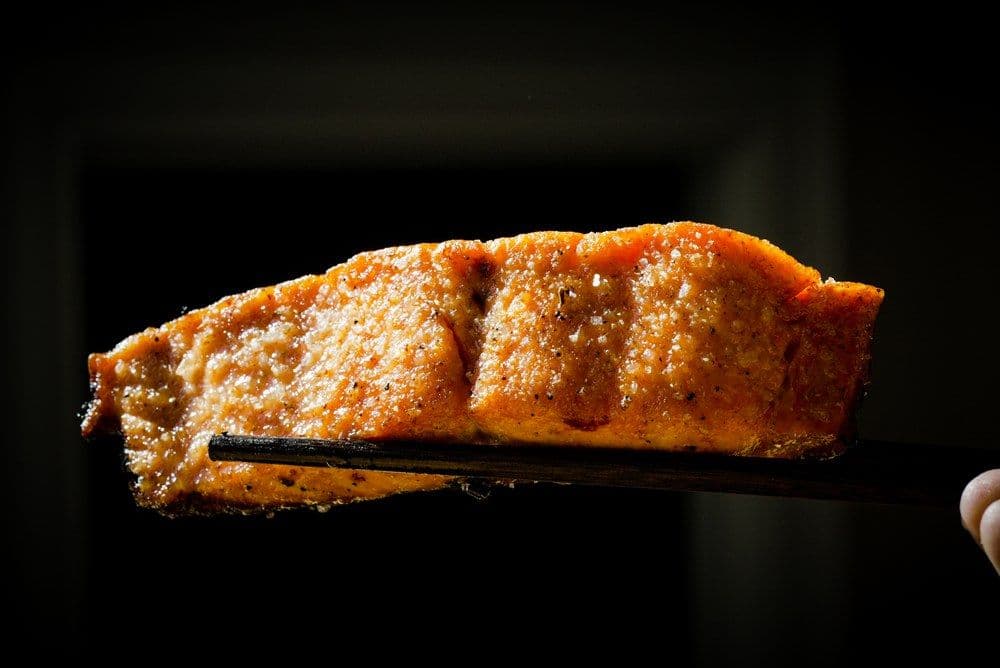
It's just 3 tablespoons of ingredients and one extra minute of prep!

Cooking Summary
Ingredients: (detailed list)
- salmon, garlic salt, corn oil, cornstarch, white pepper, cooking wine
Jump To Section
Overview
My dad has cooked salmon more times than we can count over his 50 years as a Chinese chef. While searing salmon is straightforward, this method leans on a few fundamental Cantonese cooking techniques: cornstarch coating and flash-steaming with Shaoxing wine.
The problem with salmon
The problem with salmon is a tug-of-war. You need heat to get a good sear and a safely cooked center, but that same heat is what causes the fish to tighten and squeeze out its own moisture like a sponge.
As you'll see, a cornstarch coating prevents salmon from losing its moisture (in my experiments, 44% less moisture loss), and a quick flash-steam with alcohol fuses all of the flavors together while bringing the salmon gently across the finish line.
Why this recipe
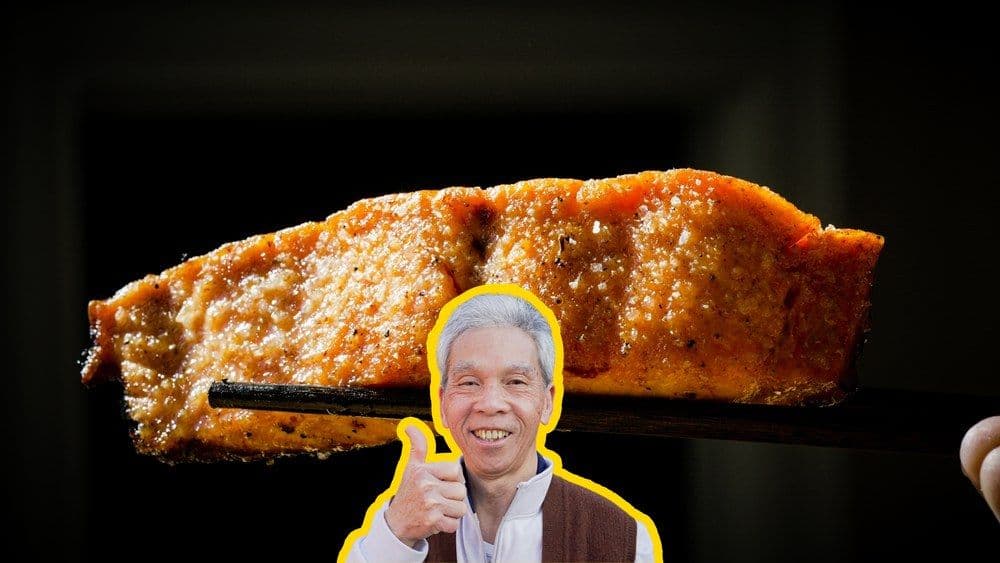
Most seared salmon recipes online are tested only a handful of times. My dad used to make this dish multiple times a day, every day, for 60+ years and can make this in his sleep.
I know you'll love it as much as our community does! This recipe has over 1.9M views, 14.6K likes on YouTube.
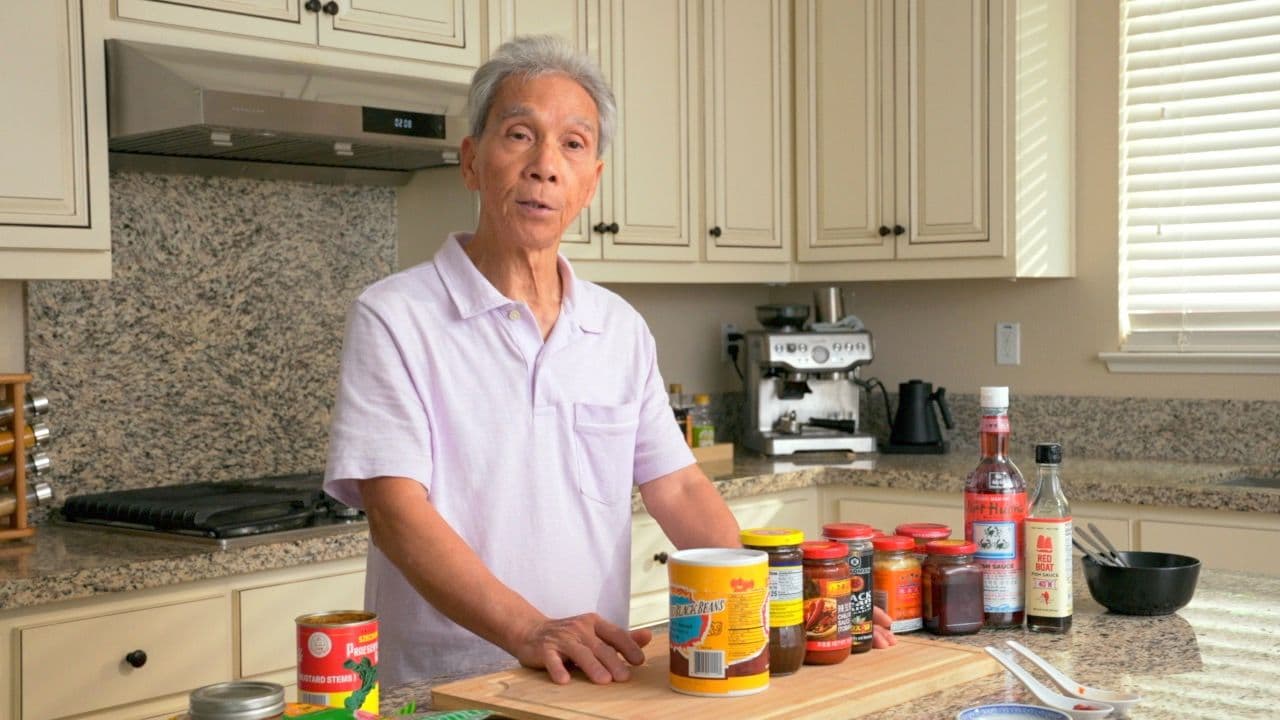
Ingredients
Picking the best salmon
First off, nothing in this recipe matters if you're not using fresh salmon. It sounds obvious, but how can you actually tell?
1) If you poke it (even through packaging), the meat should spring back.
2) It shouldn't feel slimy and sticky to the touch.
3) It should have a faint smell similar to cucumbers, not pungent or sour.
Use your best judgment, as the FDA recommends cooking or freezing salmon within 48 hours of purchase, whereas the Costco salmon we used in this recipe has a 7 day window.
How to make Seared Salmon
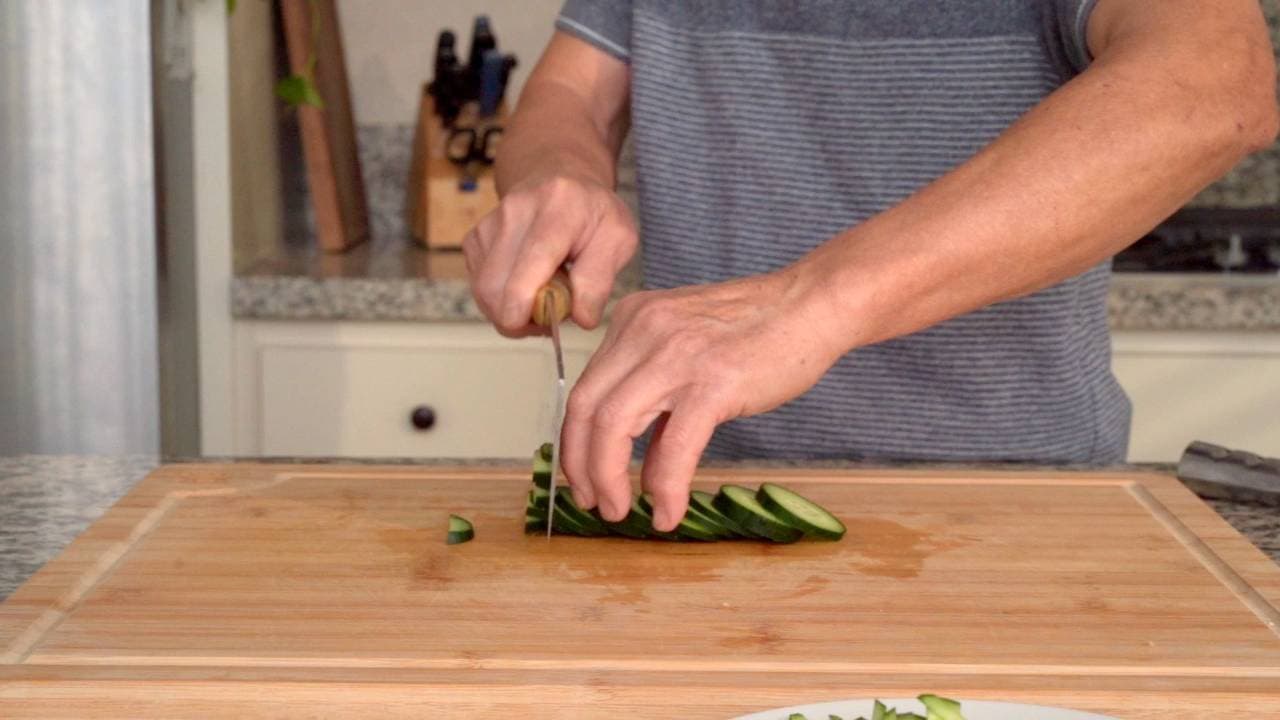
Cut the salmon (12 oz) into equal-length pieces, about 1.5 to 2 inches. Wipe each piece dry to ensures a better sear, easier handling, and less oil splatter.
Don't skip the drying: a wet salmon doesn't sear as well. When it hits the pan, the water needs to steam before the meat can start searing at higher temperatures. It's why a pot of boiling water stays at 212°F (100°C) no matter how high your burner is.
Sprinkle a dash of white pepper (¼ tsp) and garlic salt (½ tsp) in total, evenly over both sides of all pieces. Let the fish sit for a few minutes so the seasoning can penetrate and draw out moisture.
The white pepper helps combat and drown out the sometimes-off-putting fishy aromas.
The garlic salt blend adds an aromatic while gently firming up the surface of the salmon and drawing out water for a better sear.
Spread cornstarch (2 Tbsp) on a flat plate. Dip each piece meat-side down first, then skin-side, rotating to lightly coat all four sides.
Cornstarch is critical. The moisture from the salmon seeps into the cornstarch, and when it touches heat from the pan, it starts to form into a gel which helps prevent salmon from getting stuck. As the gel hardens into a crust, it traps moisture inside of the salmon. (This led to a 44% reduction in moisture loss in our experiments.)
Watch our video to learn more of the science behind this!
Timing depends on your kitchen and the salmon. Here, we sear skin-side down for ~2 min, meat-side down ~3 min, and each side for ~30 sec. The exterior should be golden and crispy, and the internal temperature should reach 120°F (49°C) for medium rare to 140°F (60°C) for well done before pulling it from the pan.
Heat a pan on high heat and add corn oil (2 Tbsp), spreading it around. Once the oil is shimmering (or rippling), add each piece skin-side down, add a dash more oil to the edges.
Lower to medium heat after ~10-15 sec. Once the skin releases from the pan, scoot the pieces around to ensure even cooking, then flip after the skin is crispy, about 2 minutes.
After flipping, adjust to low heat. Sear meat-side down until it turns opaque, orange, and crispy, about 3 minutes. With tongs, you can press each piece down toward the belly and fin side to sear it more evenly, then flip the pieces onto their sides to brown all edges.
Turn the heat to high. Partially cover the opening of a bottle of cooking wine (1 tsp) (we use Shaoxing wine) with your finger and splash it around the sides of the pan, then immediately cover the pan and turn off the heat. Uncover after about 30 seconds.
Plate and enjoy immediately!
Why the wine?
The wine works like perfume hitting hot skin. Alcohol evaporates much faster than water, and the moment it hits the hot pan, it flashes into steam and drags every aroma in the pan along with it: from the wine, the seared fond on the pan, and the garlic and white pepper on the meat.
We did this in our chicken thigh recipe, and in our video, a lot of people asked, "doesn't this ruin the crispiness?"
It does, to a minor degree, but that tradeoff is worth it for two reasons. First, when we cover the pan with heat off, the steam gently brings the salmon to the finish line. Second, as the saying goes, we eat with our noses first, so surrounding the salmon inside of aromatic steam goes a long way.
Top 3 Mistakes
- Skipping the cornstarch coat:
Coat the salmon with cornstarch before searing. The recipe uses that layer to reduce sticking and form a crust, so leaving it out changes both handling and the final texture.
- Removing the skin too soon:
Keep the salmon skin on for cooking, even if you do not plan to eat it. The recipe recommends using that protective layer during the sear rather than removing it beforehand.
- Putting wet salmon in the pan:
Dry the salmon before coating and searing it. Surface water has to steam away before the fish can brown properly, so skipping the towel step works against a good crust.
Frequently Asked Questions
Should I use skin-on or skinless salmon?
We highly recommend cooking with skin-on salmon, even if you don't plan on eating it. It's not only crispy and delicious, but it helps reduce moisture loss during the cooking process (by ~25% in our experiments).
Pairs well with
View all →

Made with love ❤️
We started Made With Lau to celebrate Cantonese culture and honor the legacy of our wonderful parents, Jenny and Chung Sun Lau.
Our hope is that these recipes and stories help you spread the joy, love, and nostalgia that I felt growing up.