The Clay Pot Rice My Dad's Made 100,000 Times
Why this recipe
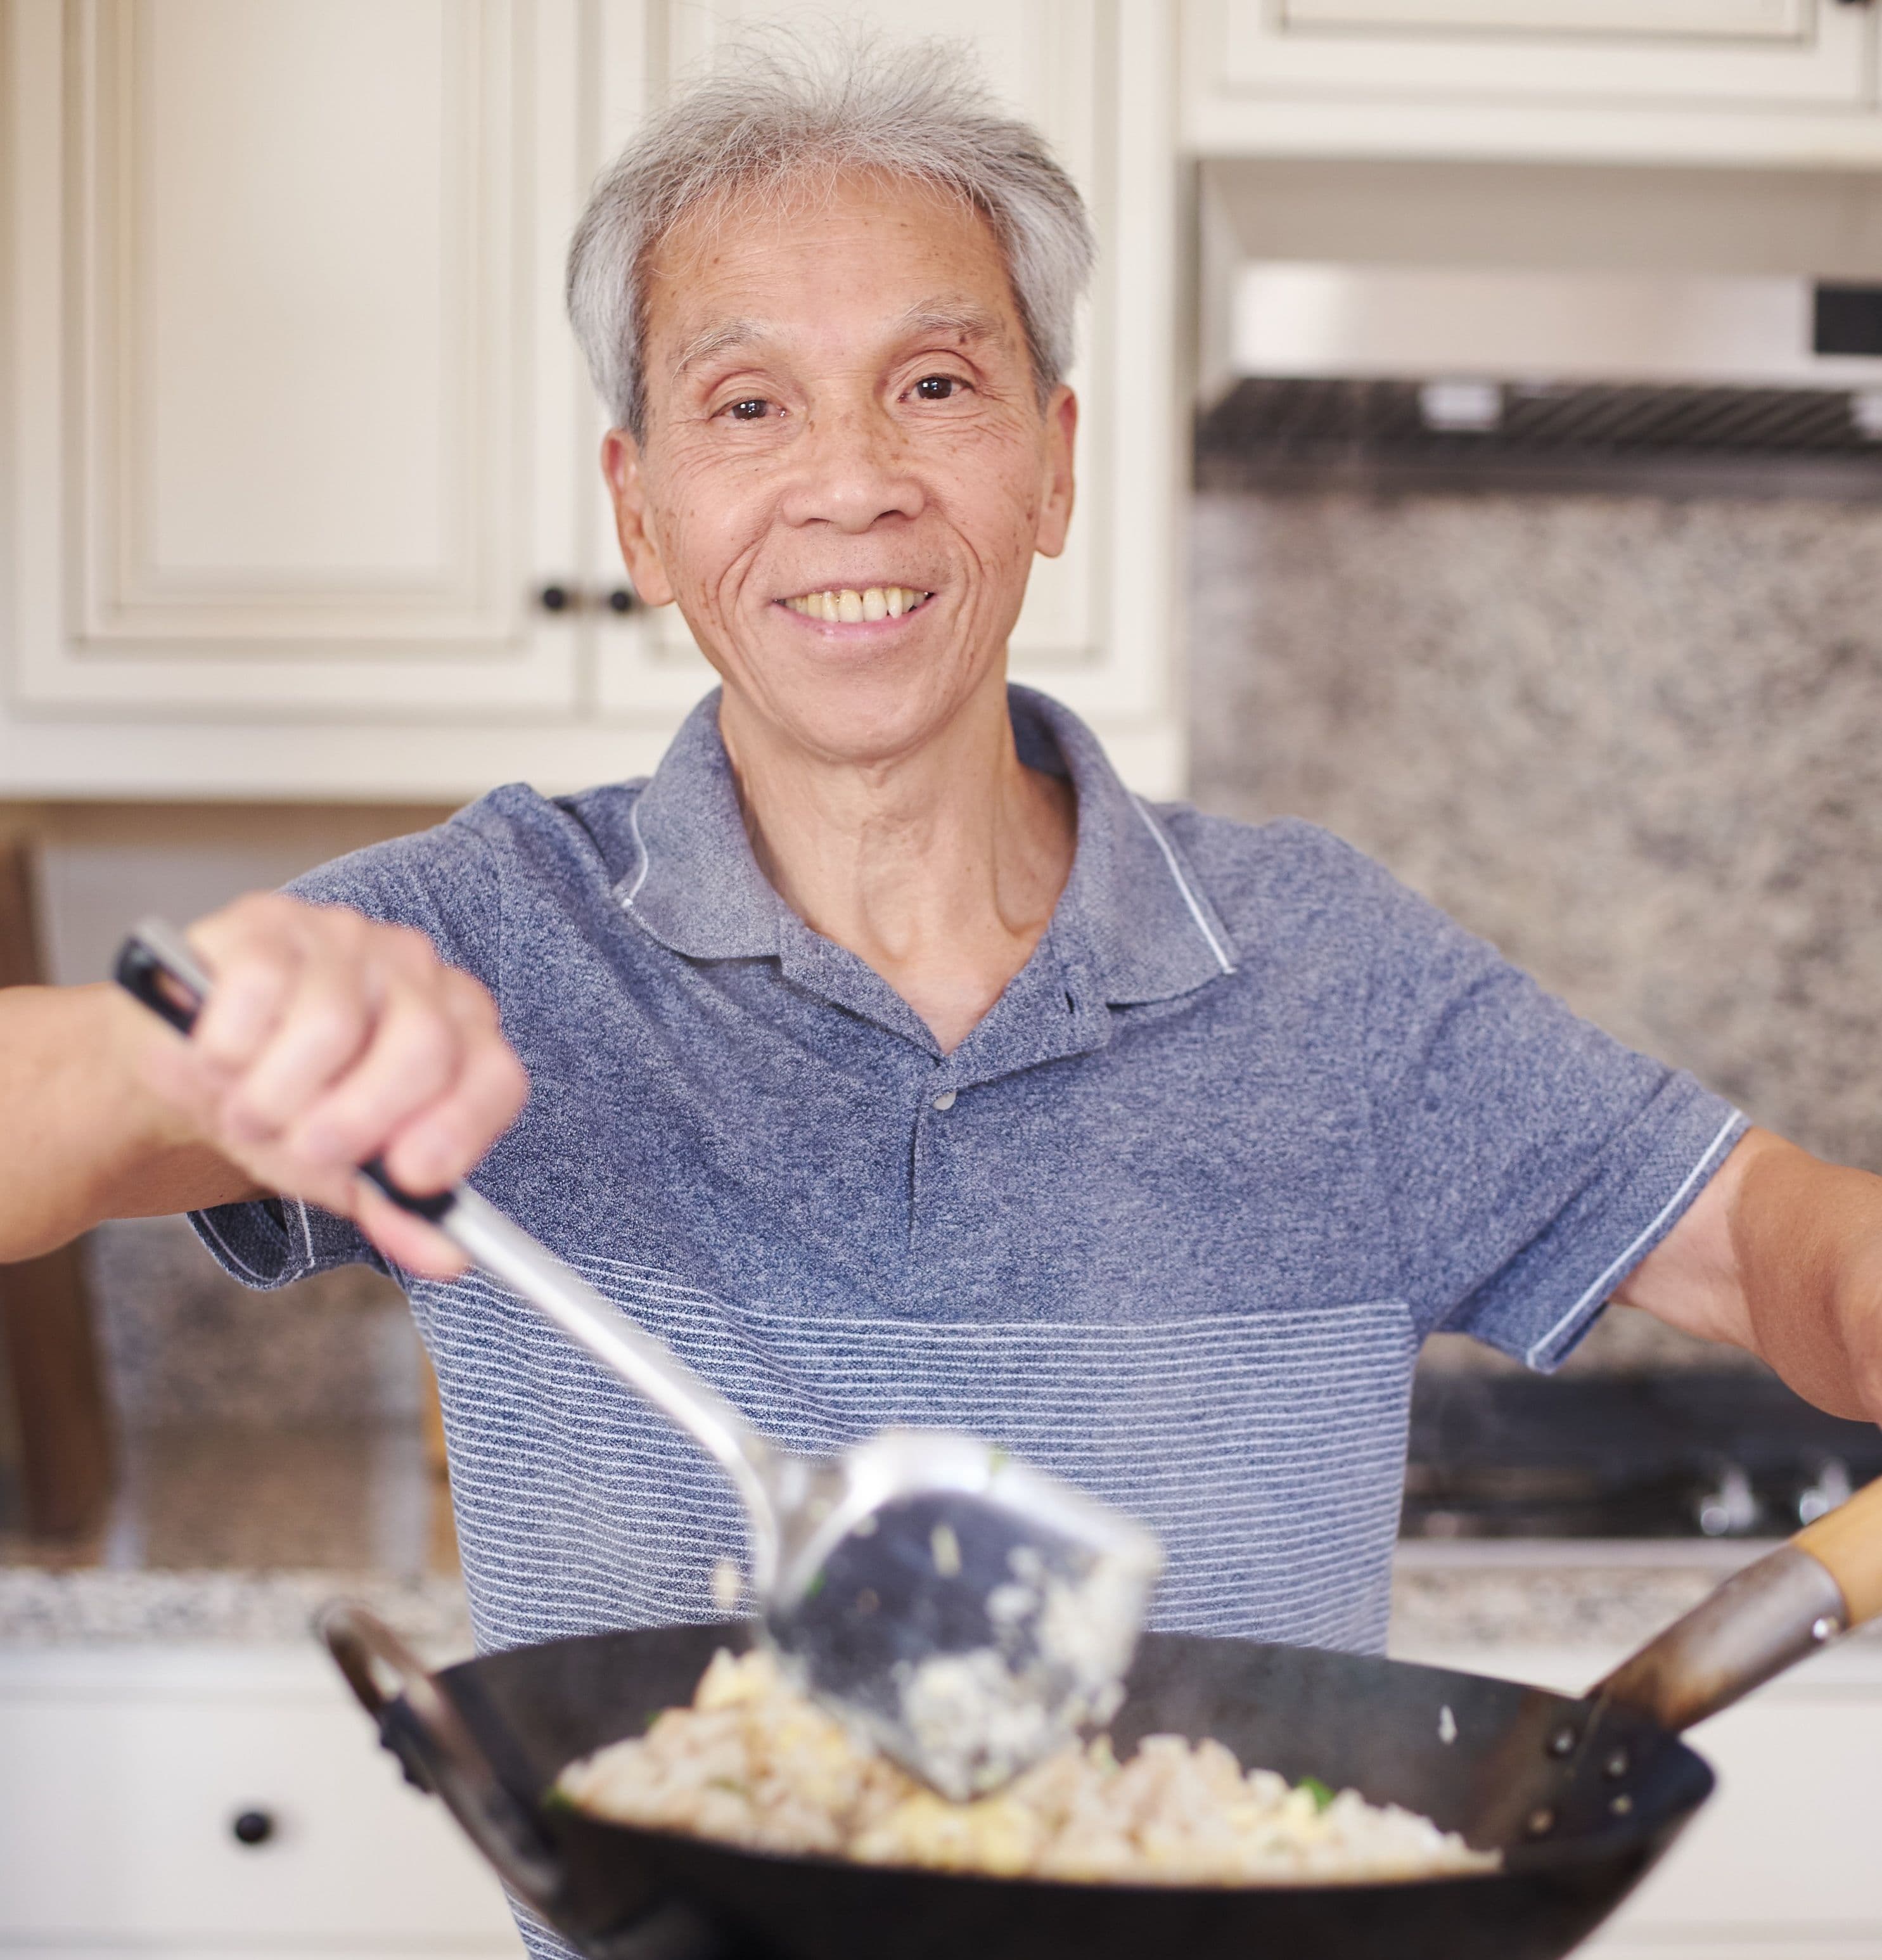
Most clay pot rice recipes online are tested only a handful of times. My dad used to make this dish multiple times a day, every day, for 60+ years and can make this in his sleep.
I know you'll love it as much as our community does! This recipe has over 2.3M views, 34.2K likes on YouTube.
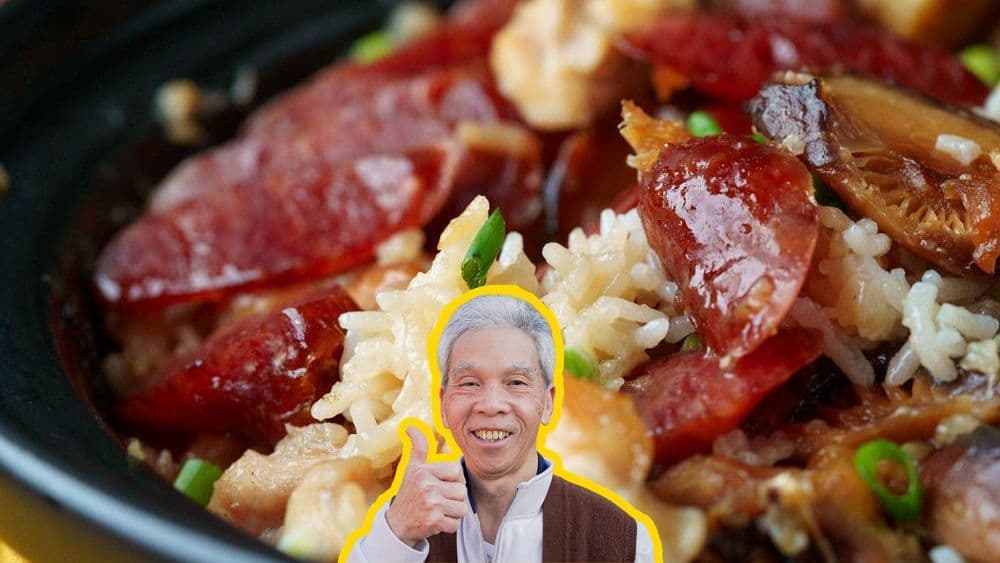
Presentation! It's time to impress. Served in the same vessel it’s cooked in, clay pot rice (or bo zai fan) is absolutely stunning. But the beautiful clay pot is more than just for looks — it’s actually a big contributor to the amazing texture of the famous Cantonese dish. We're going to sneak some very helpful technique tips in this recipe, to make clay pot rice at home easier to pull off than you might think.
At first look, Chinese clay pot rice is a pretty simple dish: a layer of juicy meat or other toppings over rice, cooked and served in a pretty earthenware pot. That clay pot does more than sit pretty, though. Because of the clay material, it retains heat evenly, so everything inside steams together, helping their juices and flavors all combine harmoniously.
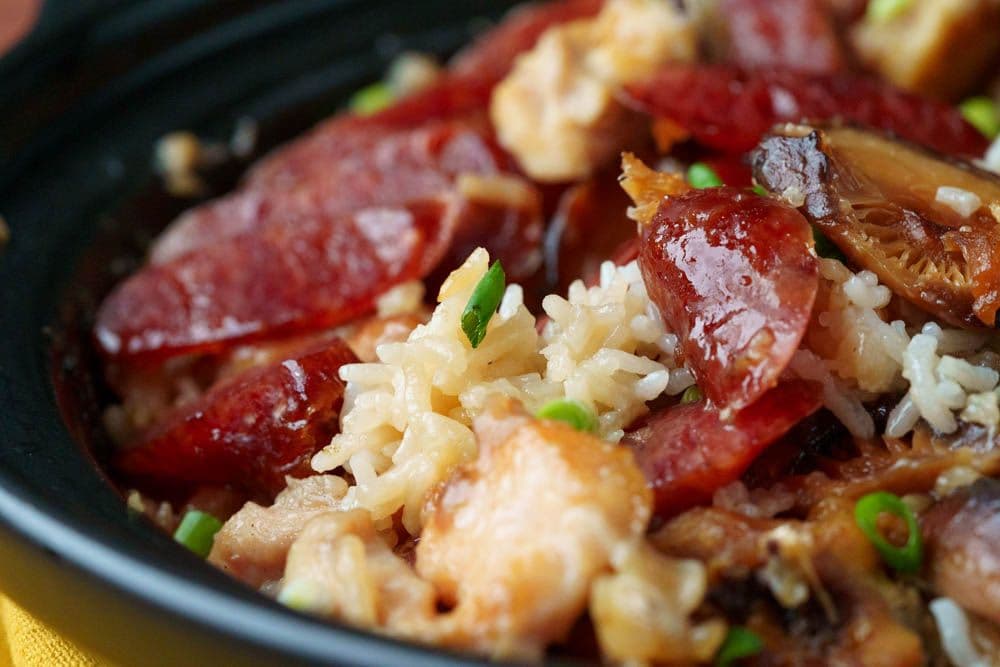
As a bonus (for some, this is arguably not a bonus, but the main reason to eat this dish in the first place), rice cooked in a clay pot develops a scorched crust, called 飯焦 faan6 ziu1 in Cantonese. Similar to the scorched rice in Korean stone pot bibimbap or Spanish paella, it's just shy of burnt and beautifully crunchy.
Clay pots: Choosing and caring for the traditional cookware
Unless you live in a bigger Chinese community, you may not have many choices when it comes to shopping for a traditional clay pot (this is the one my dad uses). If you do get choices (yay!), then note your personal preferences and needs: How many people do you usually cook for, so how big of a pot will you need? How big of a pot can you handle? Big ones can get heavy, and you'll have to store them somewhere.
Check for quality, like dangerously sharp edges. Be sure that it's not cracked; you can't cook with a cracked pot, or it will leak!
Proper care is important, too. Make sure you clean it with detergent after every use. Daddy Lau even puts it in the dishwasher. When you put it away, put the lid on askew so that air can circulate. When cooking, never put it on very direct or high heat. If you look through our recipe, it's always on medium or low heat.
Thank you, Kikkoman!
This recipe is brought to you in part by Kikkoman. My dad has been using Kikkoman flavors throughout his 50-year career as a chef, and it's a privilege to get to partner with them on such a recipe as iconic as clay pot rice!
- Kikkoman products are a major flavor enhancer and bring out the “umami” taste, and helps balance and round out flavors
- Kikkoman® Less Sodium Soy Sauce is perfect for home cooks who are looking to cut down on their sodium levels, without sacrificing flavor
- Kikkoman offers wide range of Gluten-Free Asian sauces, including Gluten-Free Oyster Sauce and Gluten-Free Hoisin Sauce
- The KikkomanUSA.com Chinese site offers easy Asian recipes that home cooks can enjoy any night of the week
You can learn more about Kikkoman and follow them on social media here:
- Website: https://www.KikkomanUSA.com
- Facebook: https://www.facebook.com/KikkomanChineseUSA (Kikkoman 萬字在美)
- Instagram: https://www.instagram.com/kikkomanusa_chinese/ (Kikkoman 萬字在美)
Ingredients

Instructions
Prepare rice and sausage
Wash the rice (10 oz) three times, massaging the rice, draining the water and using fresh water for each round.
Chef’s Tip: Next, soak the rice in boiling water for 10 minutes. The hot water will start cooking the rice, speeding up the final cooking process later.
Because the Chinese sausage is dried outside in the sun, my dad prefers to rinse away possible debris before he starts to work with it. Soak the Chinese sausage (2 links) in boiling water.
The dried shiitake mushrooms (1 oz) will need to be rehydrated in boiling water for about 10 minutes before they're soft enough to cut, so now is a good time to get that ready! Just place the mushrooms in a heat-safe bowl and add enough hot water to cover them.
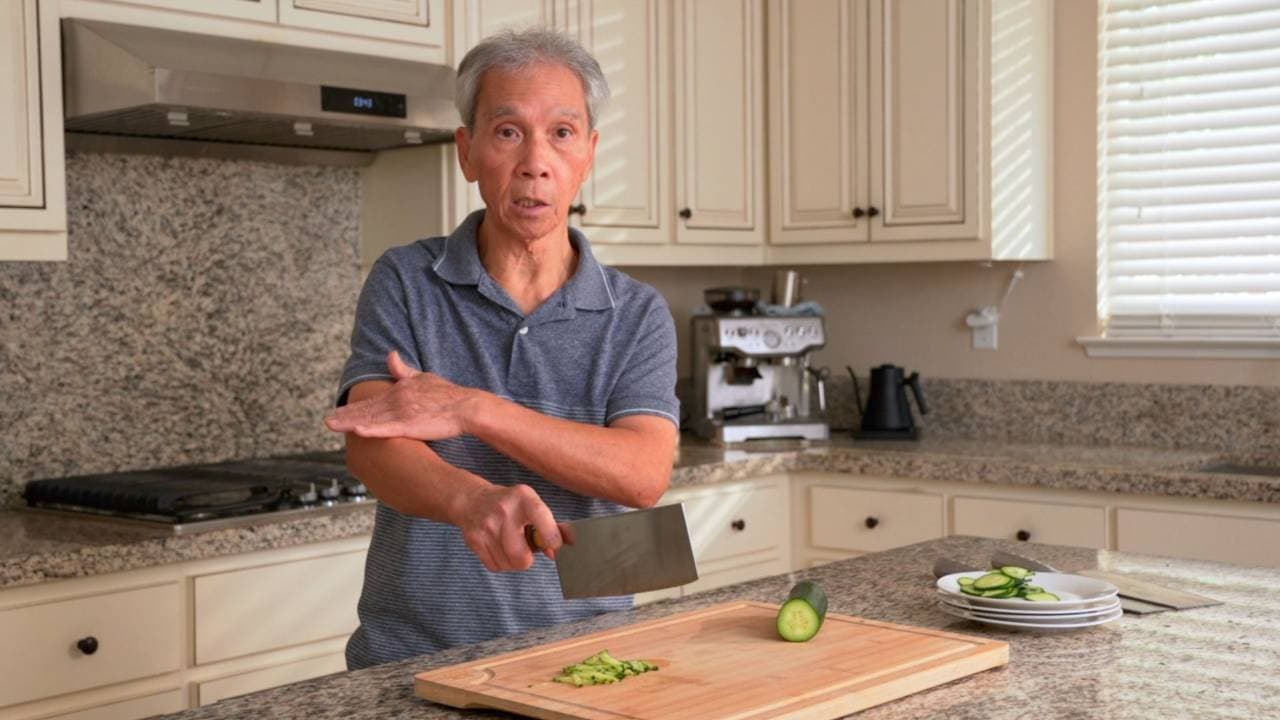
Cut and wash chicken
Cut the chicken thigh (1 piece) into small pieces. Start by splitting it half down the middle, and then cutting each half into a few smaller pieces, each about 1 to 2 inches wide. If your chicken thigh also includes the drumstick part, cut that into pieces that are the same size.
If you're not comfortable slamming an enormous cleaver down on the chicken, it's completely fine to set the knife where you plan to cut, and push straight down with your other hand; bird bones are much softer than other types of bone and you will cut through with enough pressure.
Cut the chicken breast (1 piece) half, then into thick slices, about 1/2-inch thick.
This combination of dark and white meat helps to satisfy our family's different preferences, but if you (and your group, if you're sharing) prefer one over the other, you can definitely opt to use just dark or just light meat.
Because there may be bits of bone after cutting the bone-in chicken thigh, you'll want to rinse the cut pieces. Pour water over the cut pieces, give it all a gentle swirl, then lift each piece out of the water, inspecting each piece for floating bone shards. Put each rinsed, debris-free pieces into a colander. The bone shards will sink to the bottom of the water as you're pulling the chicken pieces out.
Prepare vegetables
Grab the rehydrated shiitake mushrooms, and cut off and discard the stems. Cut the mushrooms into thirds. If your mushrooms are particularly big, or smaller than ours, you can cut them into more pieces or simply halve them.
Squeeze excess water out of the mushrooms. This way, they'll be able to soak up more flavor from the chicken and the sauce.
Finely mince the shallot by slicing thinly and then rotating to chop into very small pieces.
Similarly, finely mince the ginger (1 tbsp) by slicing thinly and then rotating to chop into very small pieces.
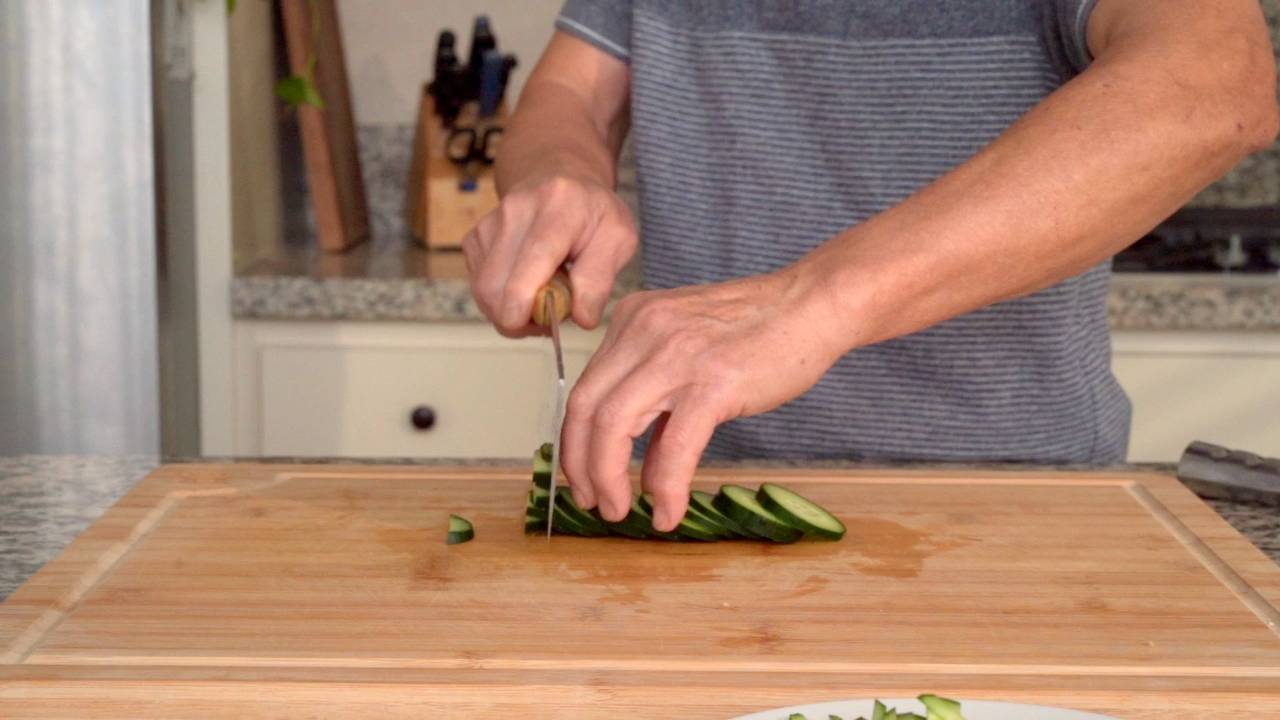
The scallions (2 stalks) will be for garnish, so make sure that you're not using the knife and cutting board from the chicken, or that your tools have been carefully washed. Dice them into small pieces, and keep them separate from the minced shallot and ginger.
Dry and marinate chicken
Pat the chicken dry with a paper towel. This will help it absorb flavor. Combine the bone-in chicken with the chicken breast.
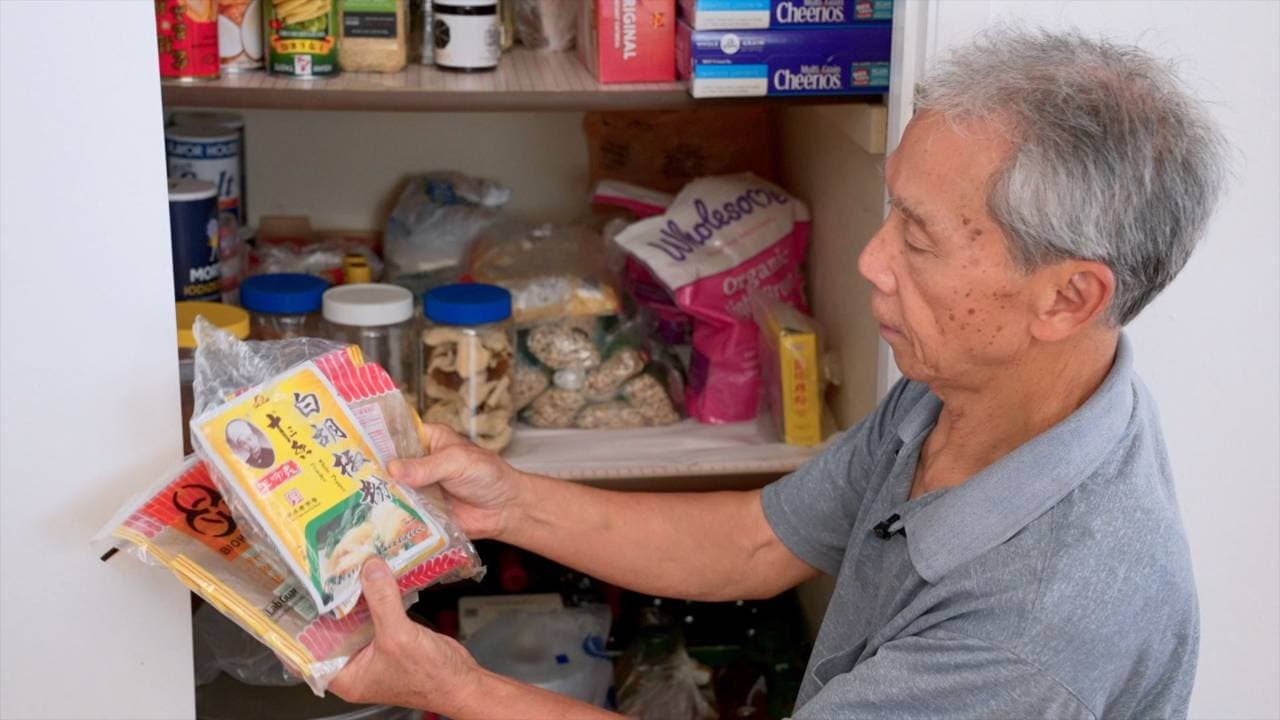
Create the marinade by mixing Kikkoman® Soy Sauce (1 tbsp), Kikkoman® Oyster Sauce (2 tbsp), salt (0.50 tsp), sugar (1 tsp), cornstarch (1 tbsp), water (3 tbsp), cooking wine (1 tsp), and white pepper (0.25 tsp) in a separate bowl. Once well-combined, add the chicken to the bowl and stir until every piece is evenly coated. Then, add the minced shallot and ginger.
Marinate mushrooms and make sauce
To the shiitake mushrooms, add Kikkoman® Oyster Sauce (0.50 tbsp), sugar (1 tsp), and cornstarch (0.50 tsp). Mix until the mushrooms are evenly coated.
Mix up the sauce by combining Kikkoman® Oyster Sauce (1 tbsp), Kikkoman® Soy Sauce (1 tsp), sugar (1 tsp), and Kikkoman® Tamari Soy Sauce (1 tsp) in a separate bowl, and put it aside. This sauce will be for pouring over the rice after it's cooked.
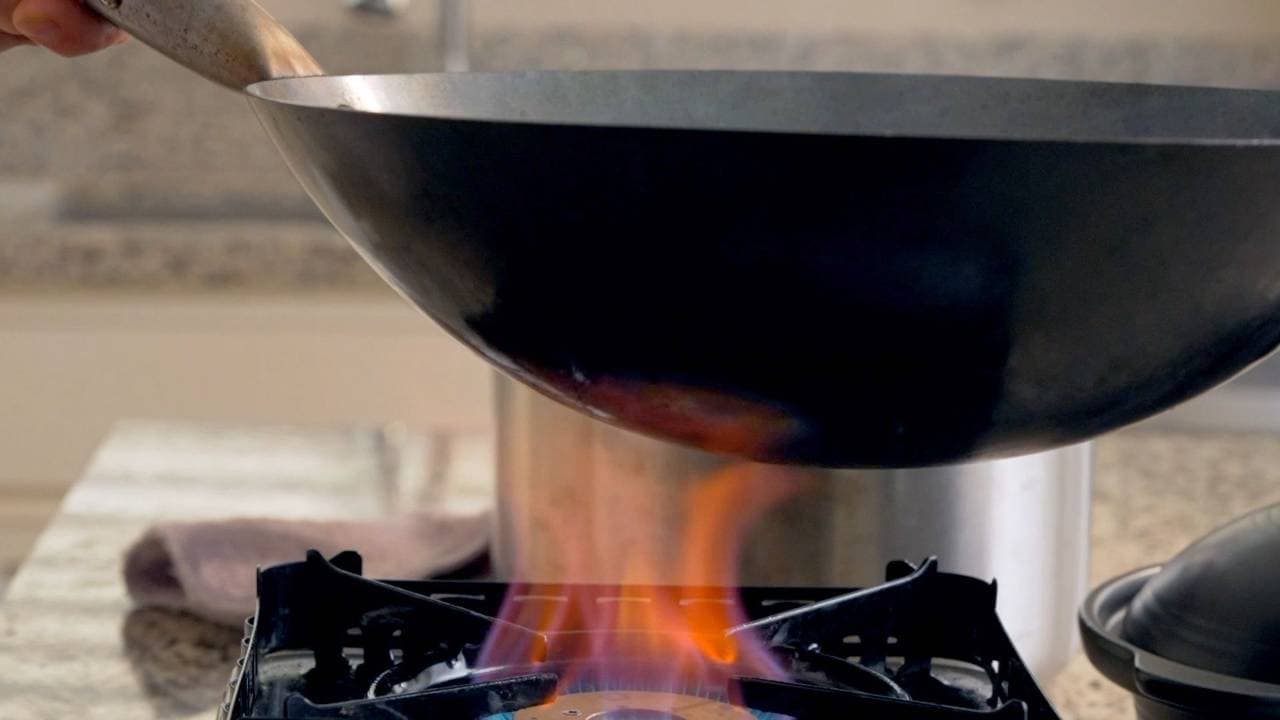
Start cooking in clay pot
My dad recommends using a gas stove when cooking with clay pots. The clay is prone to cracking over direct heat, so if you're using a clay pot on an electric stovetop, you'll want to somehow put some space between the stovetop and the clay pot.
Add the soaked rice to the pot (but not the soaking liquid; you'll measure out the amount you need in just a minute). Add oil (1 tsp) and mix it into the rice. It'll loosen up the rice and help the development of that fragrant, crunchy rice crust. Add boiling water (11 oz), put the lid on, and turn the heat to medium.
With a clay pot, you never want to turn the heat up all the way.
While the rice is starting to cook, mix in oil (1 tbsp) and Kikkoman® Sesame Oil (1 tbsp) to the marinating chicken.
When the water is just about boiling, uncover the pot. Let it keep cooking, and nudge the rice around if you need to, to make sure it's spread out evenly in the pot.
Then, as the rice has absorbed more of the water, begin to layer the meats on top of the rice. Put a link of Chinese sausage on each side, and lay the chicken out in an even layer over the rice. After the chicken, add the mushrooms. Spread them around; if they're in a tall pile, they won't cook evenly.
Once all the ingredients are in, turn the heat to low and cook for another 5 to 10 minutes, until you start to hear the the crackling. That's the oil and the heat working their magic on the edges of the rice.
Scorch Rice
Once you hear the crackling, sizzling sound, the food inside is just about cooked, and it's time to scorch the rice. Because you want maximum crust (trust us, you do), you'll have to rotate the pot and tilt it over the heat source to scorch the sides of the clay pot.
Turn the heat up to medium.
Use a dry towel, baking mitts or pot holders to hold onto the pot; it's very, very hot! You can also use those silicone grabbers; anything heat-proof that's meant for handling hot baking trays will work great here.
Firmly grip the pot handles, and without letting the lid come off, tilt the pot slightly onto its side so that the side of the pot can come closer to the heat (or, preferably, the flame of your gas range).
Move and tilt the pot so that the heat can scorch the side evenly for about 2 minutes. Then, turn the pot around and repeat the scorching process on the other side.
Then, turn the heat back down to low, and with the lid still on, spoon oil (2 tbsp) all around the edge of the lid so it can seep down into the pot. If you want to get fancy and make this extra aromatic, you can even use lard for this step.
Let it cook on low for 2 more minutes, until you hear the crackling, sizzling sound. Then, repeat the rice scorching process just like before, 2 minutes on either side. Again, be very careful to grip the pot tightly and don't burn yourself! Keep a nose out for signs of burning.
(Then, my dad did an extra minute on each side to get it super extra crispy.)
Please note, if you're using a clay pot that's smaller than ours, like a small single serving pot, you'll want to spend less time on this scorching process. You don't want to burn the rice!
Garnish and serve
Moment of truth! Take the lid off (finally) and take a second to appreciate the explosion of aroma. Add the diced green onion garnish right on top.
Turn off the heat, but remember that the clay pot is going to stay piping hot for a long time.
The rice is typically served in the clay pot, so you may need to remind your guests that the clay pot is very hot. The Chinese sausage links are still whole, so you'll want to cut them at the table (or quickly at the kitchen counter) and lay them back on top.
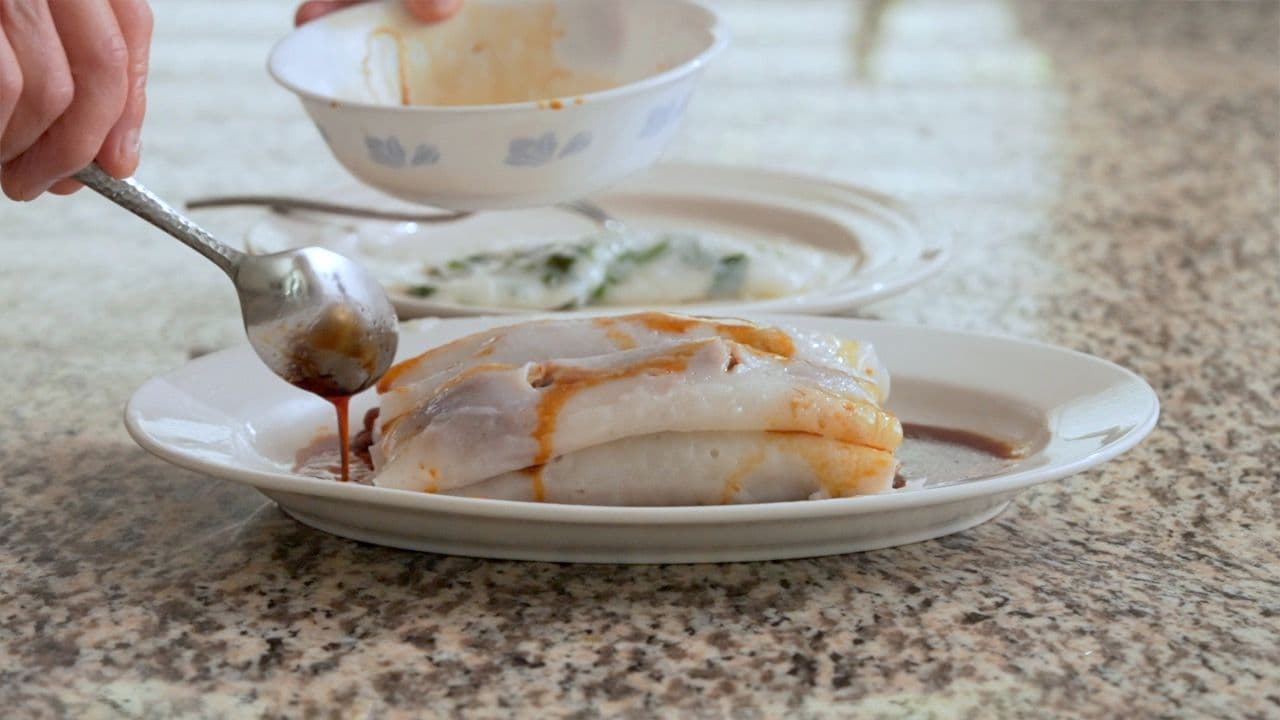
Don't forget to serve that delicious sauce! We usually pour a few splashes into the pot of rice, and then keep the rest in a bowl at the table so that everyone can further sauce up their own portions to their personal liking.
Pairs well with
View all →Made with love ❤️
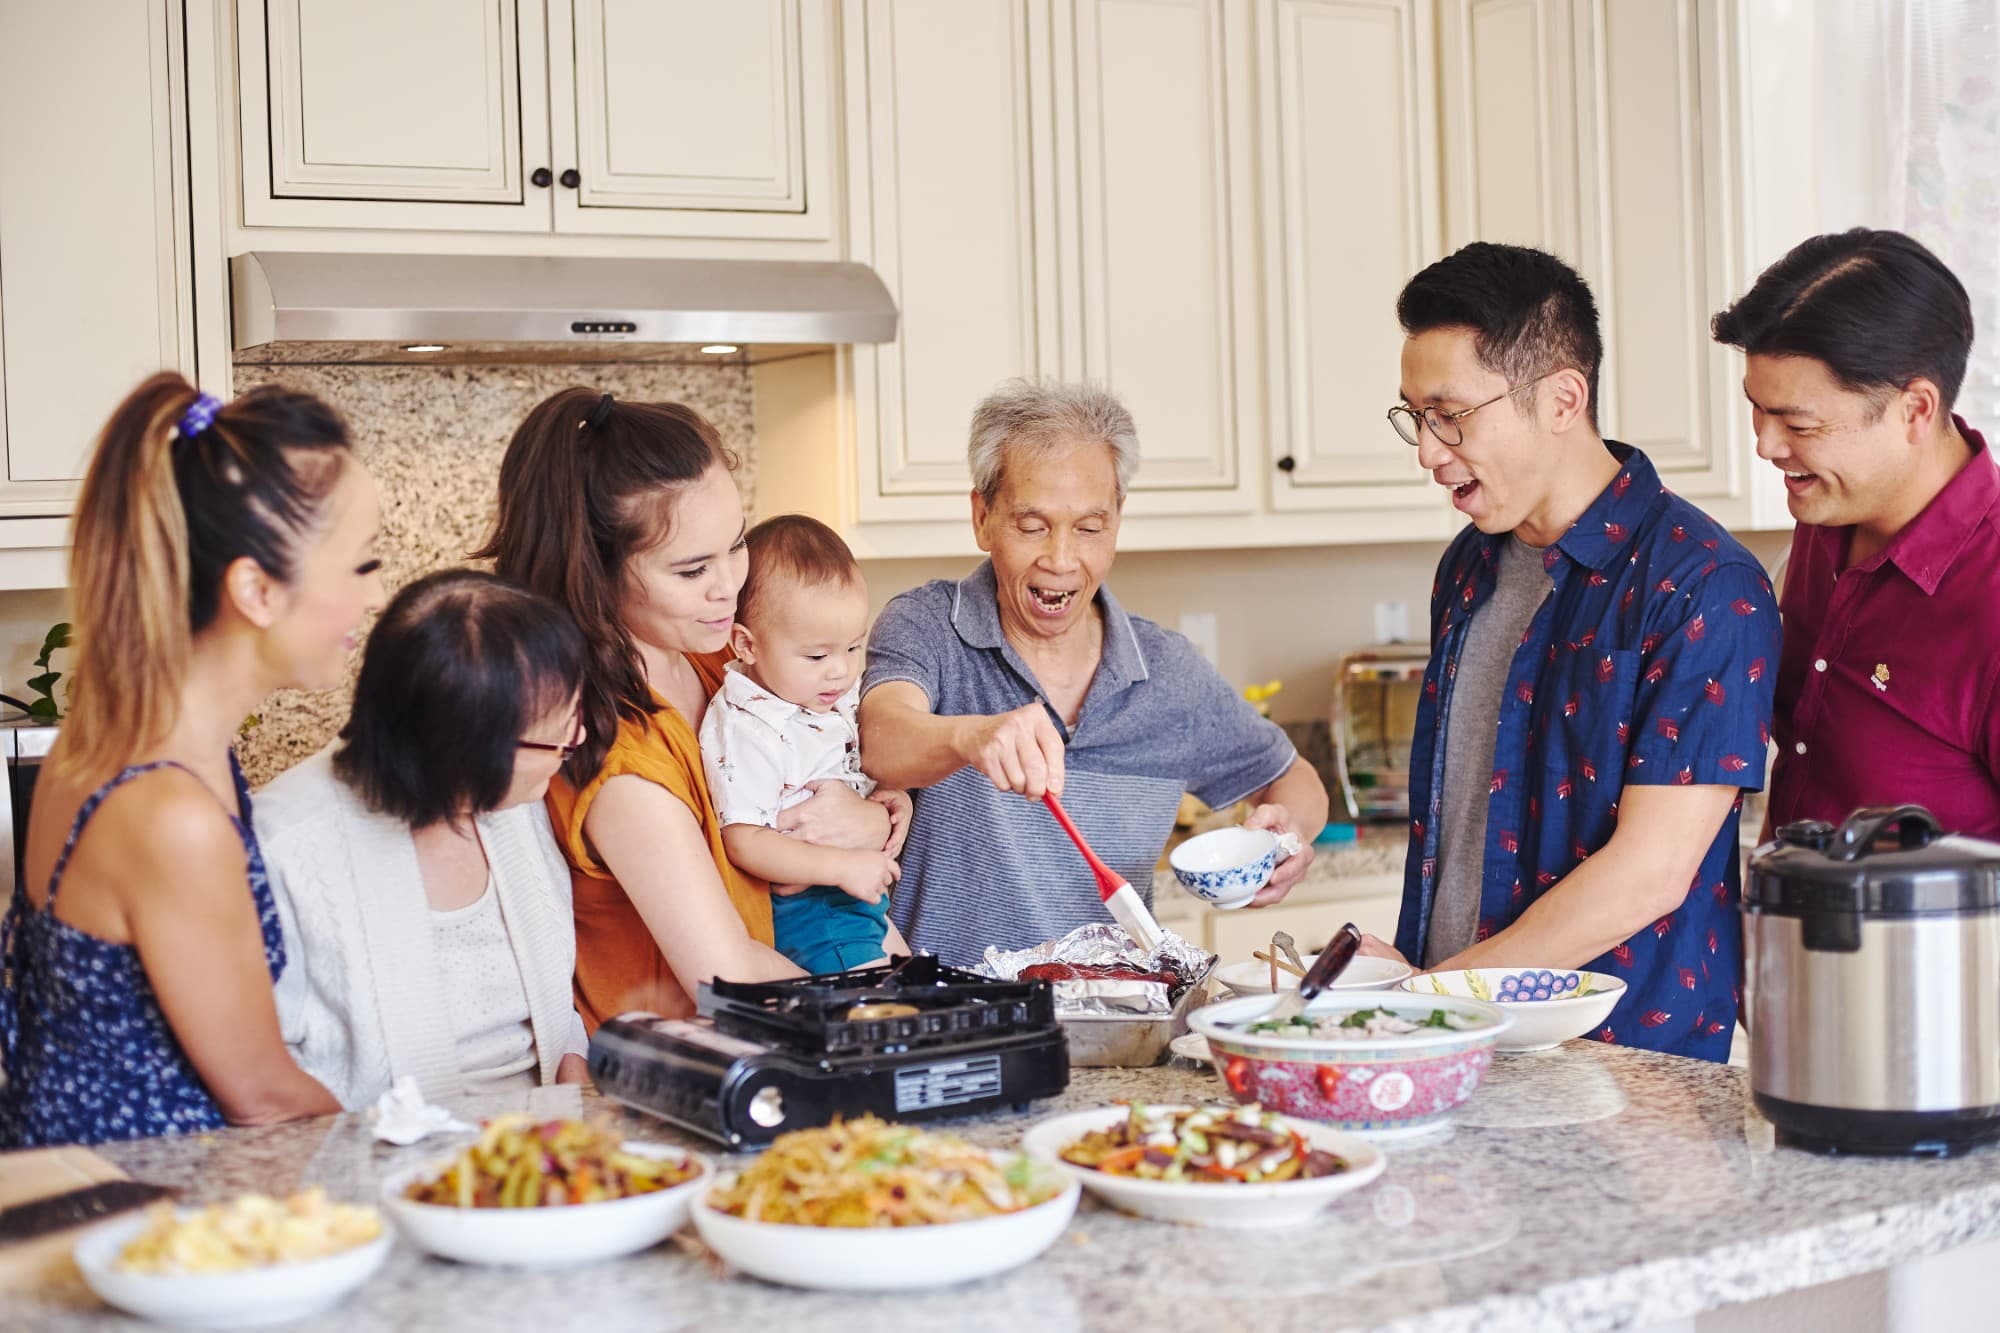
We started Made With Lau to celebrate Cantonese culture and honor the legacy of our wonderful parents, Jenny and Chung Sun Lau.
Our hope is that these recipes and stories help you spread the joy, love, and nostalgia that I felt growing up.