The White Cut Chicken with Ginger Scallion Sauce My Dad's Made 100,000 Times
Why this recipe

Most white cut chicken with ginger scallion sauce recipes online are tested only a handful of times. My dad used to make this dish multiple times a day, every day, for 60+ years and can make this in his sleep.
I know you'll love it as much as our community does! This recipe has over 1.6M views, 24.5K likes on YouTube.
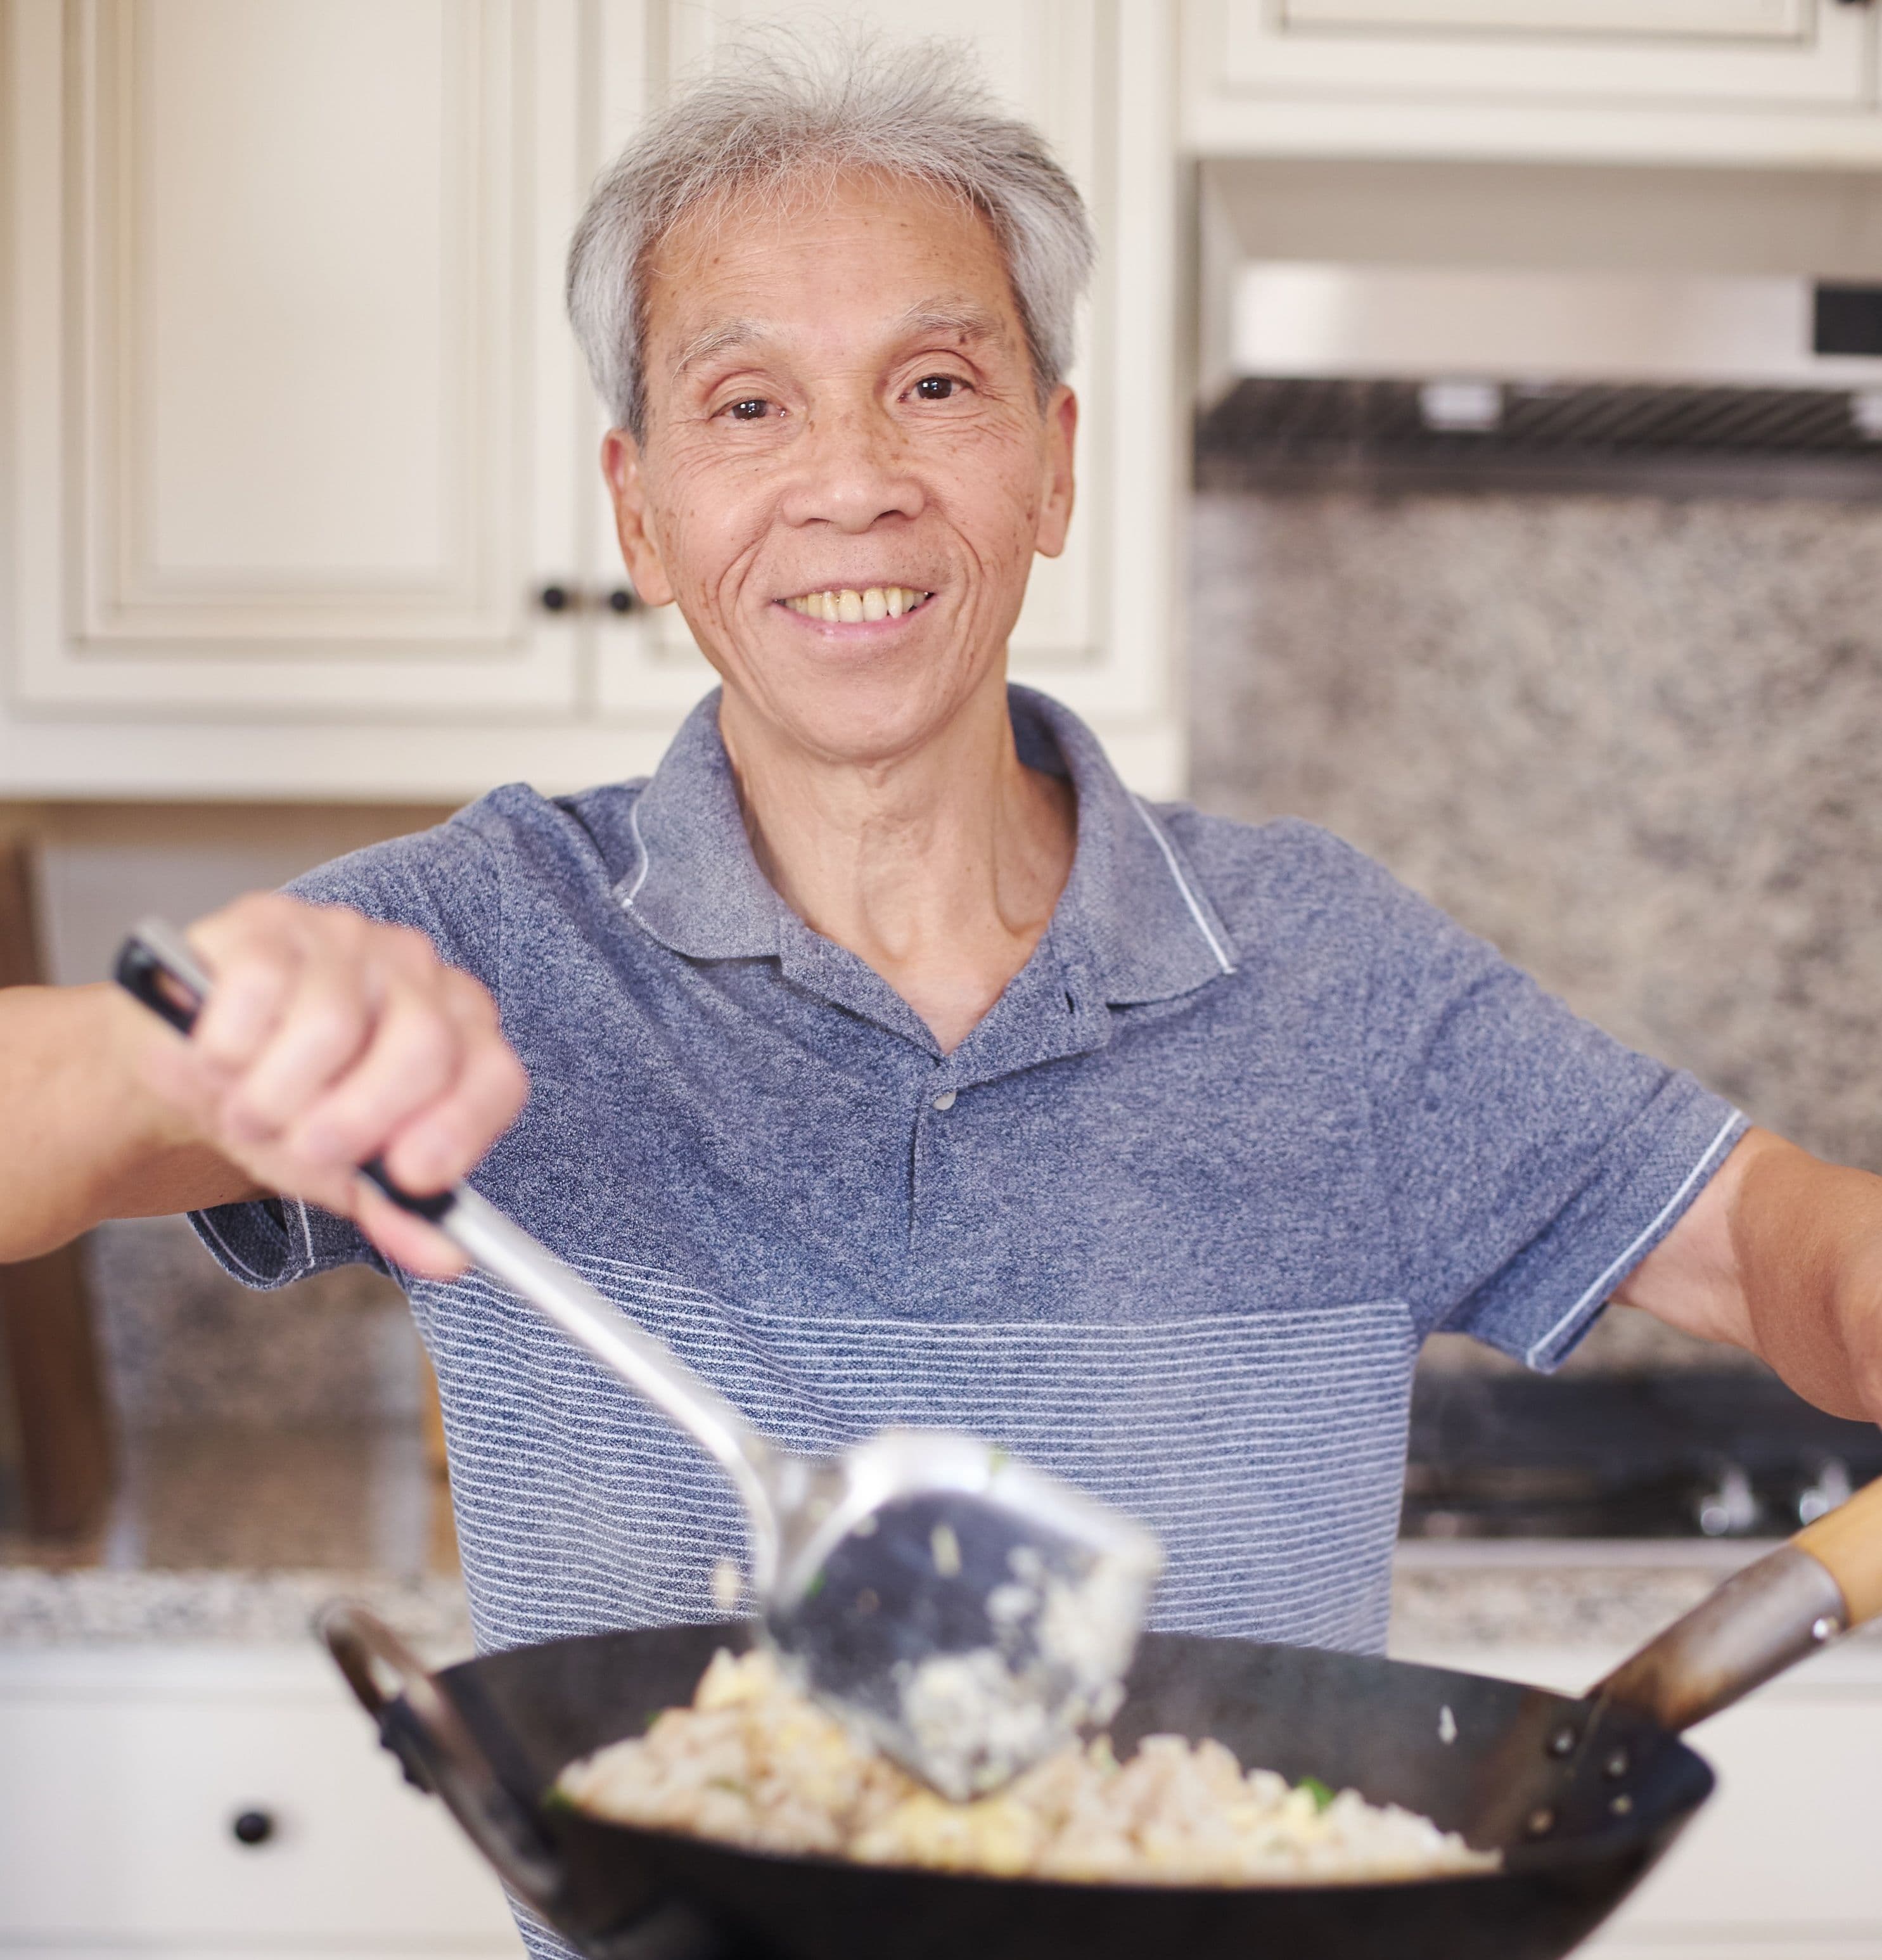
Today, Daddy Lau will be teaching us his recipe for white cut chicken (白切雞), Cantonese poached chicken, or bak chit gai in Cantonese, along with his deliciously addictive ginger scallion sauce (薑蔥醬) to pair with it.
He’ll also be teaching us the art of how to carve a chicken once it’s cooked, which is a traditional skill that I’ve always wanted to learn and pass on to my kids one day.
Chicken's many meanings and symbols
In Chinese tradition, chicken is intertwined with many sayings and superstitions of good fortune, wealth, and resilience.
Even though my parents didn't have much meat growing up, this is one of the dishes my parents always ate on Lunar New Year's eve and other festivities.
Especially with auspicious foods, Chinese superstition involves a lot of creative word-play. The word for chicken, gāi in Cantonese and jī in Mandarin, sounds like several words of good fortune.
Just to name a few phrases that my parents shared with us:
- hou2 sai3 gaai3 好世界 - A Cantonese phrase that roughly translates to good world, good life.
- daai6 gat1 daai6 lei6 大吉大利 - A Mandarin phrase that roughly translates to great luck, great profit.
- jau5 tau4 jau5 mei5 有頭頭有尾 - A Cantonese phrase that literally translates to: "has a head, has a tail." It means "good beginning, good ending." This is one of the reasons why it's important to make a whole chicken for Lunar New Year.
- zaau2 paa4 zaau2 waa4 抓扒抓鏵 - A Toisanese phrase, related to eating the chicken legs, that roughly means "face all challenges with persistence."
So, basically, eat a whole chicken if you want to live.
Ingredients

Instructions
Boil water, add salt
Set the stove to high heat and start boiling a generous amount of water in the pot you'll be using.
We'll want to be able to fully submerge our chicken in the water to make sure it cooks evenly.
We'll also be adding salt (1 tsp). My dad says not to add too much here.
Prepare & cook chicken
Wait for the water to come to a boil.
We'll be doing a couple of things in this step, mostly to ensure that the entire chicken (4 lb) is cooked evenly for maximum tenderness.
- Pierce a hole in the skin in the neck - This helps the water flow through the chicken cavity to help it cook more evenly.
- Stretch the legs away from the body several times - This helps to avoid having a big clump of chicken meat that's undercooked.
- Slowly dip the chicken 3 times in the boiling water - This helps even out the temperatures on the inside of the cavity and on the exterior of the chicken. Make sure the water is already boiling before you do this.
- Add the chicken and make sure it's completely submerged - If you have to add more boiling water, do it.
From here, we'll cover the pot.
Here's a rough heat / timing overview:
- Once the pot's been covered, leave it on high heat for 5 minutes as the water comes to a boil again.
- Lower the heat to a simmer, and cook for another 35-40 minutes. The larger the chicken, the longer you cook it. The sweet spot is 4 pounds.
- Check if it's done. If so, transfer it to an ice bath. (More on both of these later.)
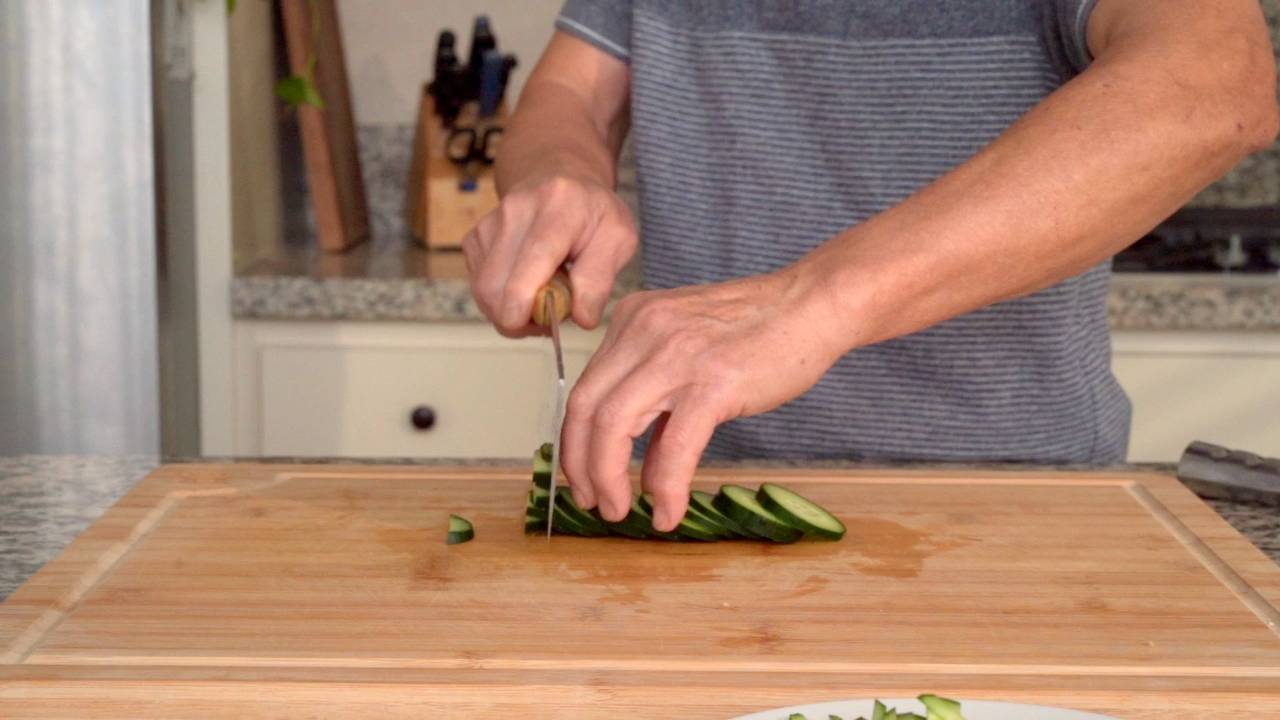
Mince scallions and ginger
While we wait for the chicken to cook, we'll start on our sauce by mincing our green onions (2 oz) and ginger (1.5 oz).
My dad said the exact ratio and raw amounts don't really matter too much. Most recipes I've seen use more green onion than ginger.
Having a surplus of sauce is a great problem to have, since you can use it on pretty much everything. (I LOVE dousing my rice and vegetables in this addictive sauce)
For the green onions, we'll be using the white stems (about 4 stems at the default serving size). Cut each stem in half, length-wise, and then into strips. Then, mince the strips into fine pieces.
For the ginger, we'll be cutting them into thin slices, strips, and then fine pieces.
One little detail is that my dad is using separate plates to hold the green onions and ginger. The ginger will be cooked first in the next step, so this makes it easier to just pour all of the ginger in at once.
Also, feel free to use a food processor here instead of mincing.
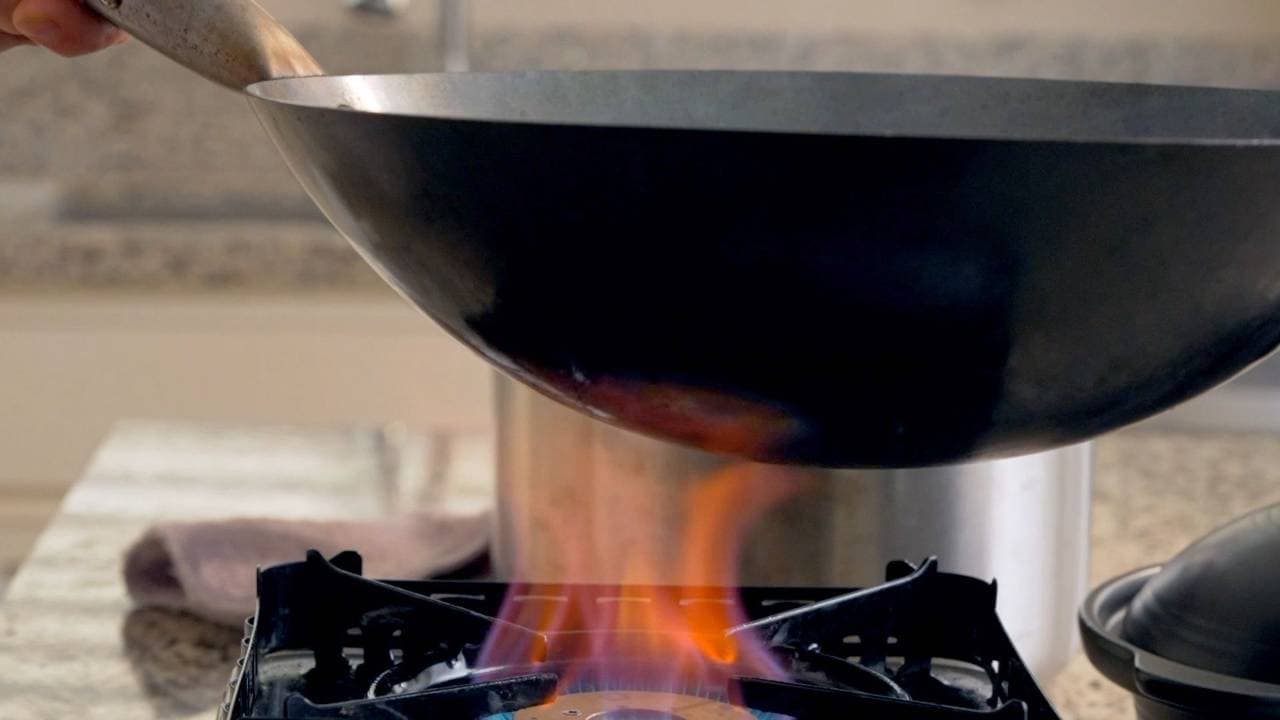
Heat oil, cook ginger scallions
We'll heat up our wok on high heat and add corn oil (5 tbsp).
The oil should be around 350-400F before we add the ginger.
This is where my infrared thermometer really shines, but a good visual cue is to wait until the oil starts "shimmering", or forming ripples across the surface due to the heat.
Why do we do this? By cooking everything in oil, we unlock the aromatics of the ginger and green onion.
Once the oil is hot enough, add the ginger and cook for about 15 seconds before adding the green onions. Cook everything for another 20-30 seconds before transferring the sauce to a bowl.
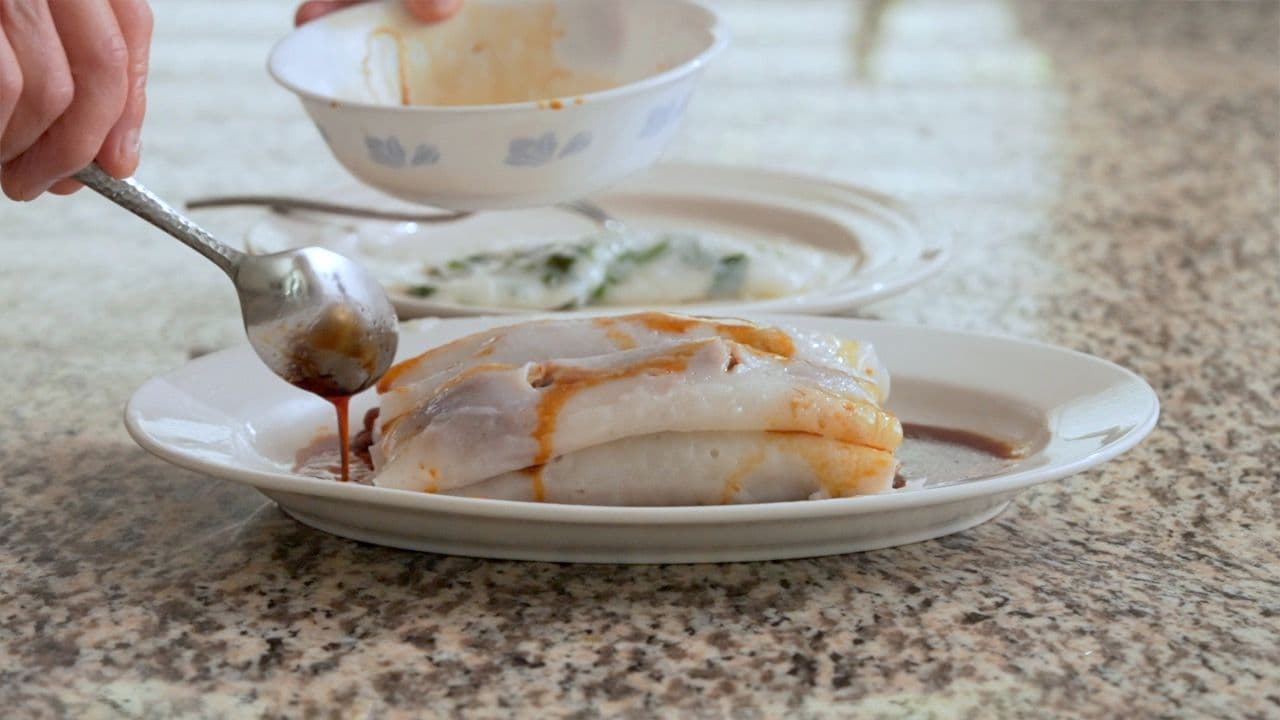
Flavor the sauce
We'll add salt (2 tsp) and sesame oil (1 tbsp) to the bowl, and mix for 30-60 seconds.
Do a taste test. If it's not salty enough, feel free to add more.
My dad emphasized multiple times how important it is to add sesame oil here, so make sure you don't skip it.
Prepare an ice bath
Grab a big bowl and dump a few handfuls of ice into it. Fill it roughly halfway with cold water.
The ice bath is very important - once the chicken is done cooking, we need to immediately cool it down.
Why is this so important?
- It helps the meat contract and locks the juices inside - If we skip this step, juices will flood out as we chop the chicken into pieces.
- It helps the skin stay attached - Without this step, we'll have a bunch of loose pieces of skin everywhere.
- It gives the skin a bit more of a chewy texture
Determine if the chicken is done
Once the time draws near, we can uncover the pot. Poke the thickest part of the chicken (around the thigh) deeply with a chopstick.
If blood or red fluid leaks out, we need to cook it for a few more minutes.
If the fluid is clear, it's ready for the ice bath.
Feel free to use your fresh chicken broth however you'd like. In the video, my dad created two additional dishes (a soup and a veggie) out of it by boiling bok choy with some ginger.
Lift and transfer to ice bath
Carefully take two chopsticks under the chicken wings, and lift it over the pot.
Suspend it over the pot for 30-45 seconds to let some of the residual water drip out.
Then, carefully transfer it into the ice bath. Prepare for a splash!
Let the chicken sit in the bath for 5 minutes, occasionally pouring water over the surface of the chicken and rotating the chicken in the container.
Carve the chicken
This could honestly be its own blog post, but for now it will live in a very detailed step in this recipe.
This is a lot easier to follow in our YouTube video, where we dedicate about 6 minutes of time to this segment.
There are a few things to keep in mind before you start.
- My dad’s done this hundreds of times, and it took him about 10 minutes from start to finish. It’ll probably take a lot longer if you’re a beginner like me, but the main thing is just to make sure your cleaver is sharp and that you’re moving carefully and deliberately.
- If you don’t already have a cleaver, it’s still technically possible, but I highly recommend getting one if you plan on making this dish. We've included links to a few great options:
- Dexter Russell - https://amzn.to/2NhpHhY
- The same brand (not same model) as my dad's 40 year-old cleaver (ships from China)
- For easier, safer cutting, you should use a larger, thicker cutting board that’s preferably made of wood, and you should place a moist towel underneath it to increase its stability.
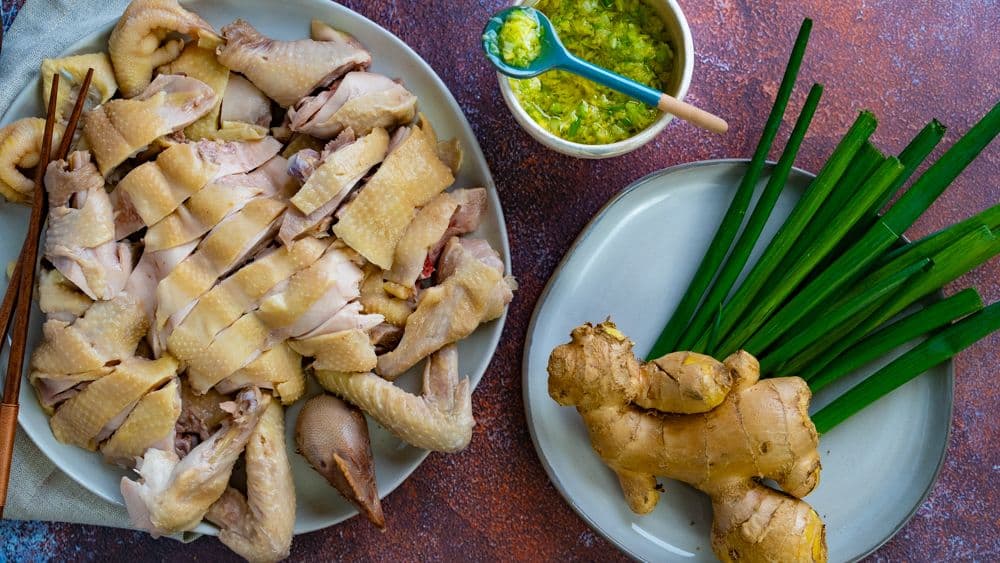
How to plate, according to Chinese tradition:
- Basically everything is plated - even parts that aren't readily edible like the head.
- Each piece of chicken is laid out on a large plate according to where it was on its body, head to toe, right to left.
- You'll often see this served on a large oval-shaped plate.
Order of operations:
- Cut off the neck and feet, cut into small pieces
- Cut and place the head and butt at opposite ends of the middle axis of the plate
- Remove the wings and thighs
- Cut and split the torso into two halves (front and back)
- Split the back in half, and cut it into pieces
- Cut and pry away the breast bone, and cut it into pieces
- Cut the thighs and wings into small pieces
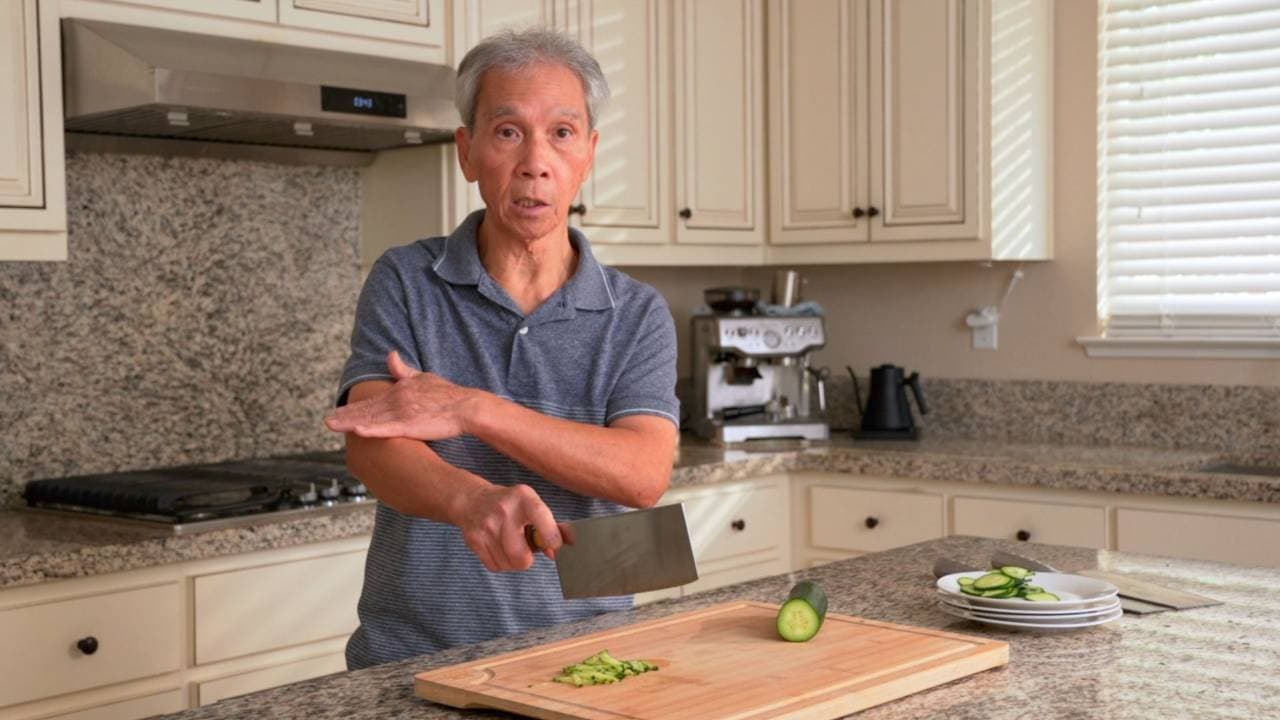
Cutting techniques:
- A technique my dad uses a lot involves making a shallow slice to wedge the cleaver, and then hitting down on the blade with our palm to drive the blade through the bone.
- In our recent knife skills interview, my dad talked about the 3 different parts of the blade - the root, the belly, and the tip. When chopping through bone, he always makes contact with the root, or the part of the blade closest to the handle.
When I first started Made With Lau, documenting how my dad carves a chicken was high on the list of traditions I wanted to learn and share. There are lots of different ways to cut a whole chicken, but it always feels like I’m watching an artist at work when I see my dad gracefully chop and plate everything.
Every cut has an intention, and every piece has a place. Almost everything goes on the plate, and nothing is wasted. Especially for Lunar New Year and other celebrations, bak chit gai is meant to be one of the main decorative centerpieces on the dinner table, and carving it up into beautiful bite-sized pieces is an honor that I hope to take on one day for my own family.
Pairs well with
View all →Made with love ❤️
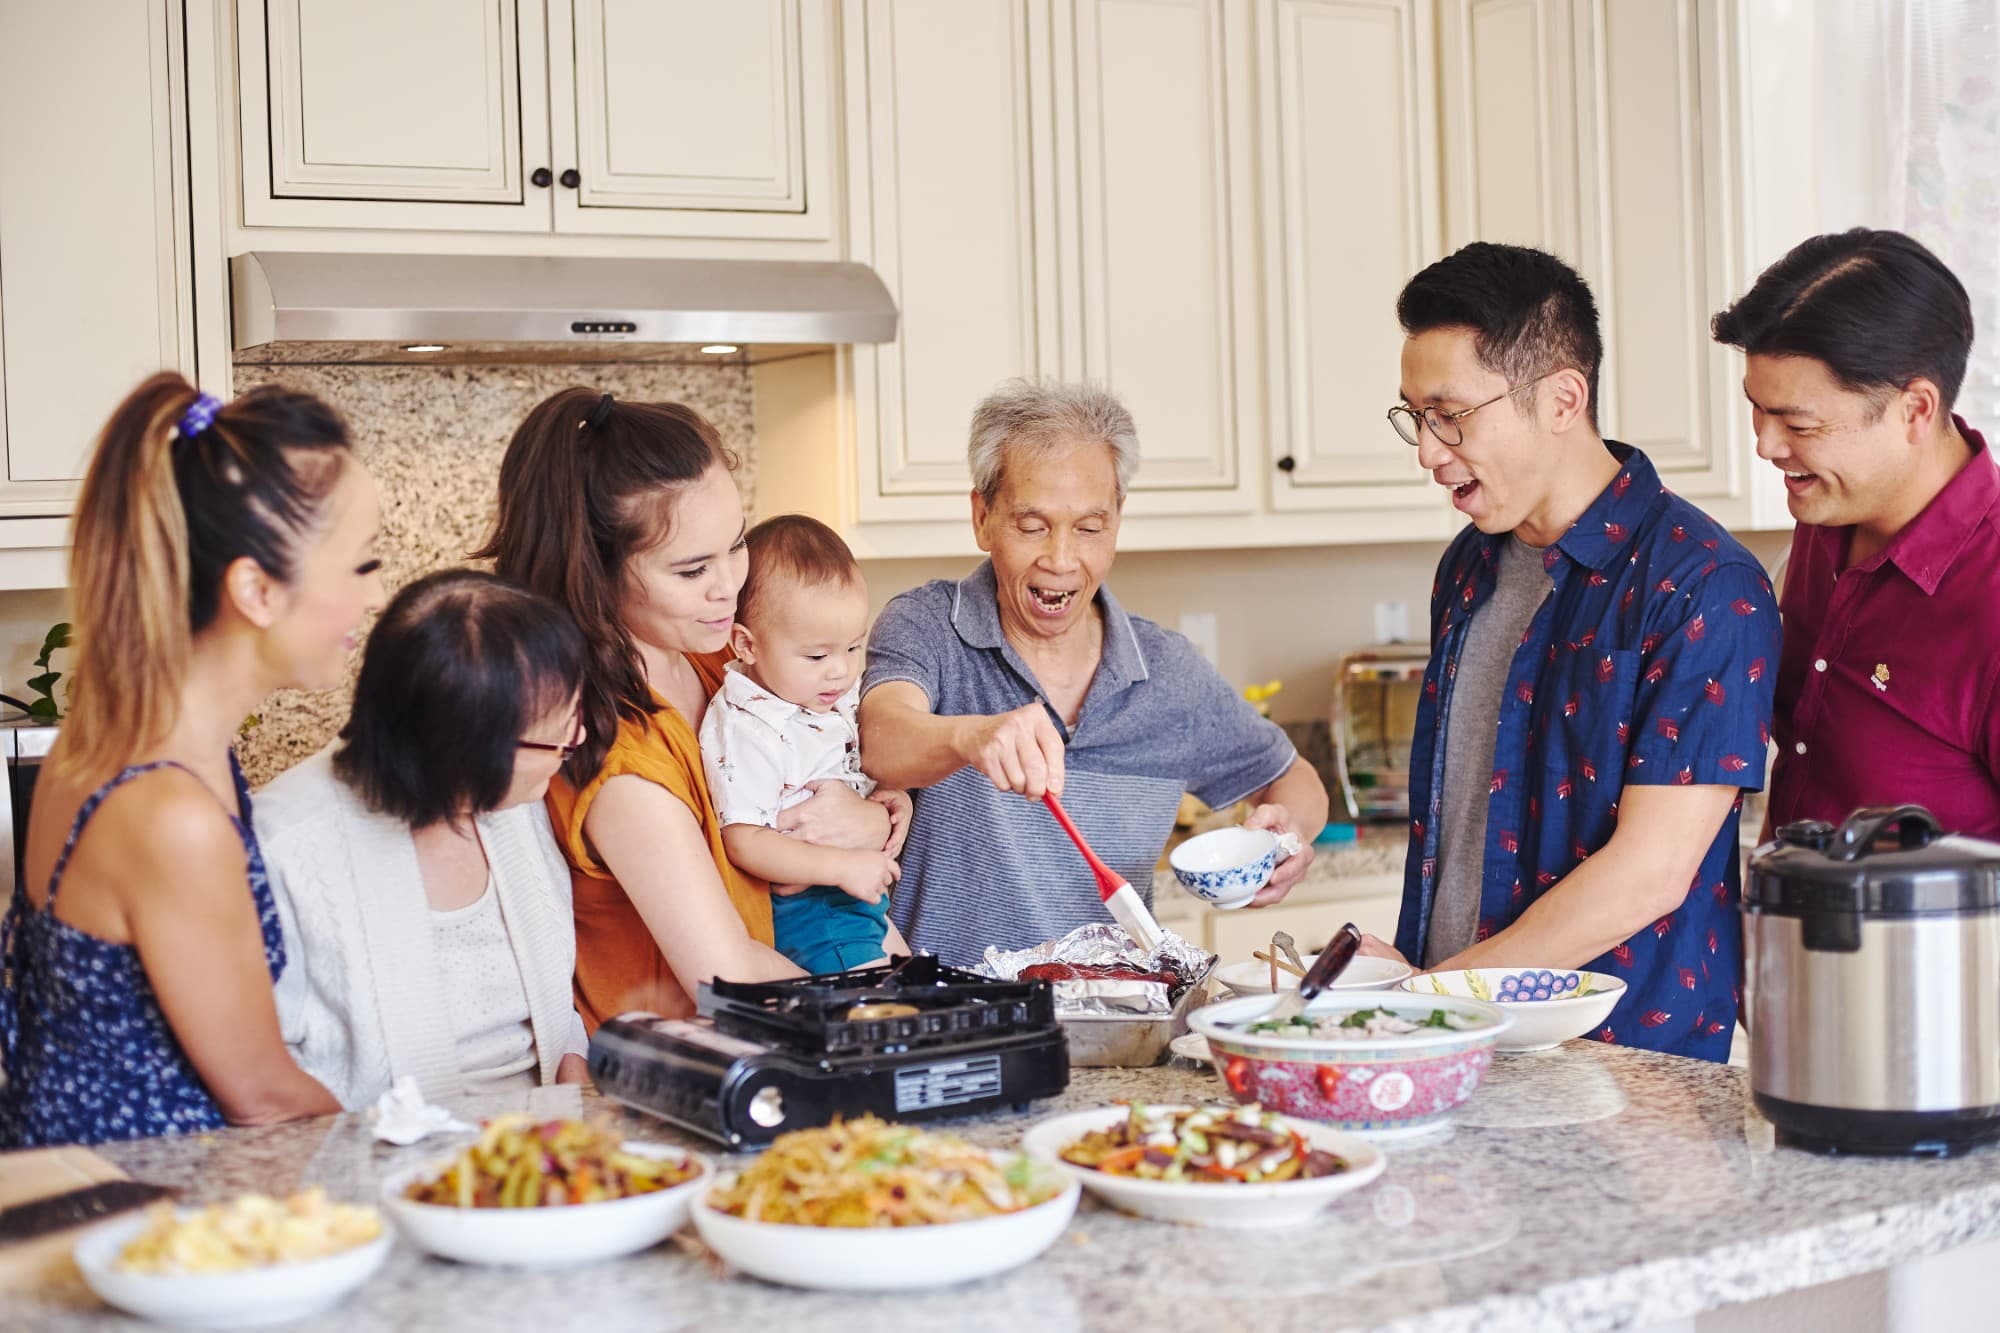
We started Made With Lau to celebrate Cantonese culture and honor the legacy of our wonderful parents, Jenny and Chung Sun Lau.
Our hope is that these recipes and stories help you spread the joy, love, and nostalgia that I felt growing up.