Why should you try my dad's recipe?
Because my dad's made this dish thousands of times (literally!) over his 50+ year career as a Chinese chef. And now, you get to learn all of his tips and techniques.
I know you'll love it as much as our community does - this recipe video has over 448.3K views and 6.4K likes on YouTube!
Love from our community
@luciemaevlaniant8672
Thank you for the delicious fish video. Unfortunately I can’t get good fresh fish where I live. I could only depend on frozen or can. Frozen fish usually taste bland and not very good. But your dad gave me a great idea. I will marinate the fish with the wonderful marinade of ginger, green onions, etc. I will try it soon. Thank you!
@ansaz4
Thank you for your detailed tips. I am learning so much. Also love the family atmosphere of different generations creating memories together. Being an immigrant in a foreign land with parents who have passed on, it is heartwarming to see this bond. All the best.
@AvidbivA
love watching your dad cook. he is amazing teacher. thank you
Watch on YouTube
Meet your chef, Daddy Lau
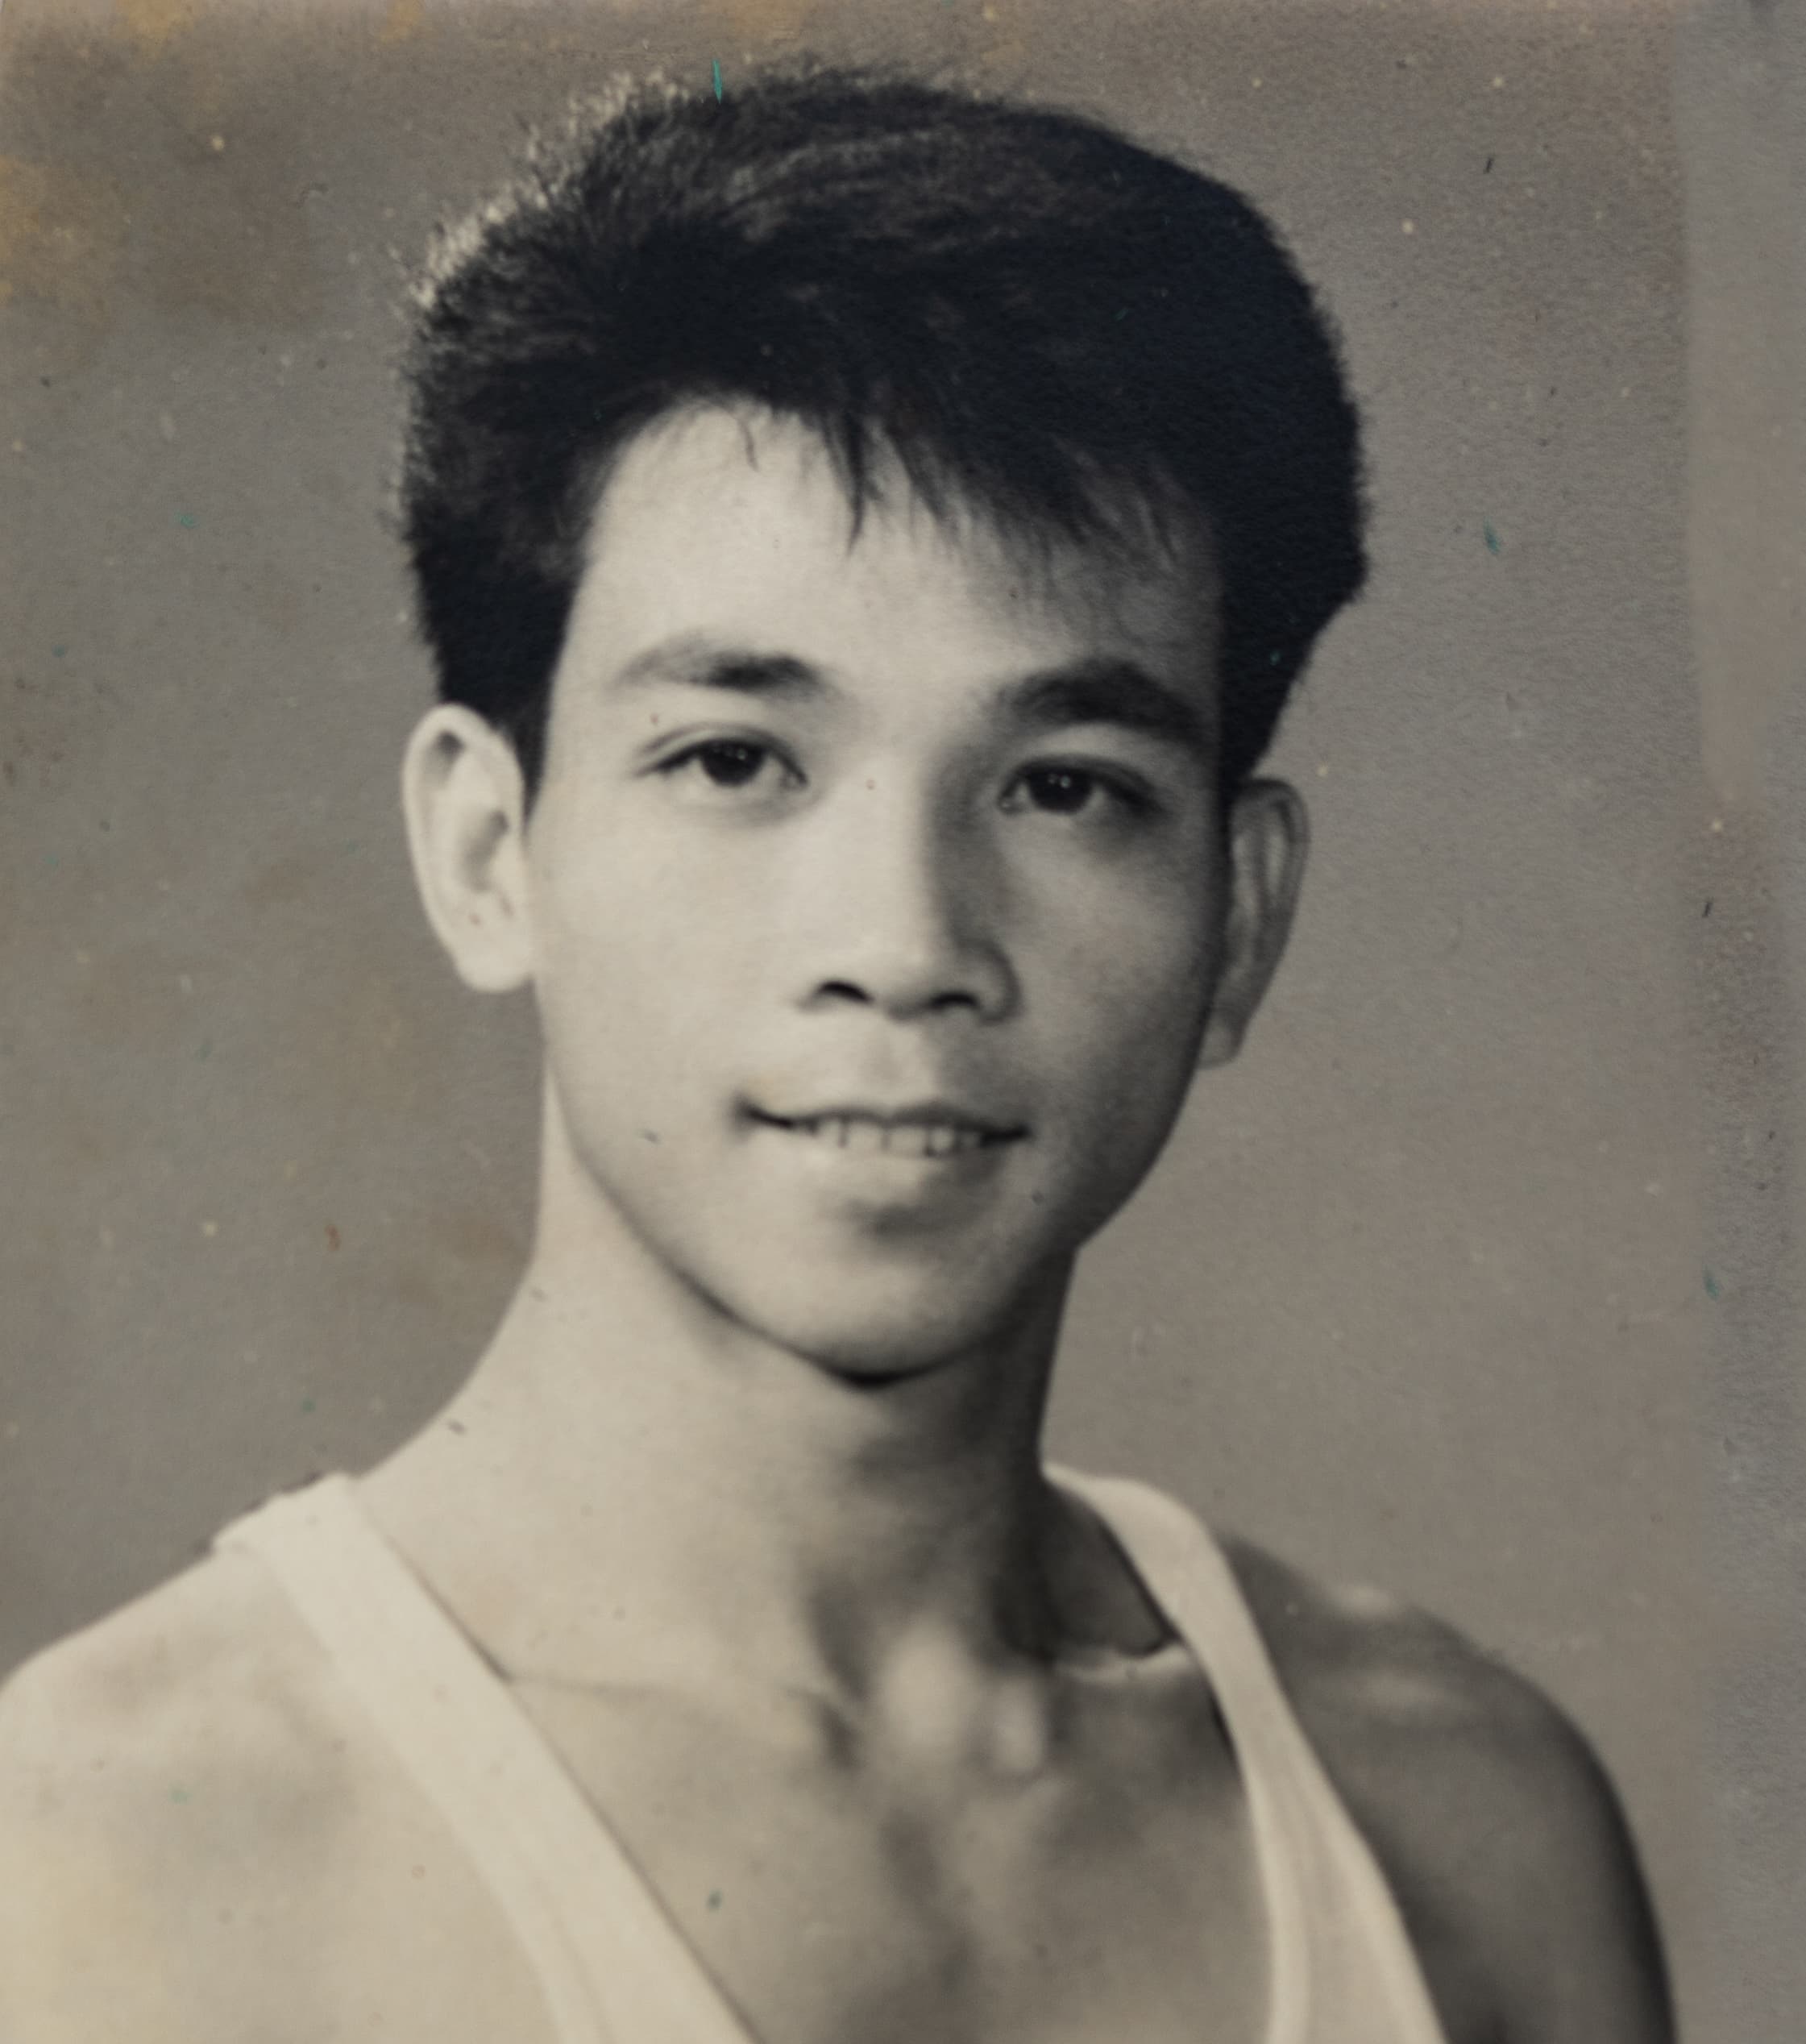
50+ Years of Experience
My dad's been cooking Chinese food for over 50+ years, as a chef, restaurant owner, and loving father.
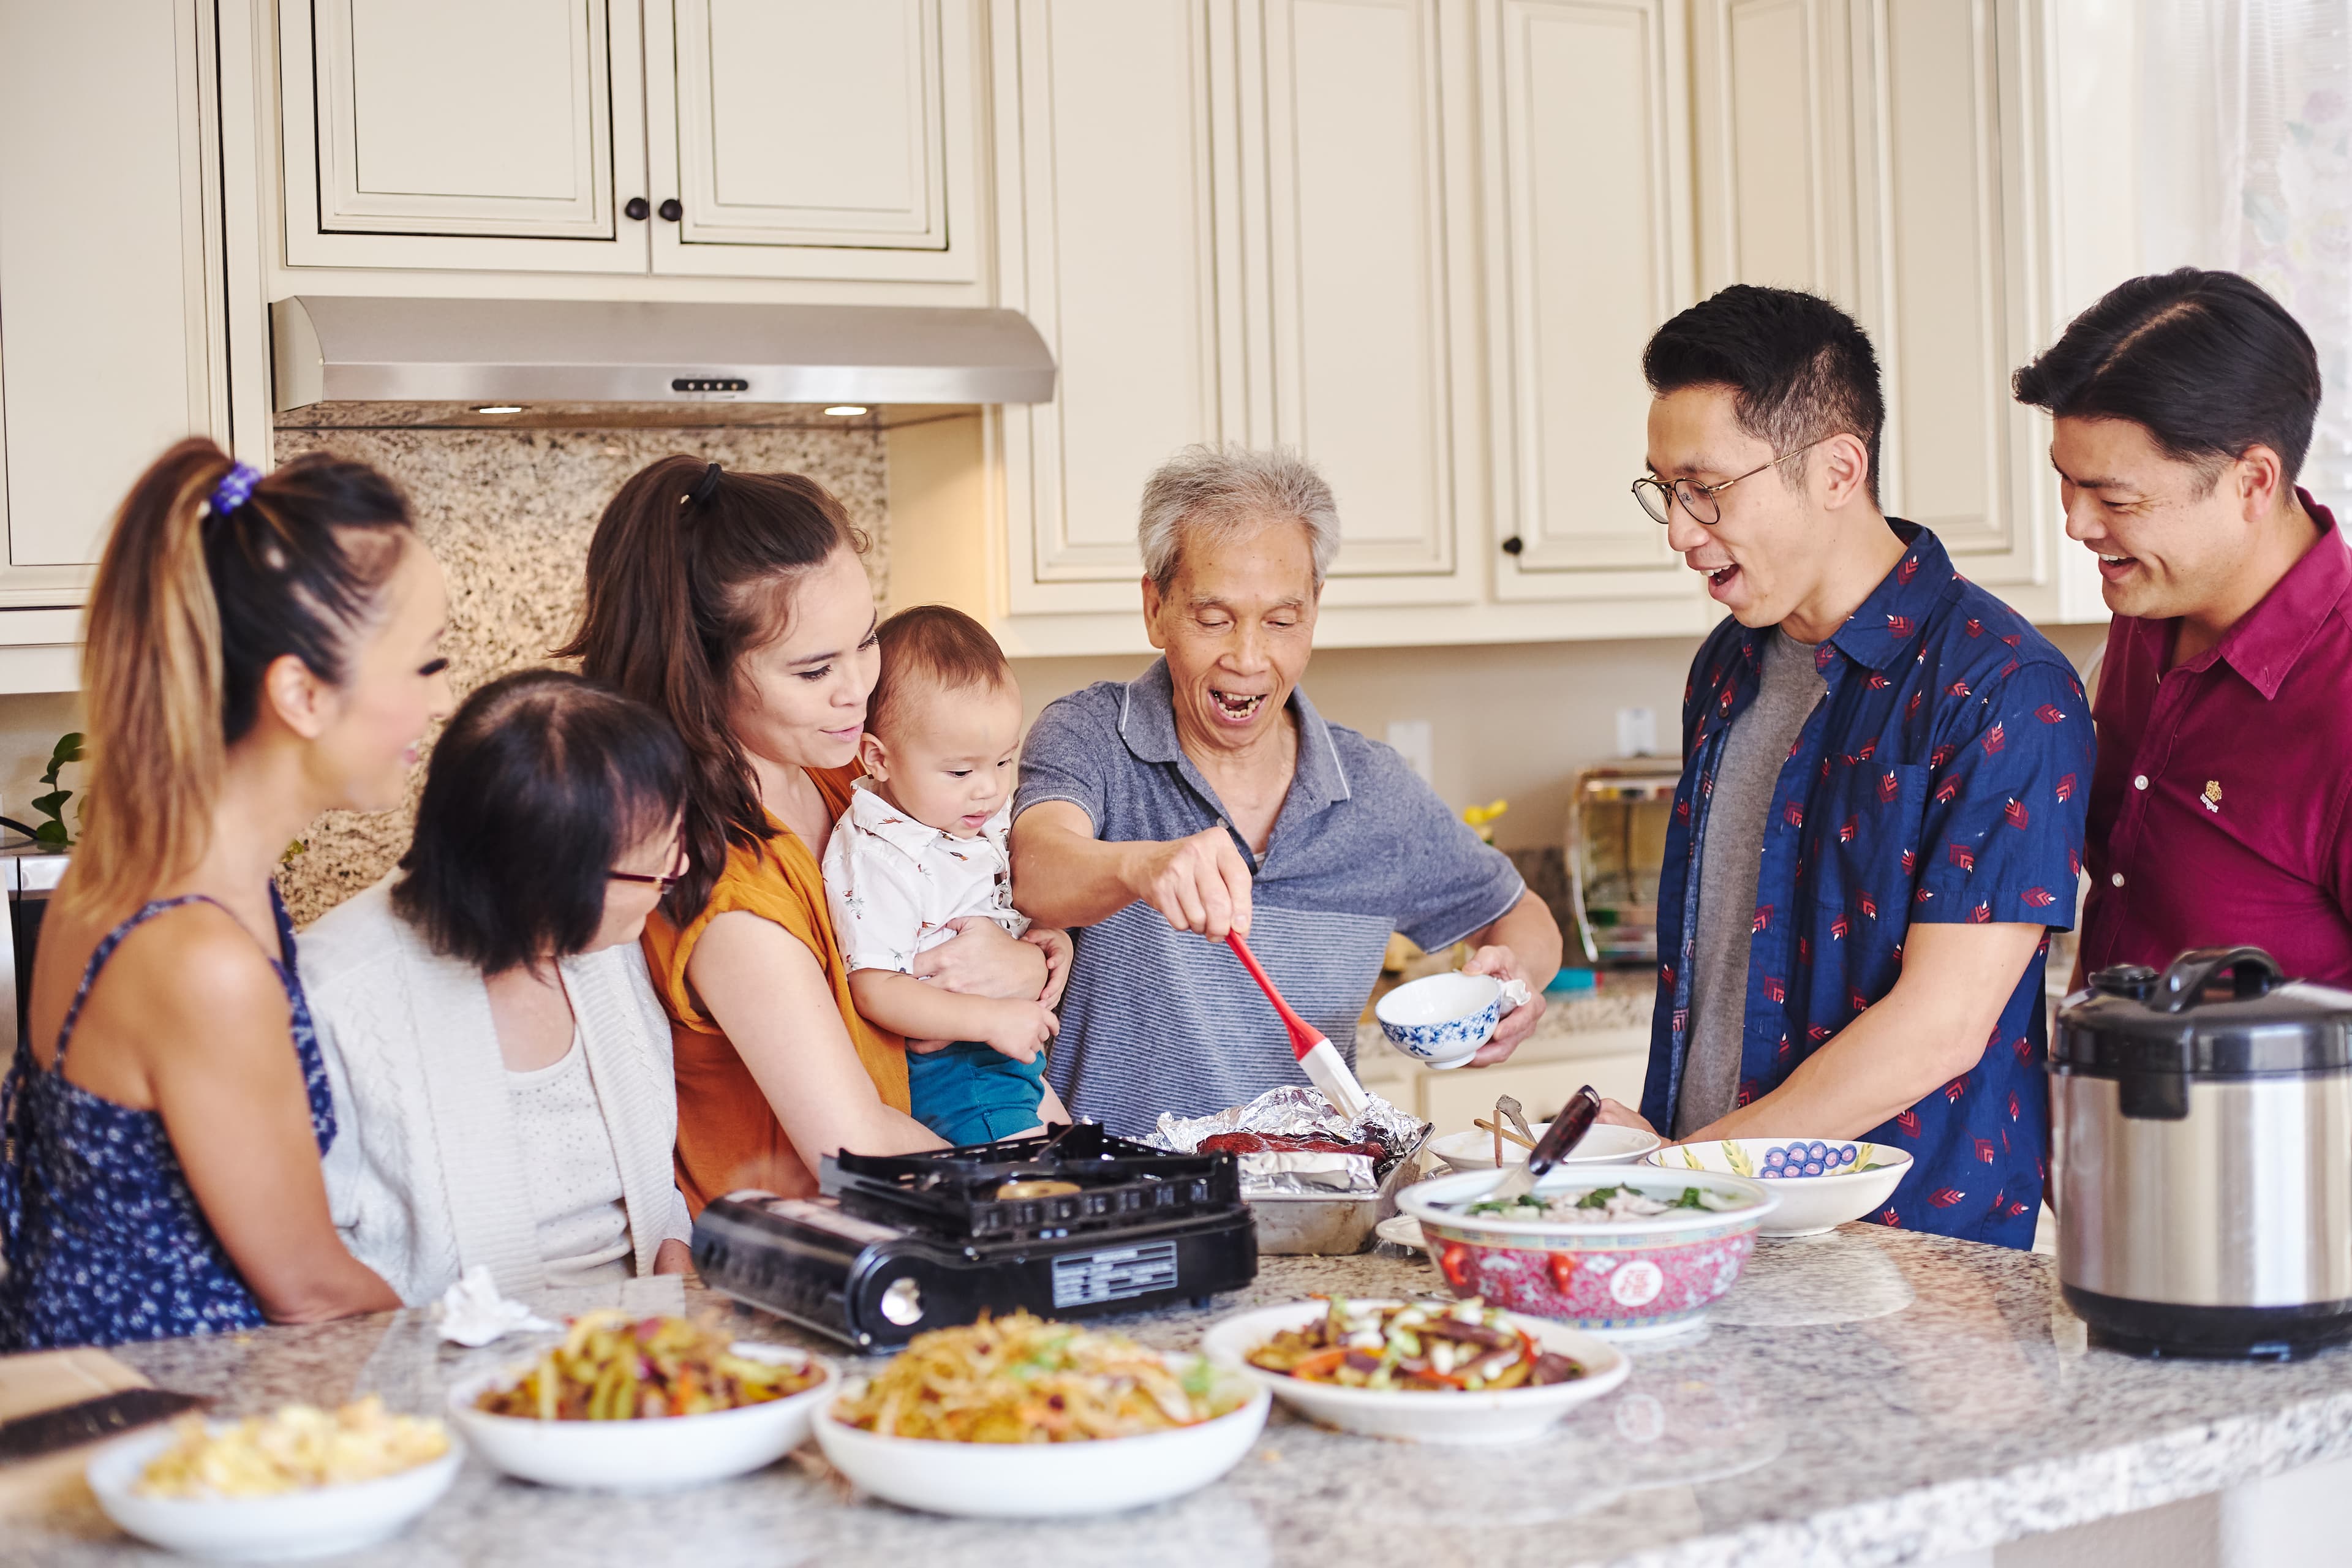
Meet our family
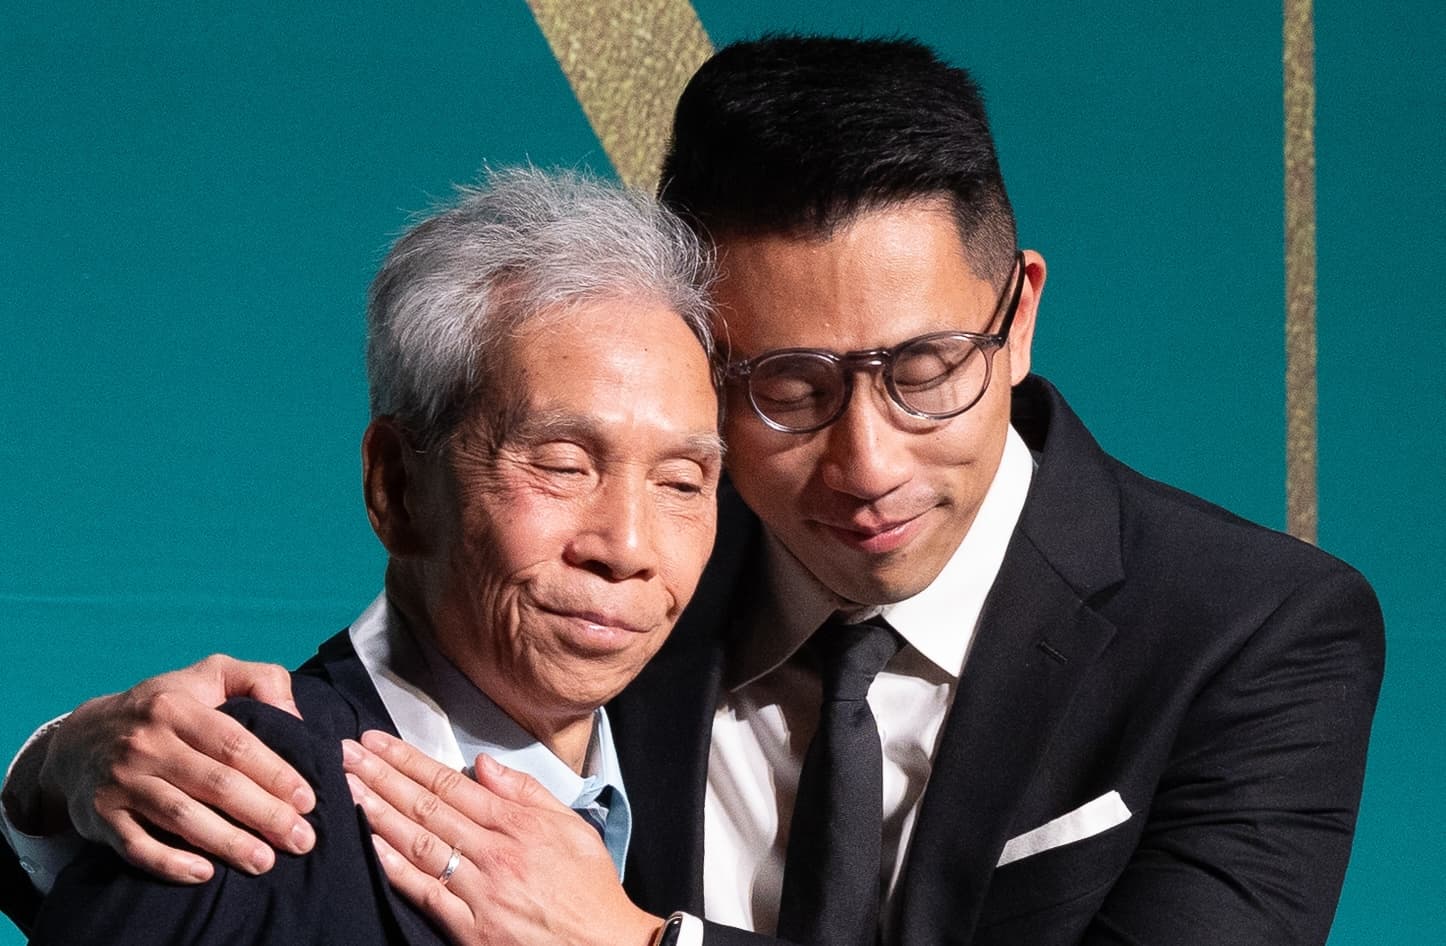
2x James Beard Awards
We won TWO James Beard Awards for our endeavors in teaching and preserving Cantonese cuisine.
Read more
Over 2.5M+ Followers
My dad is the internet's favorite Chinese chef, teaching millions of people how to cook every month.
Watch our videos
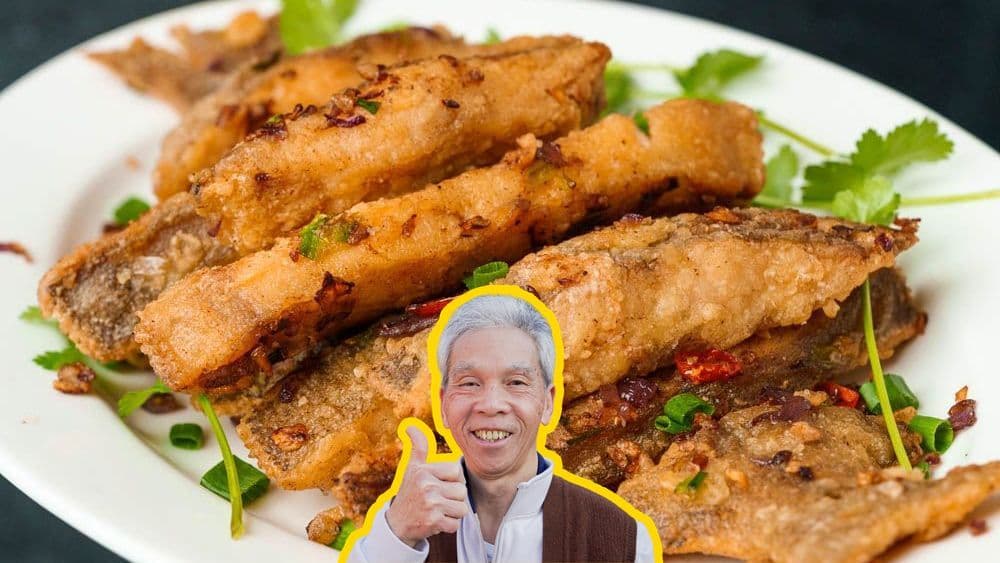
Salt & Pepper Sole Fish (椒鹽龍利魚)
The latest installment to our Salt & Pepper series is a delightful experience in texture. You just can't beat the delicate, tender fish with a crispy fried outside.
Check out our other Salt & Pepper dishes here:
Ingredients
Prep
20 minutes
Total
35 minutes
Share
Use our magic wand to update this recipe!
Main Ingredients
- 1 lb sole fish
- 2 stalk green onion (white parts only)
- 1 whole chili pepper
- 2 clove garlic
- 1 oz ginger
- 0.50 oz red onion (optional)
- 10 oz corn oil (or other neutral, refined oil; enough to deep-fry the fish)
- 1 tbsp corn oil (for stir-frying; this can be fresh oil or reused from frying)
- 0.50 tbsp cooking wine
Fish Marinade + Coating
- 0.25 tsp white pepper
- 0.50 tsp salt
- 1 egg
- 6 tbsp cornstarch
Salt + Pepper Seasoning
- 0.50 tsp salt
- 0.50 tsp garlic salt
- 0.25 tsp five spice powder
- 0.50 tsp white pepper
Want a deeper dive into how to craft traditional, authentic Cantonese flavors?
Understanding Flavor
Learn how to recreate the Cantonese flavors you love by demystifying and mastering a handful of core, traditional ingredients
Salt & Pepper on a Cantonese table
When we hear salt & pepper in a Western context, it usually refers to salt paired with black pepper, perhaps in a duo of shakers on the table. In the context of this dish, the pepper in "salt & pepper" refers to white pepper and often other spicy seasonings.
Even though they come from the same fruit, white pepper’s flavor profile is more subtle and woody while the black pepper’s flavor profile is more floral and forward. There is no definitive Chinese salt & pepper “formula”, as each recipe is shaped by preference and ingredient availability.
In our Salt & Pepper dishes, we love including garlic salt for an added layer of flavor. Restaurants don't typically use garlic salt in their Salt & Pepper offerings, but once you try it at home, you'll never leave it out again!
Oil for frying
For deep-frying, we recommend using a neutral, refined oil. We use corn oil here, but other great refined oils include peanut oil, vegetable oil, and canola oil.
Refined oils are best for cooking at high temperatures because they have high smoke points, which means they start smoking at higher temperatures compared to other oils, like olive oil.
Smoking oil isn’t always a problem and sometimes even desired for getting that perfect “Wok Hei” in your stir fry, but it’s a sign that the oil is breaking down, which can release burnt or bitter flavors or even harmful free radicals.
Instructions
Prep
20 minutes
Total
35 minutes
Share
Use our magic wand to update
this recipe!
Help Shape Our Cookbook!
We're writing a cookbook! It won't be available until 2027, but sign up now to get weekly tips and videos from our cookbook development.
Step 1: Prepare aromatics
Dice the green onions (2 stalk) into small pieces. Keep only the white parts.
Mince the chili pepper (1 whole). If you prefer more of a heat, you can use more; if you prefer the dish milder, you can reduce the amount or omit the chili pepper altogether.
Smash, peel, and mince the garlic (2 clove). Cut the ginger (1 oz) into thin slices, then into strips, then mince finely.
Onion is optional, but we love the extra flavor and color it adds to the dish. Cut the red onion (0.50 oz) into strips, then mince.
Step 2: Prepare fish
We'll trim and descale the fish (1 lb). If you're using very clean and tidy fillets, you may be able to skip this preparation.
Trim off the tail and fins.
If your fish didn't come descaled already, descale it with a small knife. (You also use a specialized descaler, if you have one, or descale in a plastic bag with your fingers using Daddy Lau’s clean-up minimizing trick; check out this part of our Steamed Fish video to watch his demonstration.)
After the fish is trimmed and descaled, wash it in cold water. This rinse helps to clean off all the scales and makes sure the edges are clean.
Then, cut the fish into 1-inch fillets; in our video, Daddy Lau divides his piece of fish into 6 pieces. Place the cut fish pieces in a bowl.
Add white pepper (0.25 tsp), salt (0.50 tsp), and 2/3 of the minced ginger to the fish. Save the rest of the minced ginger for stir-frying later.
Mix to distribute the seasoning evenly.
Step 3: Prepare salt
In a separate bowl, combine salt (0.50 tsp), garlic salt (0.50 tsp), five spice powder (0.25 tsp), and white pepper (0.50 tsp). Restaurants may make this seasoning without garlic salt, but we love the extra layer of irresistible umami flavor.
Step 4: Coat fish
We’ll use only egg yolk for this recipe in order to achieve a brighter color with our fried fish, but you can beat and use up the whole egg if you like. Separate the egg and add the yolk to the seasoned fish pieces. The layer of egg here will help the cornstarch coating adhere to the fish. Mix the egg yolk into the fish with your hands, ensuring every piece is coated well.
Spread out an even layer of cornstarch (6 tbsp) onto a plate. The advantage of using cornstarch instead of flour is that your crust will fry up to be crispy rather than soft (and easily soggy!). One at a time, roll the fish pieces in the cornstarch, making sure every side is well-covered.
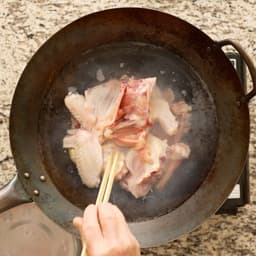
Step 5: Deep-fry fish
Heat your wok on high, then when it’s hot, add oil (10 oz), enough so that it will completely submerge the fish when you add it later. Let the oil reach a temperature of 300° F (149° C).
When the oil has reached the correct temperature, it’s time to deep-fry the fish. Give each piece of fish a firm, gentle squeeze to help the cornstarch cling on, then lower the fish gently into the oil. Don’t drop it from a height! In fact, the best way to avoid splashing of hot oil is to have the bottom of the piece touching the oil, or very close to the oil, when you let go of the fish.
Wait 20-30 seconds before moving the fish around with your chopsticks or tongs. If you touch the fish immediately after it enters the oil, the cornstarch will come off. You want to wait for them to firm up a bit, then nudge them as necessary to prevent sticking.
You may need to divide your fish into two or more batches, as we do, to avoid overcrowding the wok. When you crowd too much fish into the wok, you risk the pieces sticking together, and the oil temperature also drops too much to deep-fry effectively.
Fry the fish until they turn a light yellow color, which should take about four minutes. Remove the fish from the wok with a spider strainer or slotted spatula. Set aside and repeat with the rest of the fish if you’re frying in batches.
Once all of the fish have gone through a first fry, proceed with a second round of frying.
Increase the heat to high, and bring the oil up to temperature of 400°F (205°C).
This second fry gives the fish the beautiful golden fried color and a crispy exterior. Again, you can divide the fish into two or more batches.
Add the fish back to the wok, and fry until they turn golden, which should take less than a minute. Our second fry only lasted 30-40 seconds.
Take the fish out. You can keep them in the spider strainer and set the spider on a plate to allow the excess oil to drain.
You can keep the frying oil to reuse later by letting it cool down, then pouring it into a container.
Step 6: Stir-fry everything
Heat a wok or pan on high; you can use a clean one or give your wok from earlier a quick clean.
Add oil (1 tbsp) and swirl it around to coat the wok. You can use fresh oil here like we do, or reuse the fish frying oil from before.
Add the garlic, ginger, and chili to the wok. Cook them for 10-20 seconds, until aromatic.
Add the red onion. Stir-fry with the rest of the aromatics for 5-10 seconds.
Add the green onion, and stir-fry with the rest of the aromatics for 10-15 seconds.
Lower the heat to medium and add the fried fish. Gently toss the fish in the aromatics for about 15-20 seconds to help distribute the flavor and aromatics.
Gradually sprinkle in the salt & pepper mix while tossing the fish in the wok. You can either mix with a spatula or flip the wok as you would a pan. Either way, be gentle so that the delicate fish doesn’t fall apart. You may or may not use up all the seasoning mix. Keep an eye on it so you don’t over-season and make your dish too salty.
For a fragrant finale, add a splash of cooking wine (0.50 tbsp) and mix it in. Turn the heat off and plate. Don’t forget to scoop up all the crispy aromatic bits. Enjoy!

Master Cantonese cooking from the ground up
Develop the intuition and foundation to cook Cantonese food with exclusive classes from a master chef.
Explore all masterclassesFrequently Asked Questions
Enjoy!
We have many, many happy memories of enjoying this dish growing up.
Now, hopefully, you can create your own memories with this dish with your loved ones.
Also, I cordially invite you to eat with us and learn more about the dish, Chinese culture, and my family.
Cheers, and thanks for cooking with us!
Feel free to comment below if you have any questions about the recipe.
More Recipes
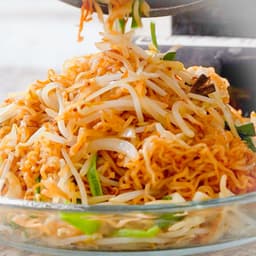
泡麵版炒麵
Chow Mein, with Instant Noodles
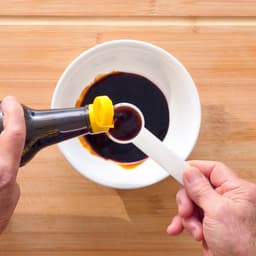
萬用炒醬
Universal Stir Fry Sauce
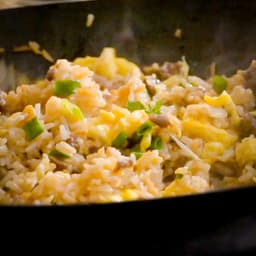
牛肉炒飯
Beef Fried Rice
雞湯
Easy Chicken Broth
Made with love ❤️

We started Made With Lau to celebrate Cantonese culture and honor the legacy of our wonderful parents, Jenny and Chung Sun Lau.
Our hope is that these recipes and stories help you spread the joy, love, and nostalgia that I felt growing up.