
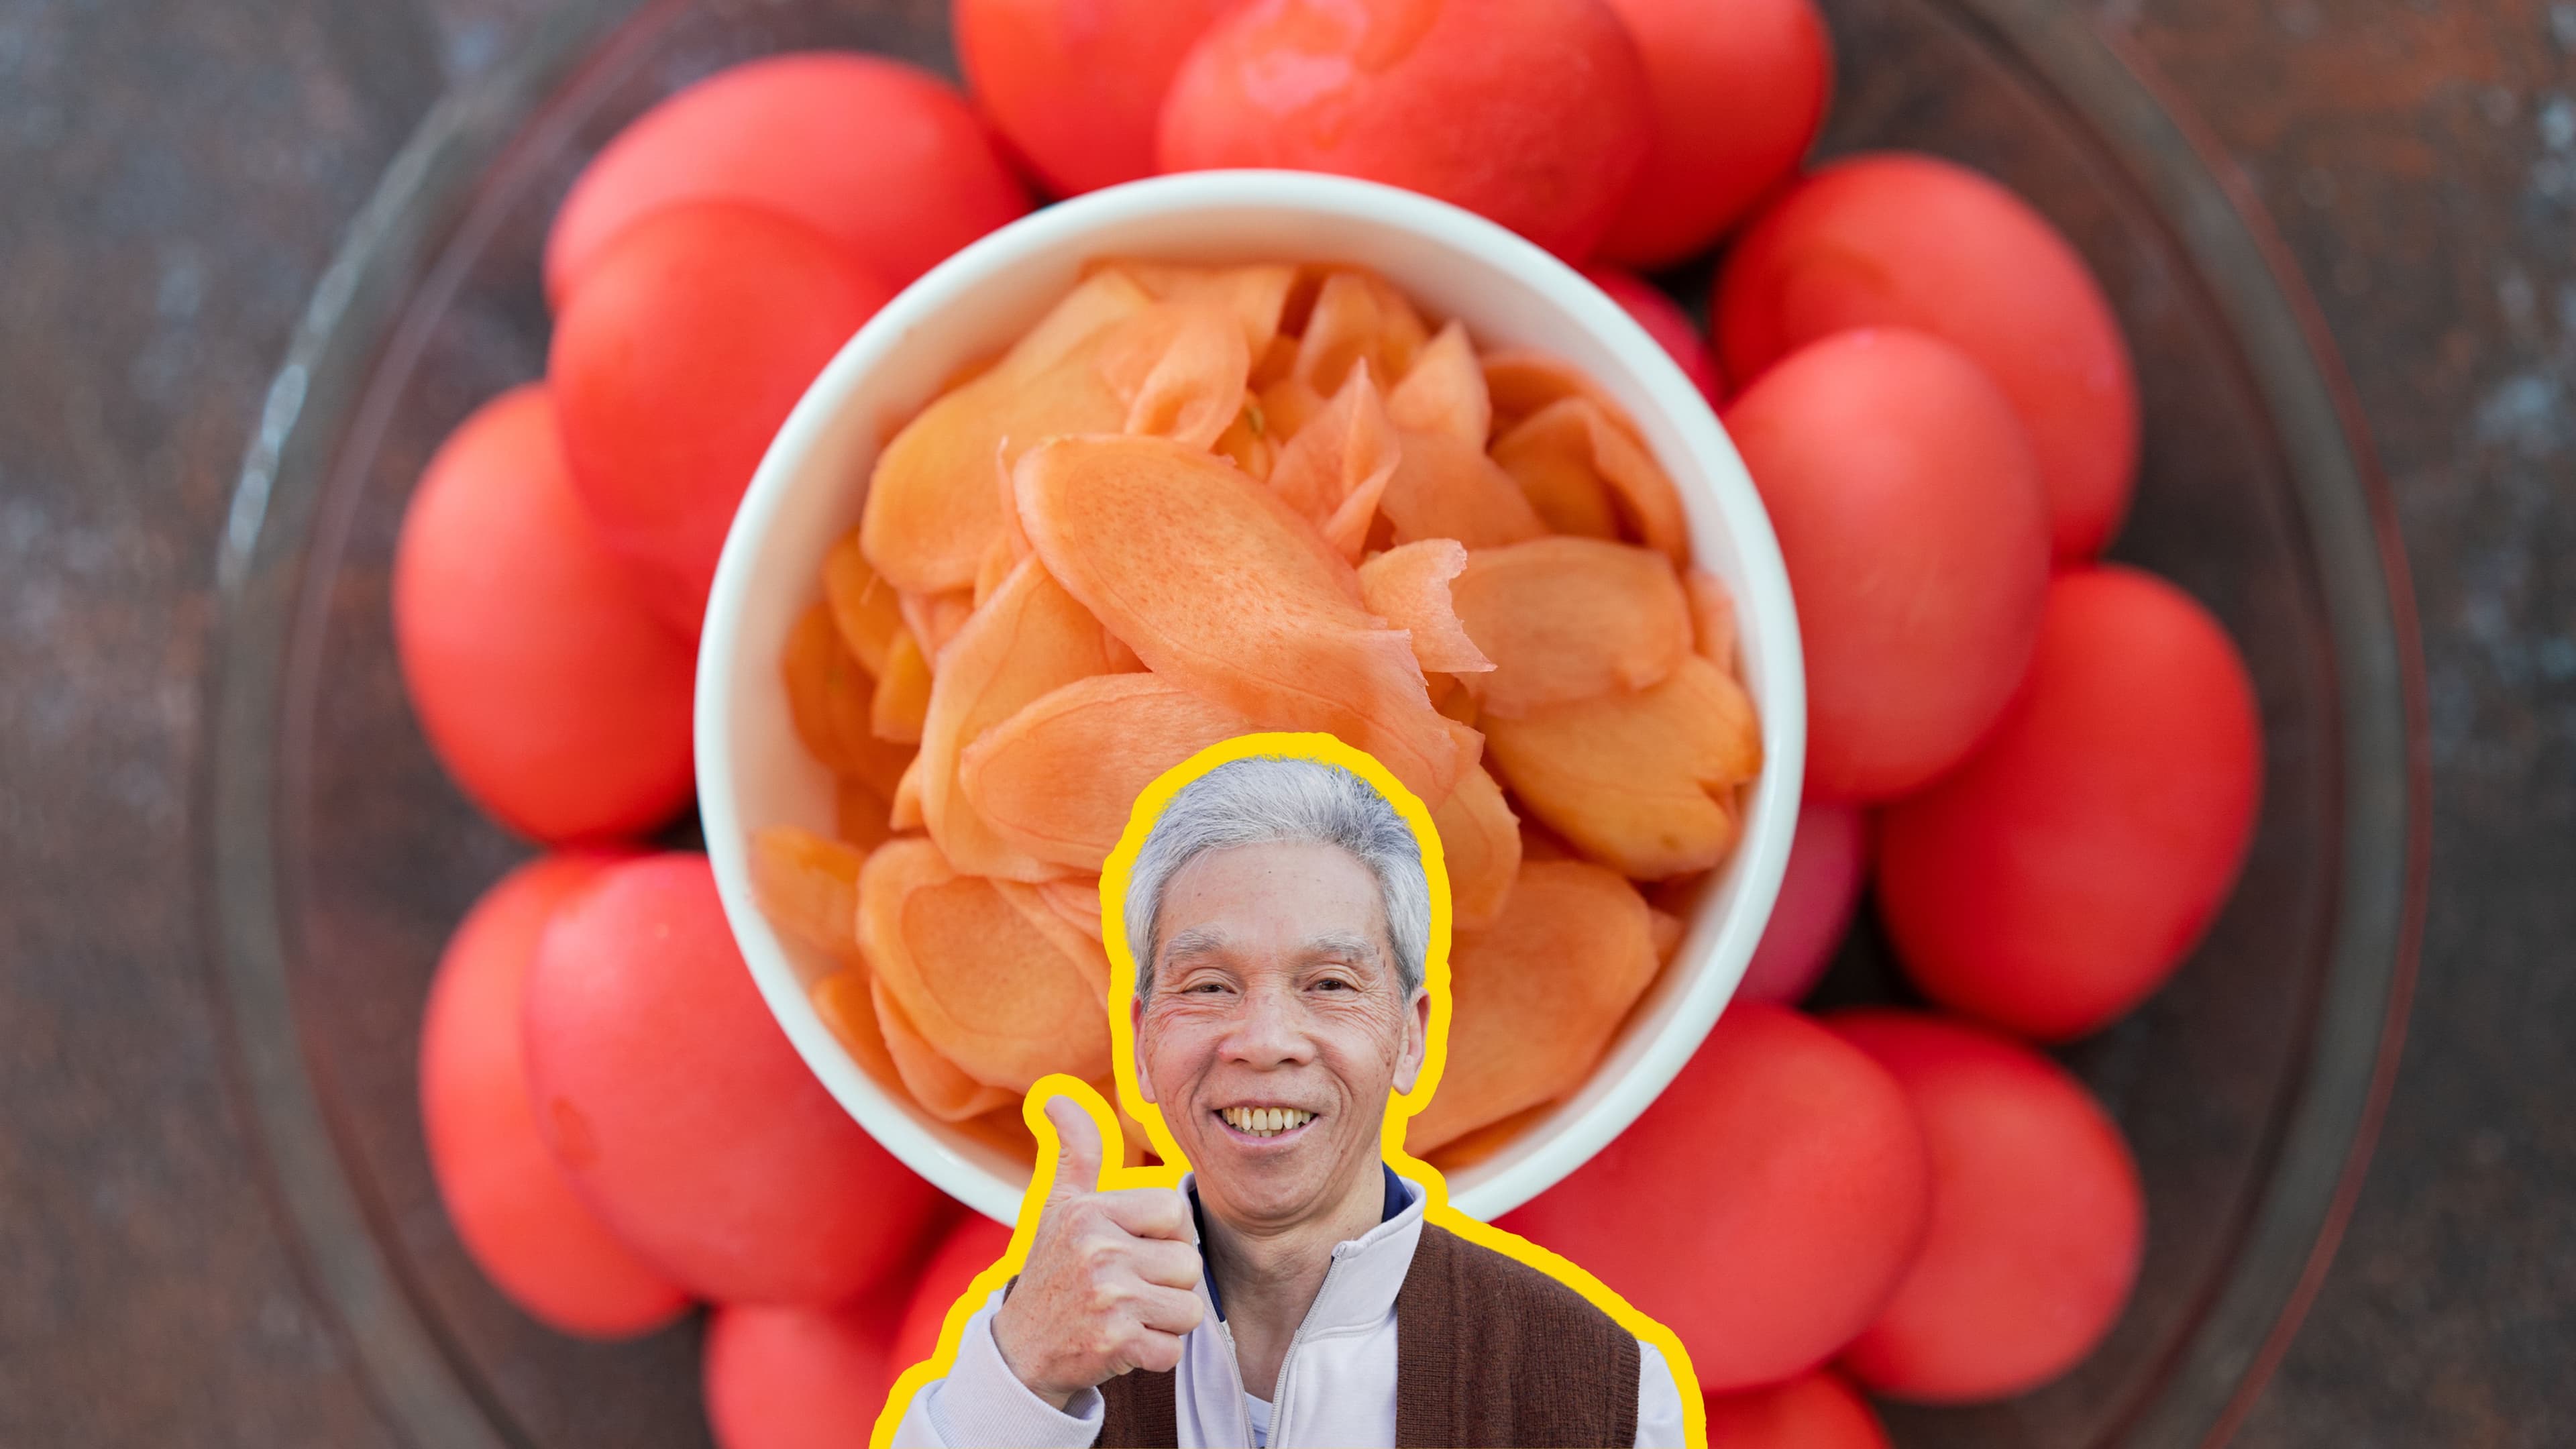
The Red Egg and Ginger Party My Dad's Made 100,000 Times
Why this recipe
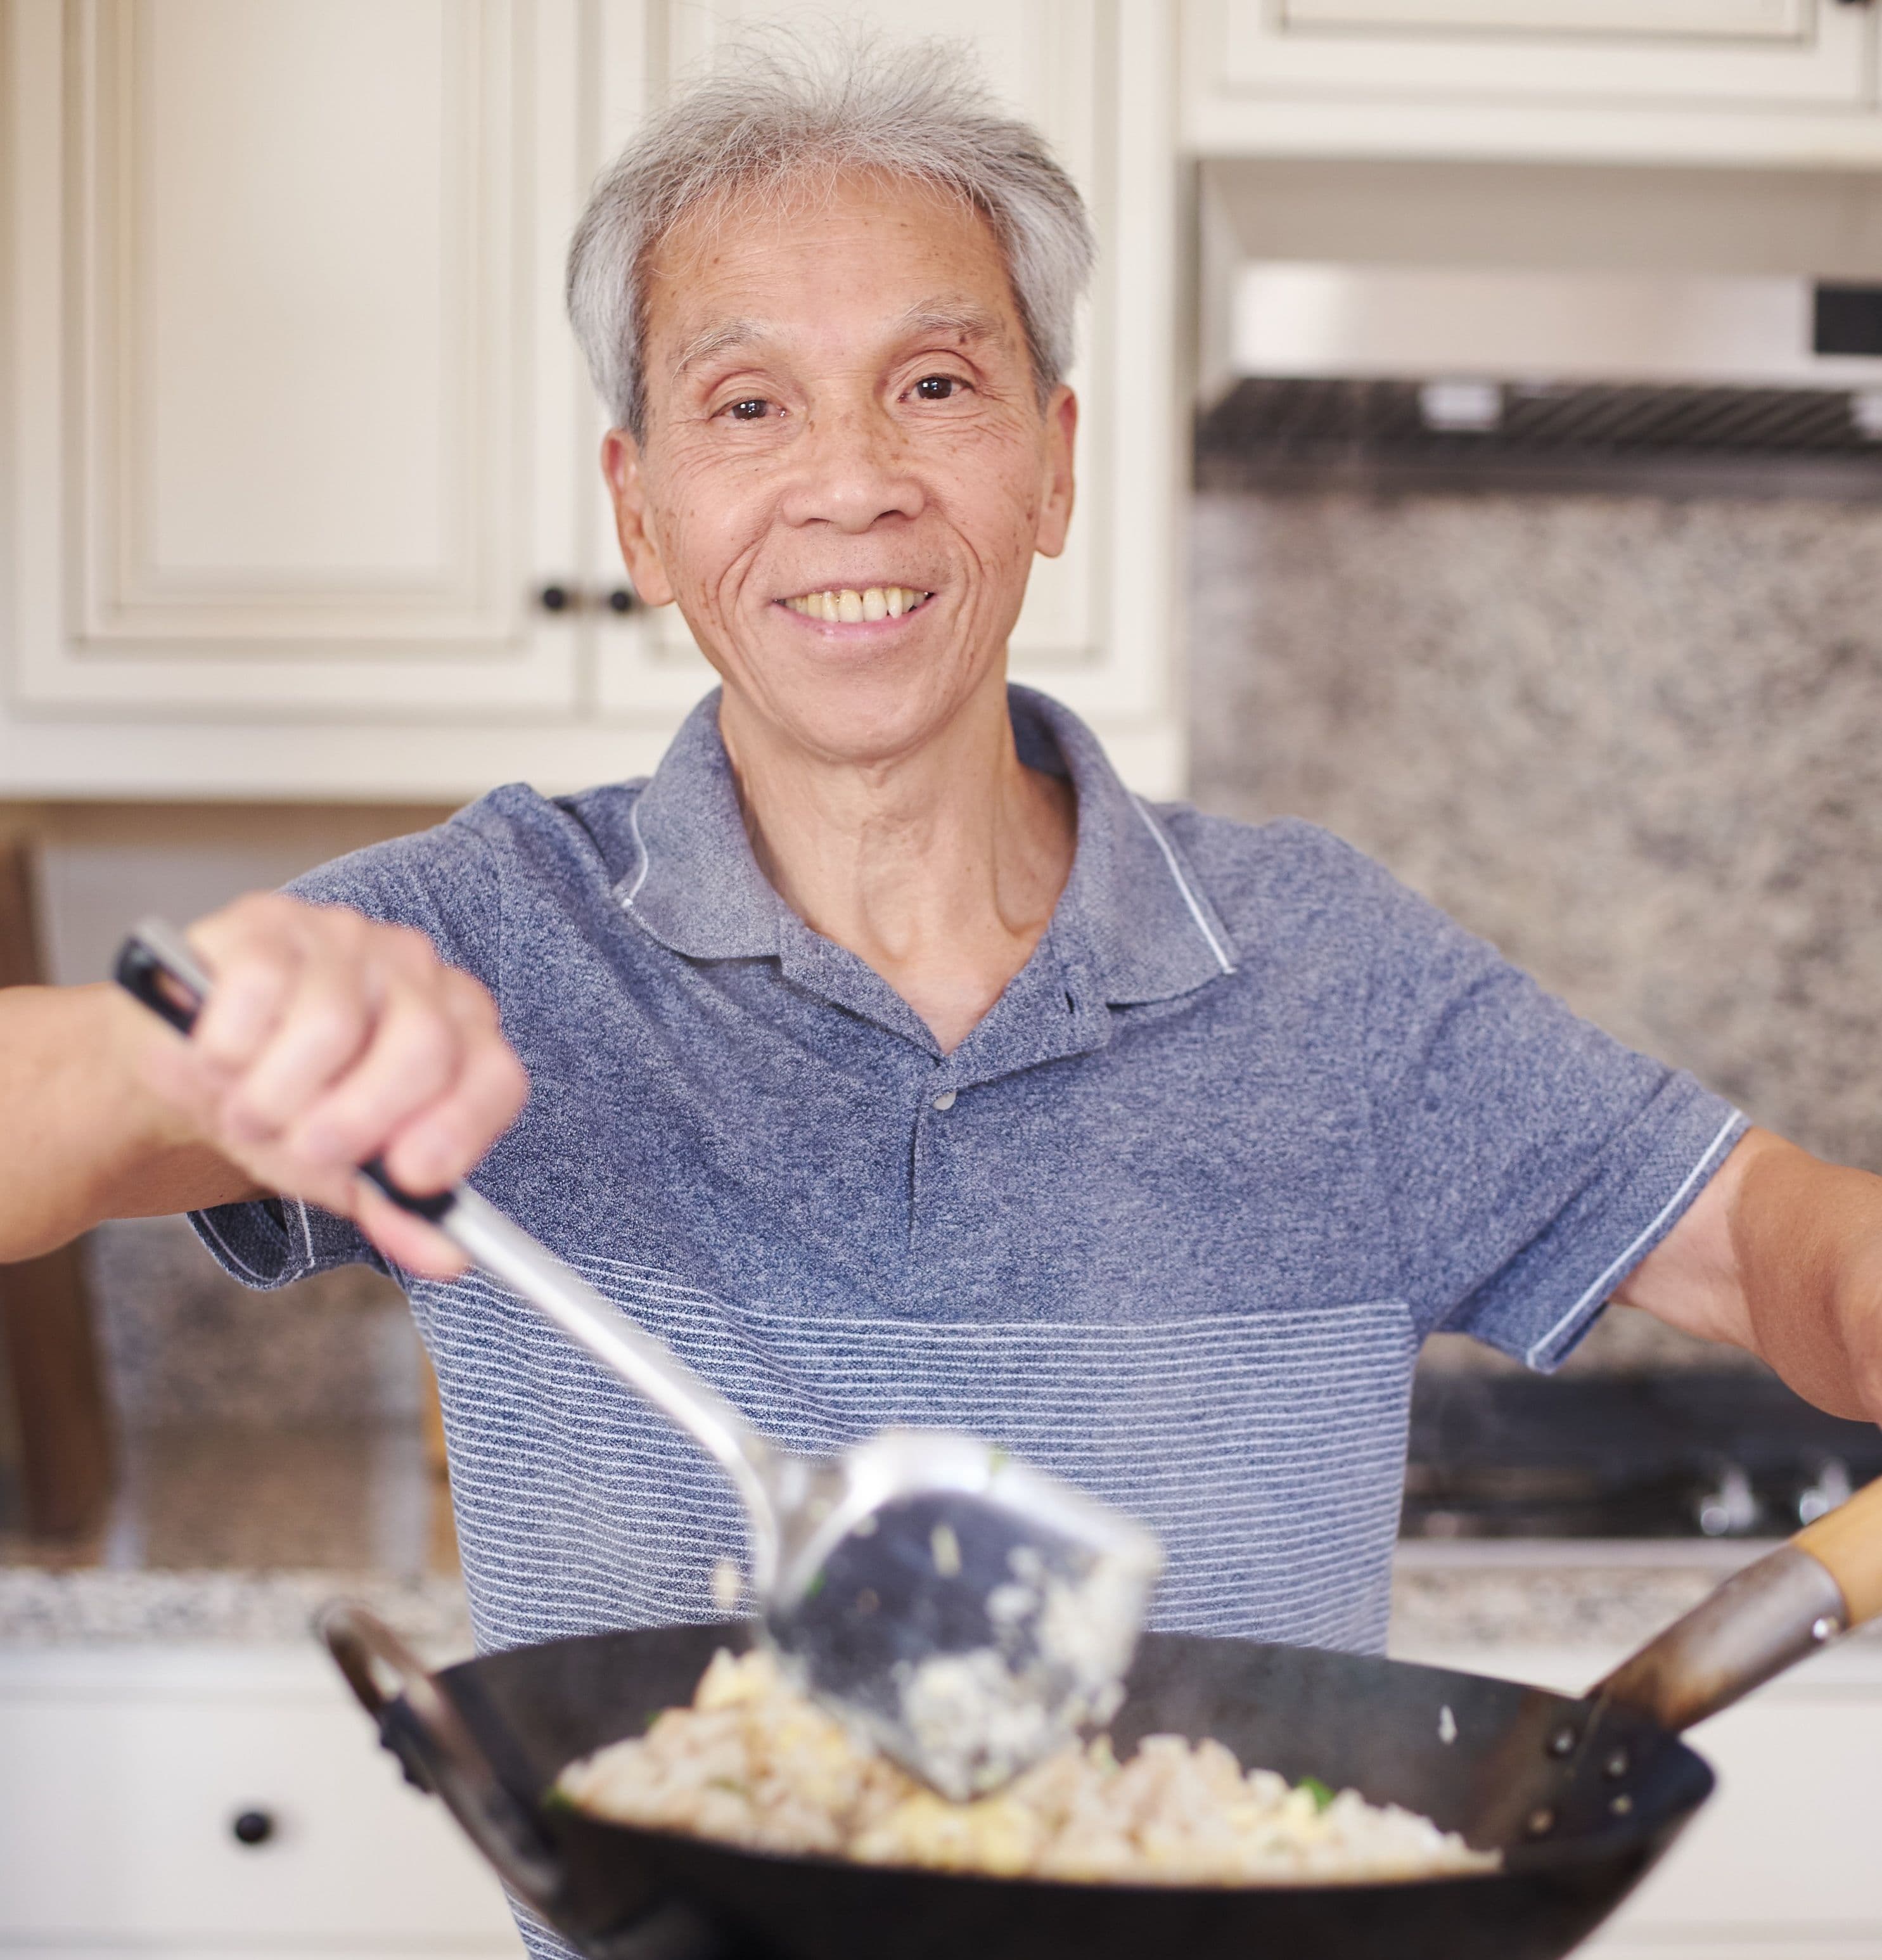
Most red egg and ginger party recipes online are tested only a handful of times. My dad used to make this dish multiple times a day, every day, for 50 years and can make this in his sleep.
I know you'll love it as much as our community does! This recipe has over 75.5K views, 1.3K likes on YouTube.
Our son Cameron recently turned 100 days old, and much like a kid’s first birthday, it’s common for Chinese families to get together and celebrate this milestone.
There’s really no right or wrong way to do a red egg and ginger party. My cousin hosted hers at a Chinese banquet hall, most of which typically have a red egg and ginger party package, and my nephew celebrated his 100 days at a park with delicious barbecue.
This blog post will be split up into 3 parts:
- How to prepare red eggs and ginger
- The meaning of red eggs, ginger, and other Chinese traditions
- How to plan a red egg and ginger party
If you’re looking to throw your own party, read on!
Ingredients

Instructions
Overview for preparing boiled eggs
To give you a quick overview of the timing of each step for making perfect boiled eggs:
- In our pot, we’ll fully submerge the eggs in cold water, along with salt and vinegar (more on this later)
- Set the stove to high heat and bring it to a boil
- Once it comes to a boil, let it boil for 5 minutes at high heat
- Remove the pot from the heat, and let the eggs sit for 3 minutes
- After 3 minutes, soak them in cold water for 2 minutes
Wash and boil eggs
First, we'll wash and rub our eggs in water, for cleanliness.
Then, we'll place our eggs in a pot. Fully submerge the eggs in water, along with salt (1 tsp) and vinegar (1 tbsp). Set the stove to high heat, cover the pot, and wait for it to come to a boil.
Once it comes to a boil, let it boil for 5 minutes at high heat, remove the pot from the heat, and let the eggs sit for 3 minutes.
Why do we add salt and vinegar when boiling our eggs?
We add salt because it helps to seal any potential cracks that might form while boiling, and we add vinegar so that the eggs are much easier to peel.
If you want to nerd out, here’s a pretty interesting article on Buzzfeed that tests out a bunch of different egg boiling methods and how easy it is to peel.
The article confirms that adding vinegar is clear winner, but also mention that it may add some blemishes to the egg shells.
Since these red eggs are meant to be on display, if the final aesthetic is more important than an easier peel, then feel free to skip the vinegar.
However, this method is something you can and should do even when you’re just boiling normal eggs for yourself at home.
Tip: No oil in the pot
Make sure that your pot has no oil or fat in it from previous meals. Any remaining oil will transfer onto the egg and introduce blemishes when we're trying to dye our eggs red.
Prepare food coloring
While we're waiting for the eggs to boil, add water (1 cup) and red food coloring (2 tsp) to an empty bowl.
You can also potentially skip ahead to preparing ginger as well, but for clarity, we're just explaining how to make the eggs first.
Cool down and wipe eggs
After boiling the eggs for 5 minutes on the stove and 3 minutes off of the stove, transfer the eggs from the pot and soak them in a bowl of cold water for 2 minutes.
Then, we'll place them on a towel and wipe each egg dry. If there's any moisture on the eggs, our eggs might not dye red as evenly.
Dye the eggs
Dip each egg in the red color solution for 30 seconds, and place them back onto your plate. Once each egg is dipped, we can move on to the ginger!
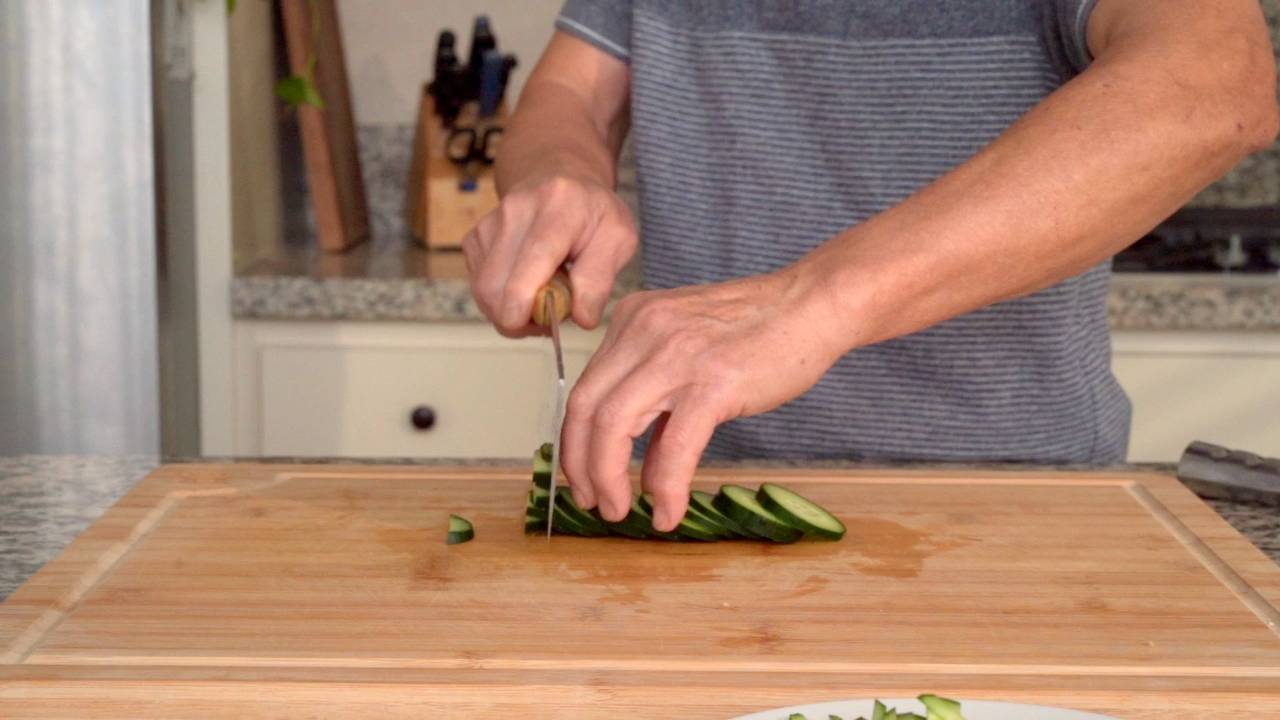
Peel and chop ginger
Sometimes for other recipes (like our Ginger Fried Rice), my dad leaves on the ginger skins for more nutrition.
Since these will be on display, it's better to peel them.
Once peeled, cut the ginger (10 oz) into thin slices.
Salt the ginger
Add salt (2 tsp) to the bowl of ginger. Mix evenly by shaking the bowl, and try to separate the slices of ginger from clumping together. Set the bowl aside for 5 minutes.
Via osmosis, the salt helps to release some of the moisture from the ginger, and thereby some of the (sometimes overpowering) spiciness of the gingerol.
It also helps soften and tenderize the ginger as well to bring it closer to the texture of young ginger.
Prepare ginger marinade
To an empty bowl, add sugar and vinegar (5 tbsp). If your ginger is on the older side, add an extra tablespoon of sugar and vinegar each.
If you want, you can also add about 1/2 tsp of the red water solution we made for the eggs, which will give the ginger slices more of a pinkish color.
Rinse the salt from ginger
After 5 minutes of soaking, the ginger should be less spicy and more tender.
Rinse and wash the ginger in water for 20-30 seconds, and drain with a colander.
Squeeze the ginger against the colander to press out any excess water.
Marinate ginger overnight
We are almost there!
Combine the ginger marinade with the ginger, mix it around. Ideally, the ginger is fully submerged in the marinade mixture.
Cover the bowl with plastic wrap, place it in the fridge, and let it marinate overnight.