Nian Gao with Red Bean
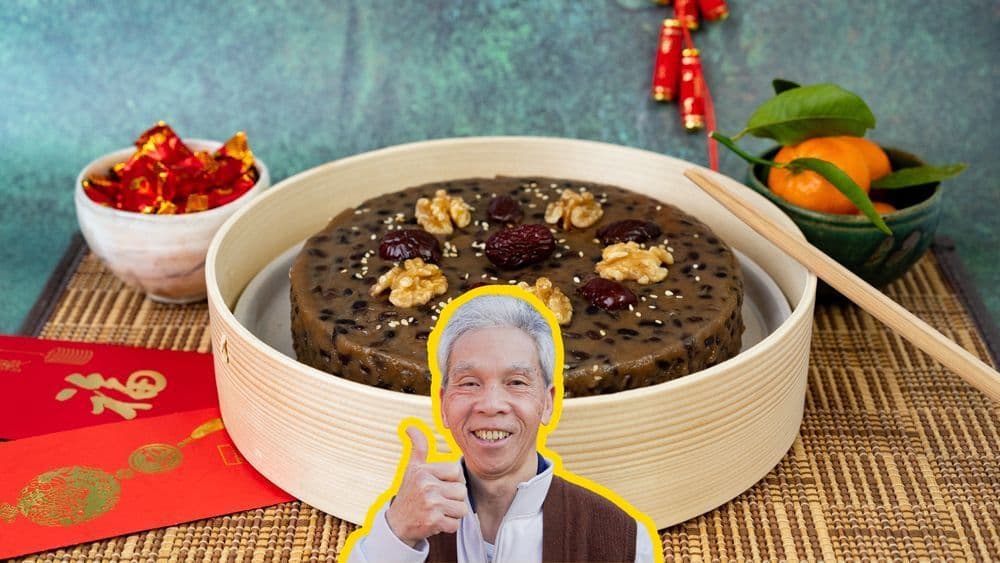
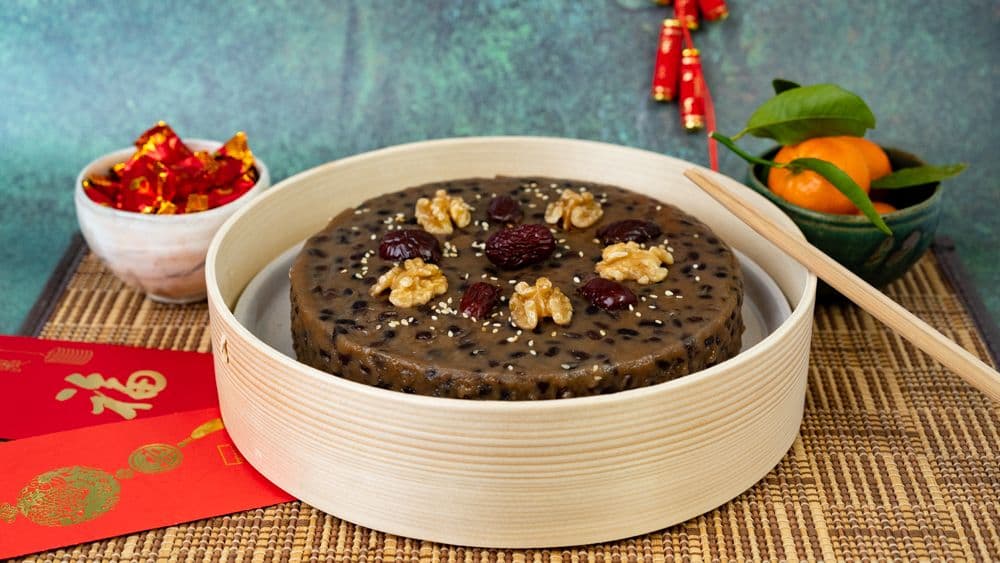
A classic Lunar New Year dessert, Lau family style!

Cooking Summary
Ingredients: (detailed list)
- Main Ingredients: brown sugar, glutinous rice flour, regular rice flour, water, olive oil, red bean, coconut milk
- Decorations: red dates, walnuts, roasted sesame seeds
Jump To Section
Top 3 Mistakes
- Swapping the wrong rice flour:
Use the rice flour named in the recipe and check the package carefully. Regular and glutinous rice flour behave differently, so treating them as interchangeable changes the texture.
- Starting with cold steam:
Bring the steaming water to the state specified before adding the dish. Starting too early changes the cooking time, so establish the steam before you begin counting minutes.
- Cutting before it has cooled:
Let the cake cool for the time the recipe specifies before slicing. Cutting while it is still soft makes it harder to get clean pieces that hold their shape for serving or frying.
Overview
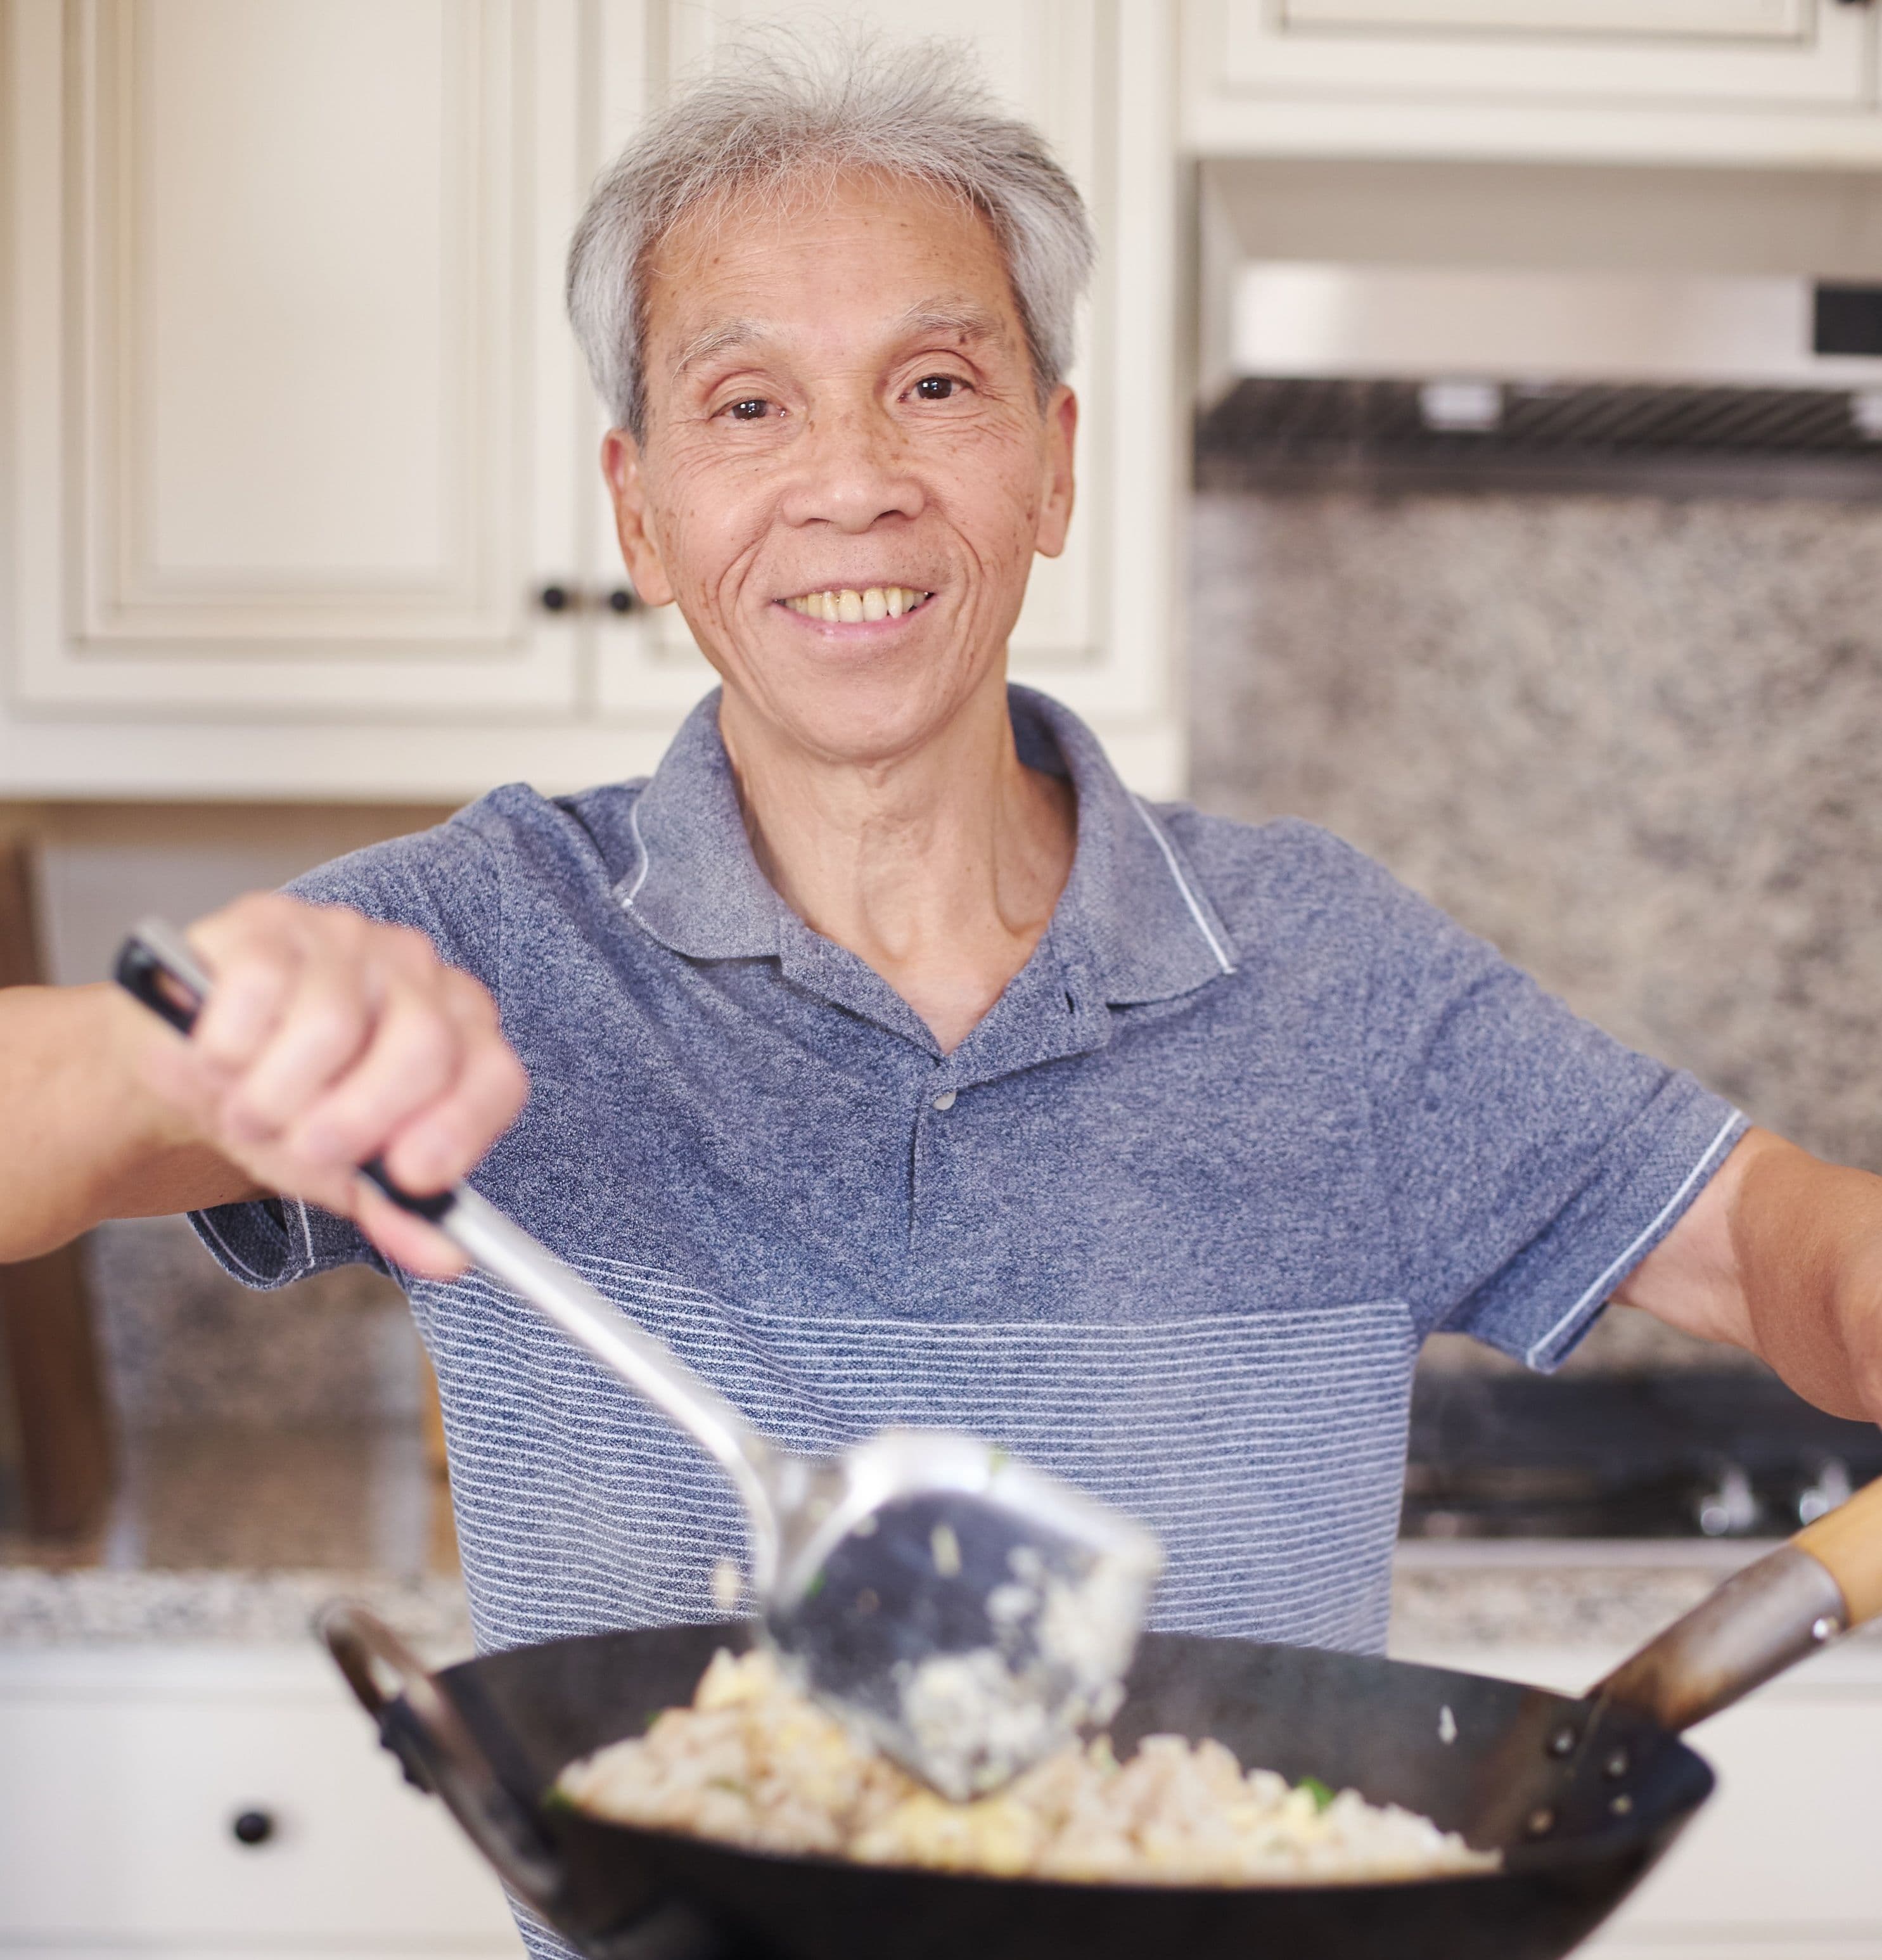
Today, Daddy Lau will be teaching us our family recipe and for making the perfect Nian Gao with Red Bean! (紅豆年糕).
What you'll be learning:
- My family’s spin on this traditional recipe!
- Context on the key ingredients, and the equipment you'll need to make this dish (+ alternatives)
- The various idioms and meanings behind Nian Gao and all of its various toppings
Nian Gao is a popular dessert and gift during Lunar New Year!
Technically, lots of cakes (taro cake, turnip cake, sponge cake, etc) qualify as a "New Year Cake", but this is the recipe that comes to mind when people speak of Nian Gao.
Flavor Profile
If you've never had Nian Gao before, it's a chewy, sticky, semi-sweet bite of deliciousness. It's a lot like a Japanese mochi, and my family's addition of red beans gives it sort of Snickers bar texture with less crunch and without the chocolate taste.
It's absolutely delicious. If you pan fry them in oil, which is also optional, it's made even more delicious with a subtle soft & crispy contrast.
Reaching New Heights
Nian Gao (nìhn gōu in Cantonese) roughly translates to "New Year Cake", and it's a sticky rice cake with thousands of years of history and thousands more variations all across Asia.
My family makes Nian Gao year-round, but it’s a must during Lunar New Year. In Cantonese, the word for "cake 糕” shares the same sound as “high 高”, gōu, so cake is intertwined with many sayings and symbols of good luck.
There are several sayings that tie into the cake/high connection, such as:
- bouh bouh gōu sīng 步步高升 - climb step by step, rise steadily
- faai gōu jéung daaih 快高長大 - wishes for children to grow taller and bigger quickly
Ingredients
Why this recipe
Most nian gao with red bean recipes online are tested only a handful of times. My dad used to make this dish multiple times a day, every day, for 60+ years and can make this in his sleep.
I know you'll love it as much as our community does! This recipe has over 199.5K views, 3.1K likes on YouTube.
On Red Beans
In Cantonese, red beans are called “hùhng dáu 红豆”. These are formally known as adzuki or azuki (アズキ) beans, which means “small bean” in Japanese.
Azuki beans started appearing in the wild around 50000 years ago, and started being domesticated in Asia around 3000 years ago. We talk about this in the video, but my dad actually used to grow his own beans in his old village in Toisan.
They’re extremely nutritious and have become a staple ingredient in a bunch of Asian desserts and sweets. However, the red bean itself actually isn’t sweet, and is usually combined with sugar and turned into red bean paste.
On Rice Flour
Also known as glutinous rice or sweet rice, sticky rice is used in a lot of Asian desserts and dishes, and is a staple of Southeast Asian cuisine.
- Compared to regular rice, sticky rice has a shorter grain, and is missing one of the two main molecular components of starch.
- Starch typically contains amylose and amylopectin. Sticky rice is missing amylose.
- This makes it easier to break down in hot water, and gives the rice its namesake.
- Also, even though it’s called glutinous rice, it’s completely gluten-free.
Equipment Needed
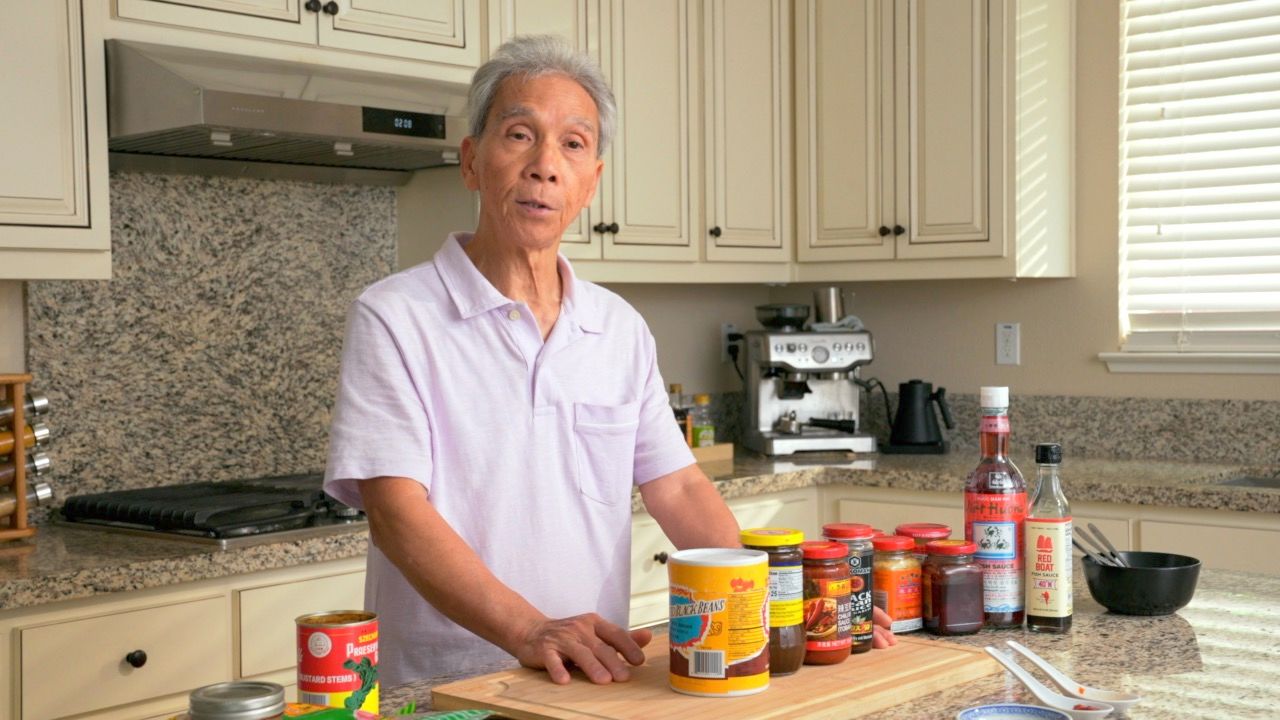
There are a few things you’ll need: a steamer, a cake pan, parchment paper, and a food scale.
For steaming, it’s best to use a dedicated steamer, but you might be able to get away with using a wok with a steamer rack.
For the cake pan, you can use whatever you might have at home, but it’ll make your life easier to use one with a removable base and/or a springform buckle. You’ll also want parchment paper to line the base with.
With a food scale, you’re able to be much more precise and create a smaller mess than you would with measuring cups. Measuring cups are based on volume, which can vary significantly depending on how you scoop, the density of the ingredient, and etcetera.
Finding Asian Ingredients
Some of these ingredients are hard to find in a typical grocery store.
If you don't live near an Asian market, most or all of what my dad uses in this recipe can be found on Amazon:
- Red Beans: https://amzn.to/3t9DyaF
- Glutinous Rice Flour: https://amzn.to/3pAQlAI
- Regular Rice Flour: https://amzn.to/3ajjPwt
- Coconut Milk: https://amzn.to/3r6UNaE
- Jujubes / Red Dates: https://amzn.to/3zWOG2h
- Sesame Seeds: https://amzn.to/3jgBOYF
I've also included some other Chinese kitchen essentials, used in many of my dad's other recipes.
- Kadoya Sesame Oil
- Pearl River Bridge Superior Light Soy Sauce
- Michiu Rice Cooking Wine
- Lao Gan Ma Chili Oil
- Koon Chun Hoisin Sauce
- Lee Kum Kee Premium Oyster Sauce
- Pearl River Bridge Superior Dark Soy Sauce
- Lee Kum Kee Chicken Bouillon
- Shaoxing Cooking Wine
- Bullhead Shacha (BBQ Sauce)
- Dried Orange Peels
- Koon Chun Ground Bean Sauce
- Chinese Sausage - Lap Cheung
- Dried Shrimp
- Dried Shiitake Mushrooms (soak for 15-20 minutes in warm water before slicing)
- Dried Wood Ear Fungus (a few options, depending on what's in stock):
These links are affiliate links, which means that if you use our links to purchase these ingredients, Amazon pays my family a small amount for the sale - at no extra cost to you. If you use these links, we really appreciate the support!
How to make Nian Gao with Red Bean
Soak & cook red beans
The first thing we'll want to do is prepare our red beans (7 oz).
- Soak the red beans in water (room temperature) for 6-8 hours
- Wash the beans by rinsing and massaging in water for 20-30 seconds
- Pour the beans into a pot and add cold water (2 cup)
- Bring the pot to a boil on high heat
- Once boiling, adjust to low heat and simmer for 1-2 hours.
You'll know when the beans are done when the water is fully absorbed, and the beans turn into a mush when you squeeze them with your fingers.
The red beans are totally optional but very delicious. This recipe does not change at all if you decide to skip on red beans.
Create cake batter
When the red bean is just about ready, we'll start creating our cake batter in several bowls. Like we mentioned before, I highly recommend using / getting a food scale for this.
I don't think you necessarily need to do it this way but my dad used several bowls in the process:
- Bowl 1 - Add brown sugar (8 oz) and boiling water (6 oz), stir until the sugar has dissolved.
- Bowl 2 - Add glutinous rice flour (8 oz), regular rice flour (2 oz), coconut milk (2 tbsp) (optional), olive oil (1 tbsp)
Combine bowls 1 and 2, and stir until there are no white clumps of flour remaining. The mix should be creamy and smooth, so you may need to add splashes of water if it's not there.
Next, we'll pour in the boiled red bean, and continue stirring. My dad employs a technique where he uses his left hand to turn the bowl in the opposite direction of his stirring (right) hand.
Let the batter sit for 5-10 minutes.
Oil cake pan, load steamer
Fill the steamer with water, about 0.5 - 1" below where the cake pan will be sitting. Bring the steamer to a boil on high heat.
A pot designed for steaming (metal or bamboo are both fine) is the most ideal, but a wok or a pot with a lid & steamer rack works as well. The main concern is just to avoid having water splash onto the cake as the steaming occurs.
To make the cake easier to remove later, drizzle some oil on the interior of the cake pan's rim, and spread it around with your finger.
We'll also line the bottom of the pan with some parchment paper, cut to size.
Once the steamer has come to a boil, set the cake pan in the steamer, and pour the batter into the pan. Cover the steamer with its lid.
Steam cake
Steam the cake for 30 minutes on high heat, and 30 minutes on medium heat.
Once the time is up, we can check if it's done cooking by poking a chopstick into the cake. If the cake doesn't stick to the chopstick, then it's done.
Decorate the cake
This is all optional, but my parents like to decorate their nian gao with various toppings, each with their own endearing symbolism.
Some of these are meant for newlyweds (at the time of writing, my wife and I were recently married, and my sister recently got engaged!), and some are more general wishes of prosperity.
- red dates (hùhng jóu 红枣)
- we wish you'll have kids soon! (jóu sāang gwai jí 早生贵子)
- walnuts (hahp tòuh 合桃)
- a lifetime (literally, 100 years) of a happy marriage (baak nìhn hóu hahp 百年好合)
- sesame seeds (jī màh 芝麻)
- steadily improve your life, career, studies, etc. (jī màh hōi fā jit jit gōu 芝麻开花节节髙)
- this is analogous to how sesame plants flower, bit by bit, taller and taller.
Red dates are the most common decor (and also, the color red is a symbol of good luck), along with sesame seeds or coconut flakes.
I've also heard that some people will write out an auspicious phrase with their toppings.
Cool overnight
Before we get to eat the cake, we need to let it cool down to room temperature, and then place it in the refrigerator overnight, ideally for at least 12 hours.
This allows the cake to harden and to be cut into slices.
It's important NOT to place it in the refrigerator immediately, as my parents warn that it can ruin your fridge.
Remove from pan, slice cake, pan fry
Once the cake has cooled, carefully remove it from the cake pan, and slice them up however you'd like.
Pan-frying: optional but recommended
This is optional, but you can slice up the cake into thin 0.5" rectangular slices (see the video for an example of how my dad does this with a circular cake).
Heat up a pan with oil, and load up the pan just enough so that each individual slice is able to touch the surface of the pan. Pan fry for 2-3 minutes on each side.
Pairs well with
View all →
Made with love ❤️
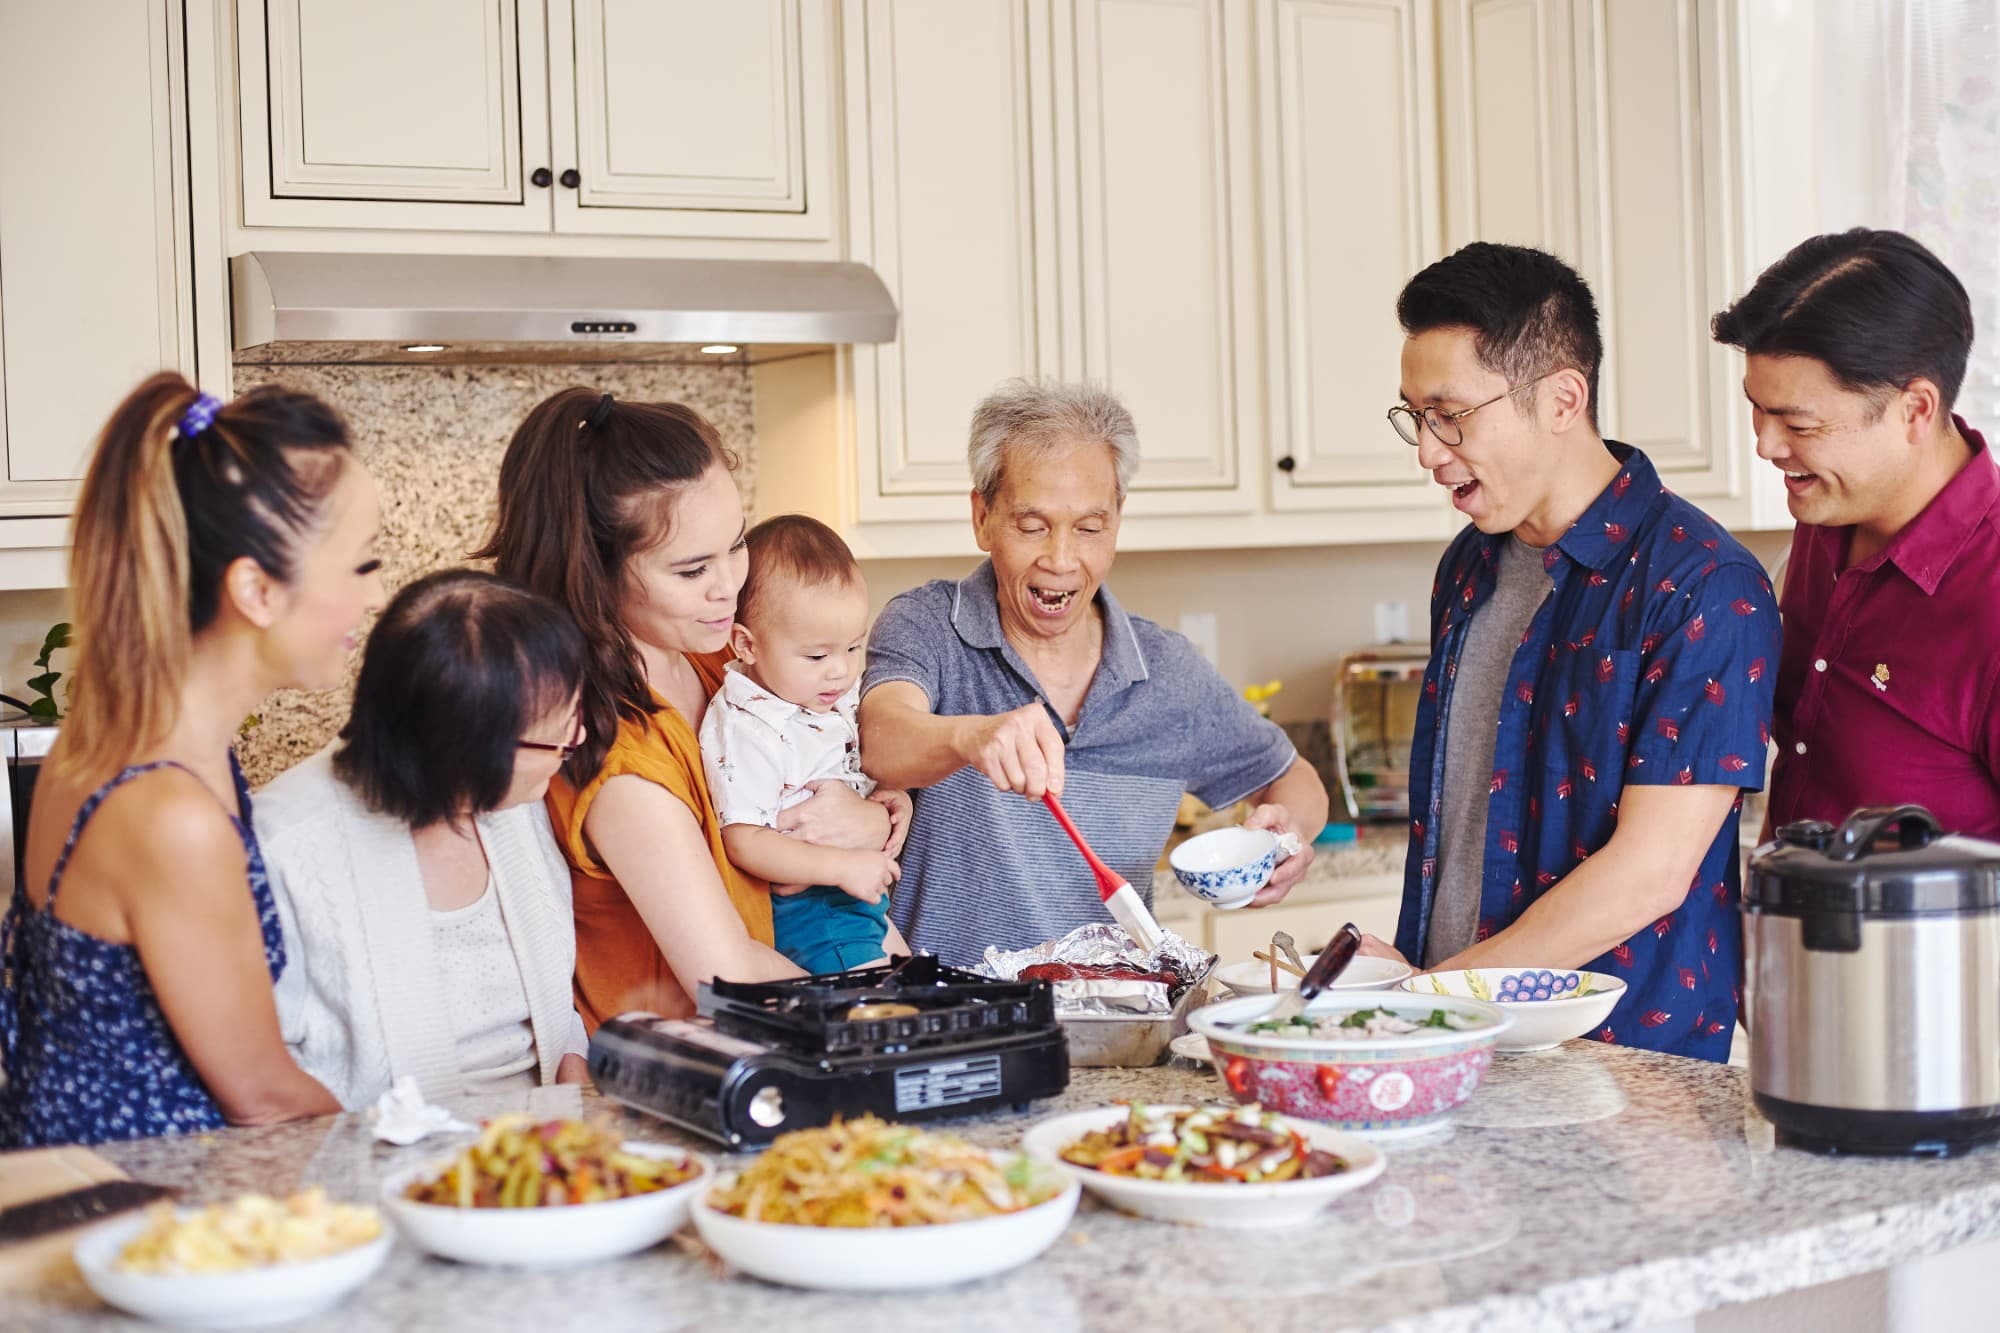
We started Made With Lau to celebrate Cantonese culture and honor the legacy of our wonderful parents, Jenny and Chung Sun Lau.
Our hope is that these recipes and stories help you spread the joy, love, and nostalgia that I felt growing up.
