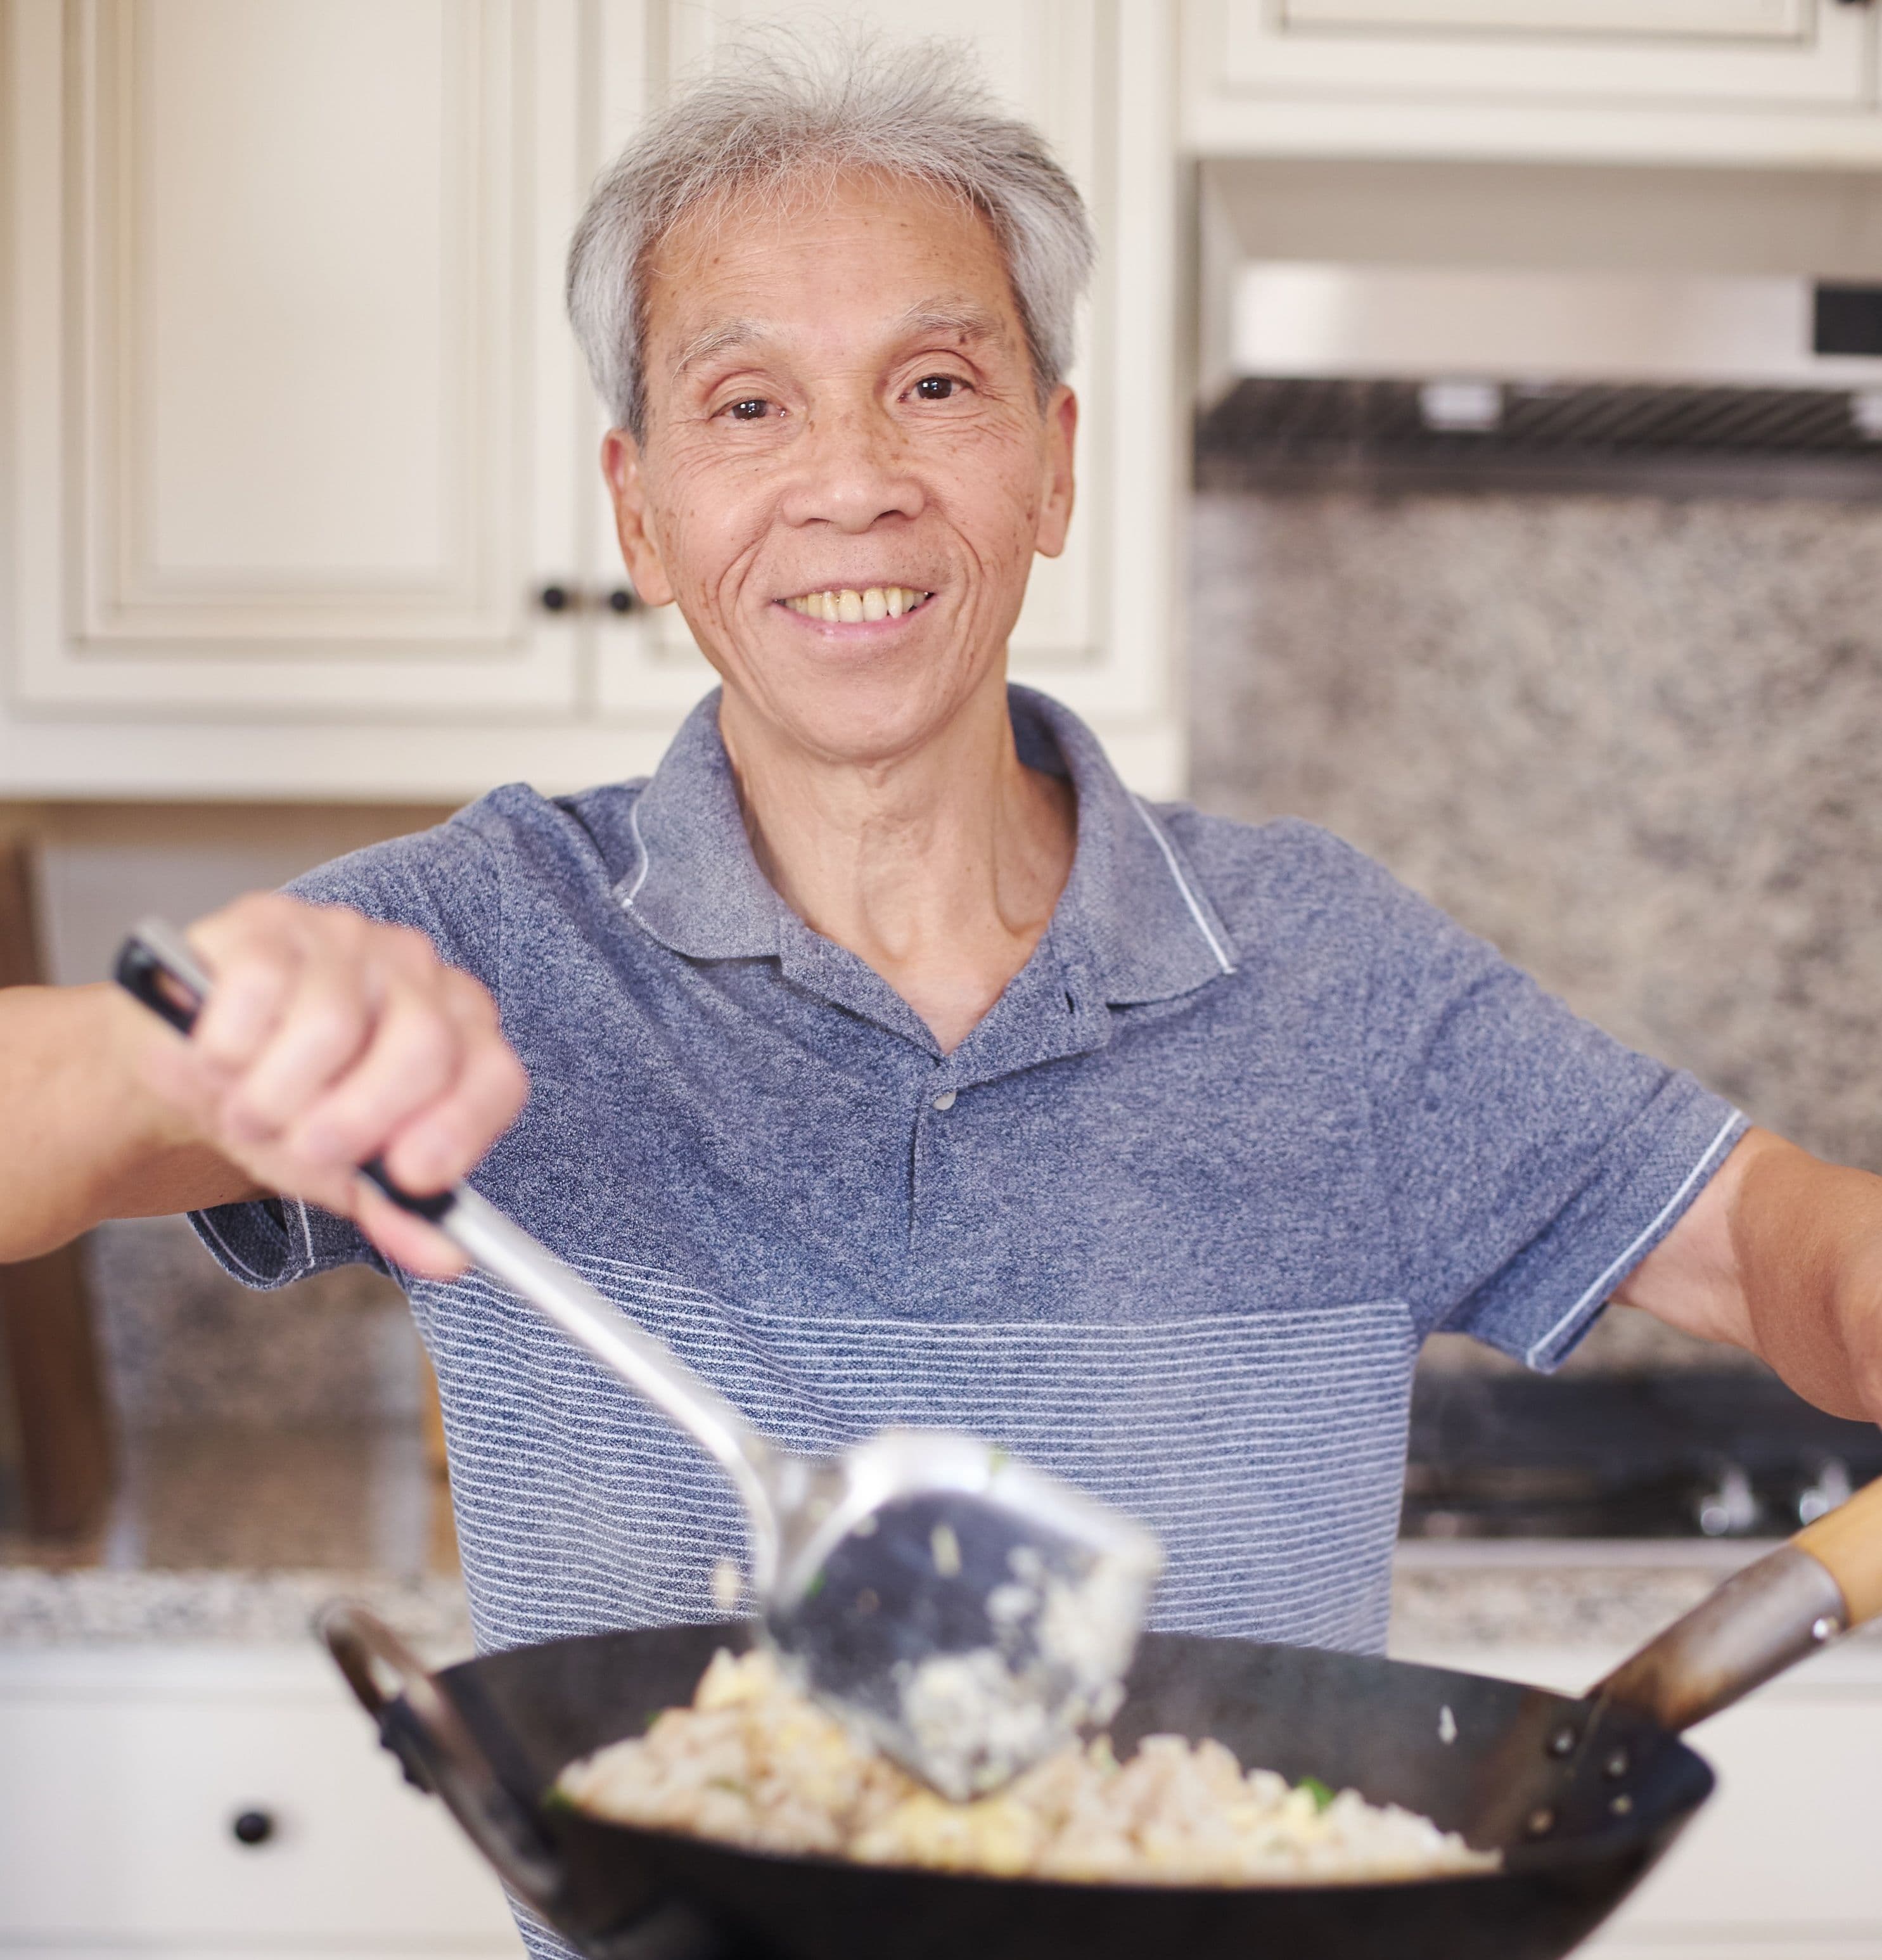
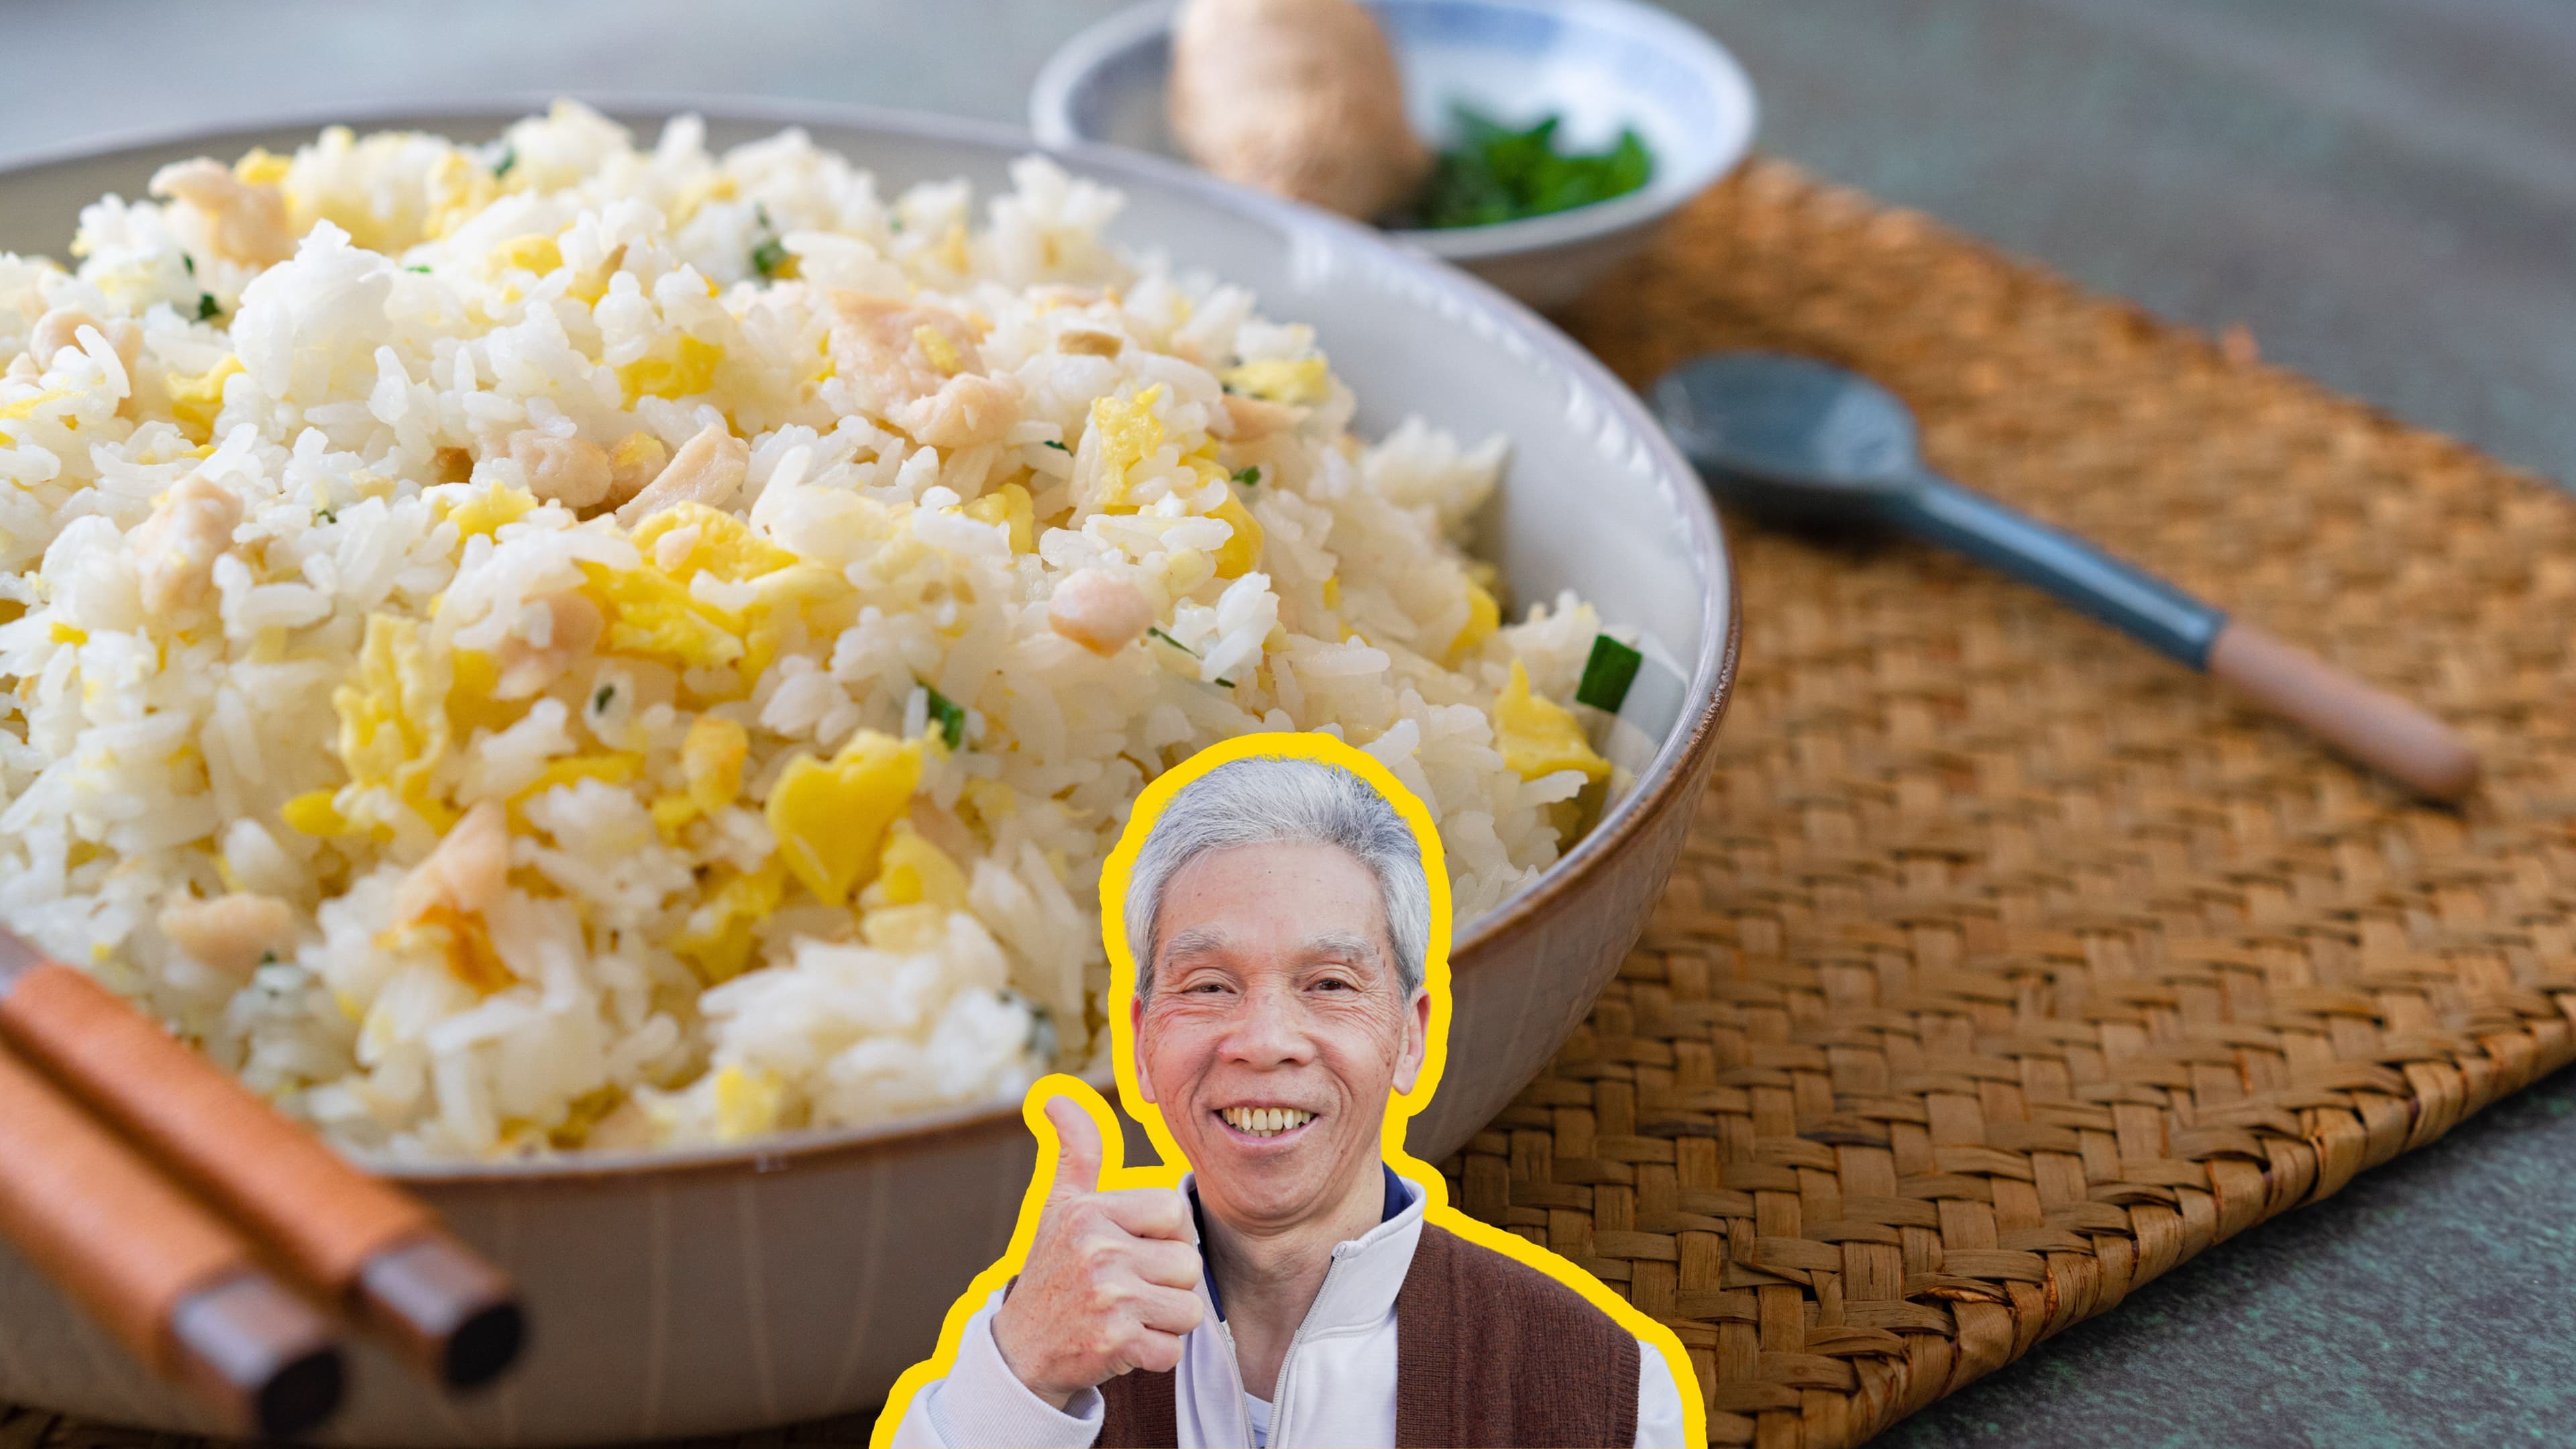
The Ginger Fried Rice My Dad's Made 100,000 Times
Why this recipe
Most ginger fried rice recipes online are tested only a handful of times. My dad used to make this dish multiple times a day, every day, for 60+ years and can make this in his sleep.
I know you'll love it as much as our community does! This recipe has over 676.5K views, 17.6K likes on YouTube.
A secret recipe
You won't find this on most typical Chinese restaurant menus. Generally speaking, at most restaurants, chefs will happily make custom dishes for you if you ask them to, but these are well-kept secrets.
Unlike most of my dad's cooking, I had no idea his Ginger Fried Rice recipe existed until very recently.
The morning after my wife gave birth to our son Cameron, I called my parents to ask if they could make us food. We were still waiting to be discharged by the hospital, and we were craving something other than hospital food.
I returned to the hospital with a giant tupperware container of Ginger Fried Rice. Kat and I devoured all of it within 5 minutes.
Little did I know, my parents had purchased 5 pounds of ginger in excited anticipation for my wife's homecoming and their new grandson. They were ready to make us all kinds of Chinese ginger dishes and soups.
Basically every week since Cam was born, we've eaten Ginger Fried Rice. It's that good.
Ginger, the superfood
In Chinese culture (and many other Asian cultures), it's traditional for the grandparents of newborns to make meals and soups for the mom that are rich in ginger. It's believed to help newborn moms speed up their recovery.
Ginger has been a staple of Chinese and Eastern medicine for thousands of years, with a myriad of health benefits which have started to become validated by scientific research.
Research papers are dense and can be difficult to digest, but here are some key takeaways:
- Arguably, ginger's most famous property across cultures is its anti-nausea effect. As a drug, it'd be called an antiemetic, helpful in combating vomiting and nausea. That's why lots of seasickness and motion-sickness pills have ginger! Or why tourist boats often stock up on ginger tea and ginger ale. Since it's been deemed safe by most health providers as safe for pregnancy, ginger (or ginger fried rice!) is also a great option to consider for those suffering from nausea during pregnancy.
- Ginger is also a great source of anti-oxidants, up there with pomegranates and those berries that your local smoothie shops are fond of calling "superfoods". Antioxidants are vital to protecting your body from DNA damage over time.
- Although it has not been rigorously proven, ginger seems to have anti-inflammatory effects, helpful to relieve pain from headaches and period cramps.
Despite all these great health benefits, please be aware that ginger is a blood thinner! If you have a health condition where you need to consider blood clotting and blood thinners, ginger is probably not an ingredient you want to overdo.
Ingredients

Instructions
Cook rice

To save time, prepare and cook the rice first, since it typically takes about 30-45 minutes until it's ready.
Pour white rice (2 cup) into your rice cooker pot.
Wash the rice:
- Fill the pot with some water
- Massage and mix the rice around with your hands.
- Drain the water
- My dad prefers to repeat this 3 times, for good measure.
Fill the rice cooker with water (2 cup) (a one to one ratio with the rice), and start your rice cooker.
If you don't already have a rice cooker, I highly recommend it. These are the ones that my family use:
- Hamilton Beach
- Instant Pot - my wife and I love the Instant Pot. We use it for everything.
- These links are Amazon affiliate links, which means that if you use our links to purchase these ingredients, Amazon pays my family a small amount for the sale - at no extra cost to you. If you use these links, we really appreciate the support!
If you don't have a rice cooker, you can also boil your rice.
Cut chicken
Cut the chicken (3 oz) in three stages:
- into thin strips
- into thinner slices
- into small pieces
Place the chicken into a bowl for the next step.
Marinate chicken
Add salt (0.50 tsp), cornstarch (1 tsp), and water (1 tbsp) to the bowl.
Massage and mix the chicken around the bowl with your hands, using a bit of strength, until the marinade is fully absorbed.
This helps give the chicken a more tender texture.
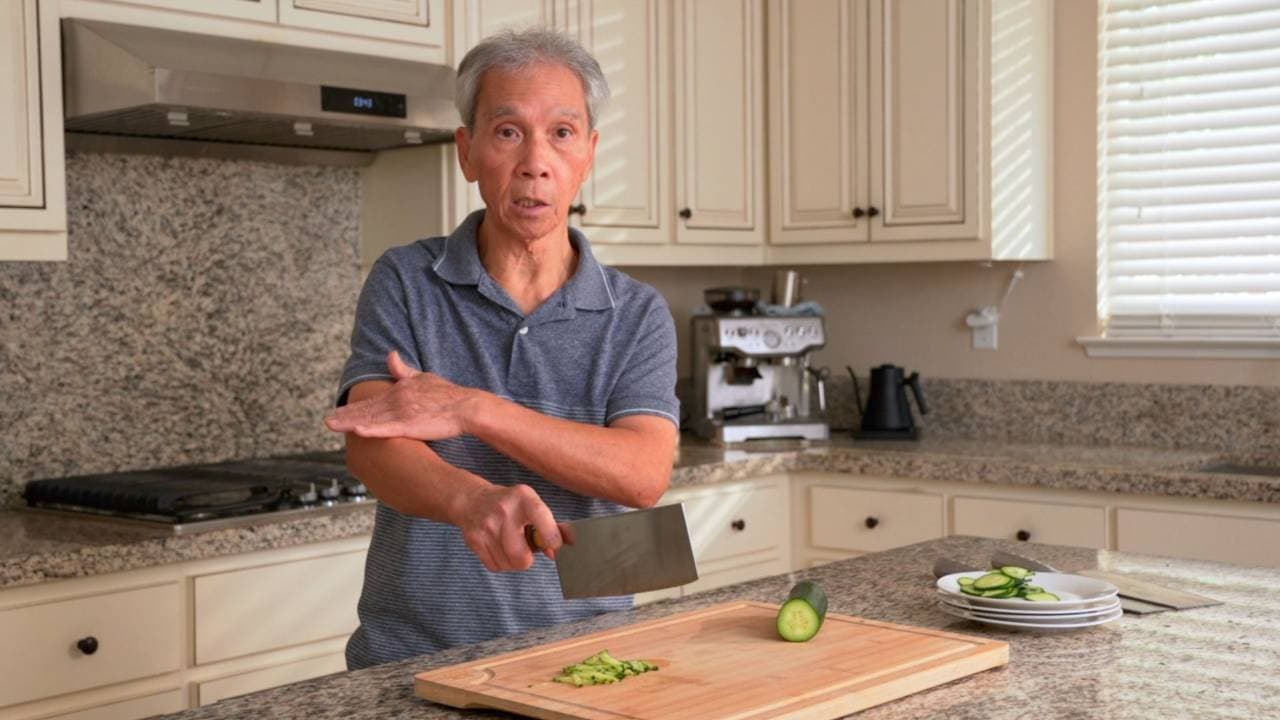
Mince ginger
Now, let's prepare our almighty ginger (2 oz)!
As I mentioned, you don't need to peel the skin on as long as you wash the ginger thoroughly.
Similar to the chicken, we cut the ginger into thin slices, then thin strips, and finally into small bits.
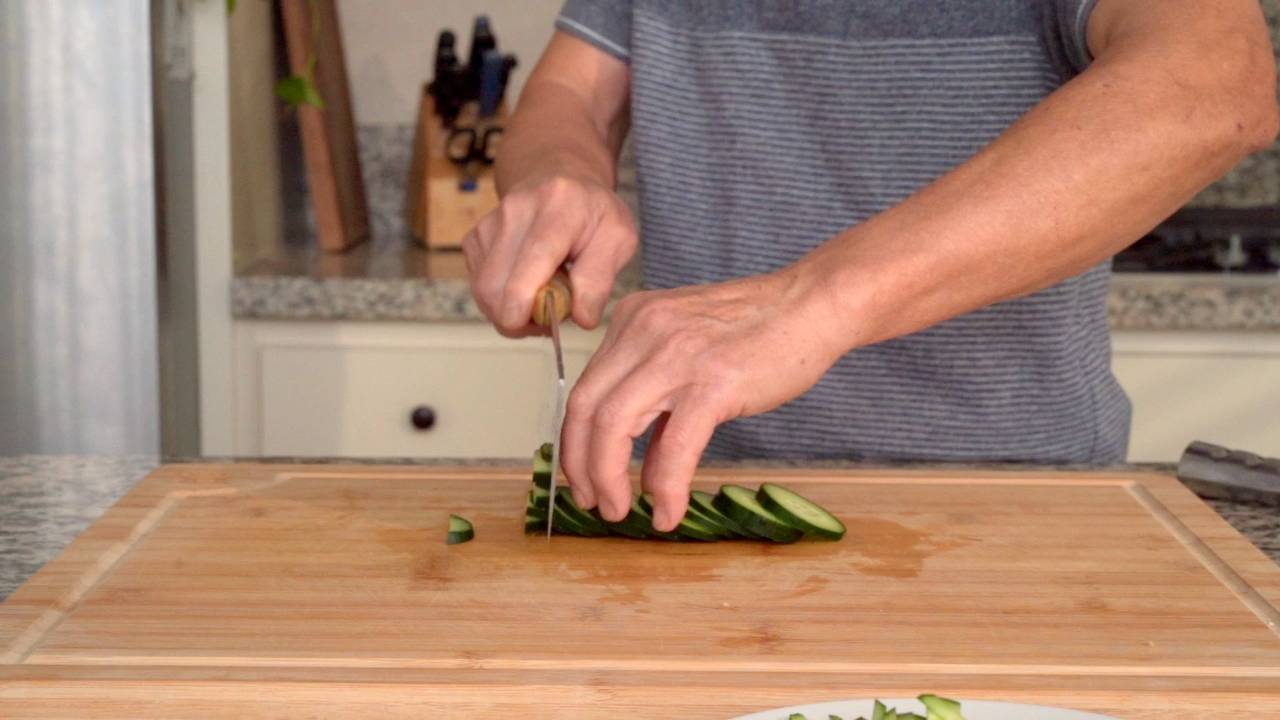
Cut green onion
Chop the green onion (2 stalk) into small pieces, about 1/2 to 1 cm long. The green onion gives the dish more flavor and fragrance.
Prepare eggs
Crack the eggs into a bowl and add salt (1 tsp). Using a chopstick or fork, mix the eggs until the yolk is evenly mixed.
Start cooking eggs
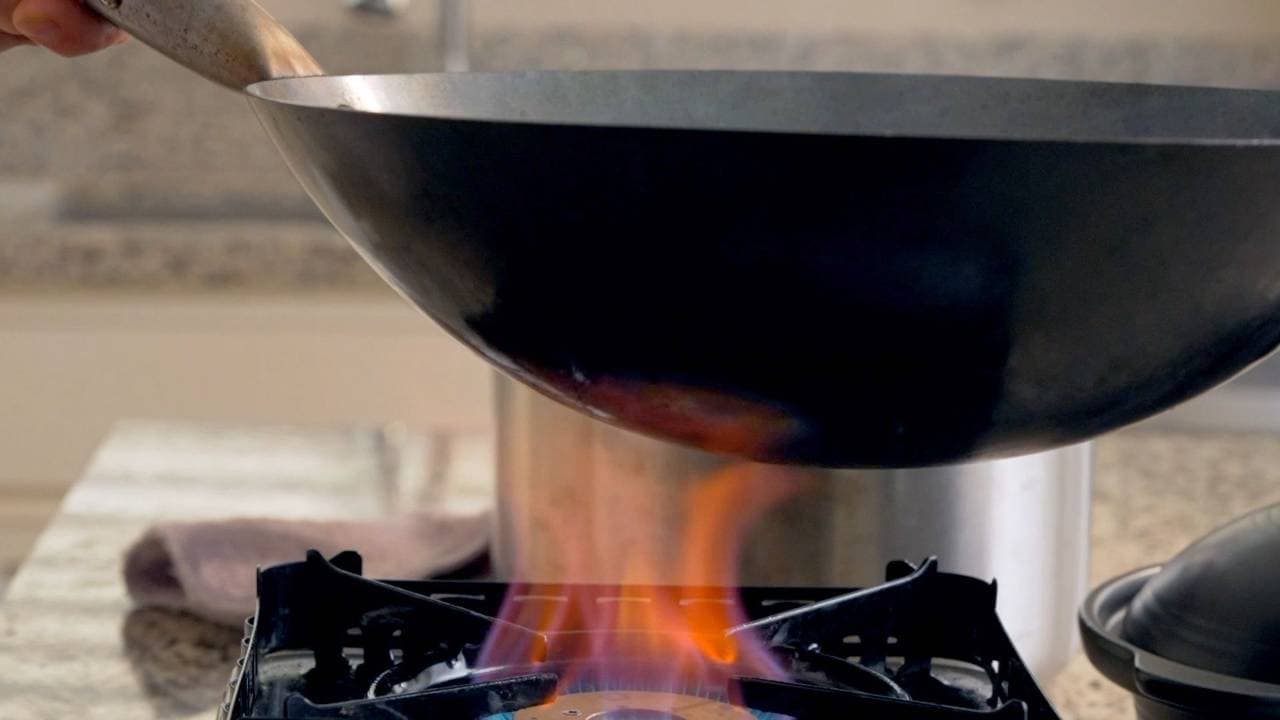
Once your rice is about 4 to 5 minutes away from being ready, set your stove to its highest heat setting.
When your wok or pan feels hot enough, add oil and swirl it around to cover the surface.
Slowly pour in the egg, constantly stirring it around for about 45-60 seconds. You don't need to cook the egg fully, since we'll have plenty of time to cook it later.
Set the egg aside in a bowl for later.
Cook chicken
Heat up the wok again and add oil (1 tbsp). Once the wok is hot enough, add the chicken and stir it around for about 60 seconds.
You don't need to cook the chicken fully here, as we'll have plenty of time to cook it as we add the remaining ingredients.
Add ginger to wok
Move the chicken to one side of the wok, and add the ginger. Stir it around separately for a few seconds, and then mix it up with the chicken.
Let the ginger cook for about 60 seconds before continuing.
Add rice to wok
Hopefully your rice is ready by now! Add the rice to the wok, and spread it out with a spatula and chopsticks. We don't want any clumps of rice here.
My dad is pretty "gentle" with the rice, not making any big or fast moves with his hands.
Cook for about 60 seconds before continuing.
Add salt and eggs
Add salt (1 tsp), and mix it around the wok for about 30 seconds. Then, add the eggs and gently mix it all together for another 2 minutes.
Add green onion
Add the green onion (2 stalk) and mix it around the wok for about a minute.
Plate the dish
Almost done!
As the dish nears completion, start to fluff the rice. You can do this by tossing the rice in the wok, or by repeatedly lifting it upwards with your spatula and chopsticks.
Transfer the rice to your favorite plate or bowl, and tell everyone it's time to eat!
Pairs well with
View all →Made with love ❤️
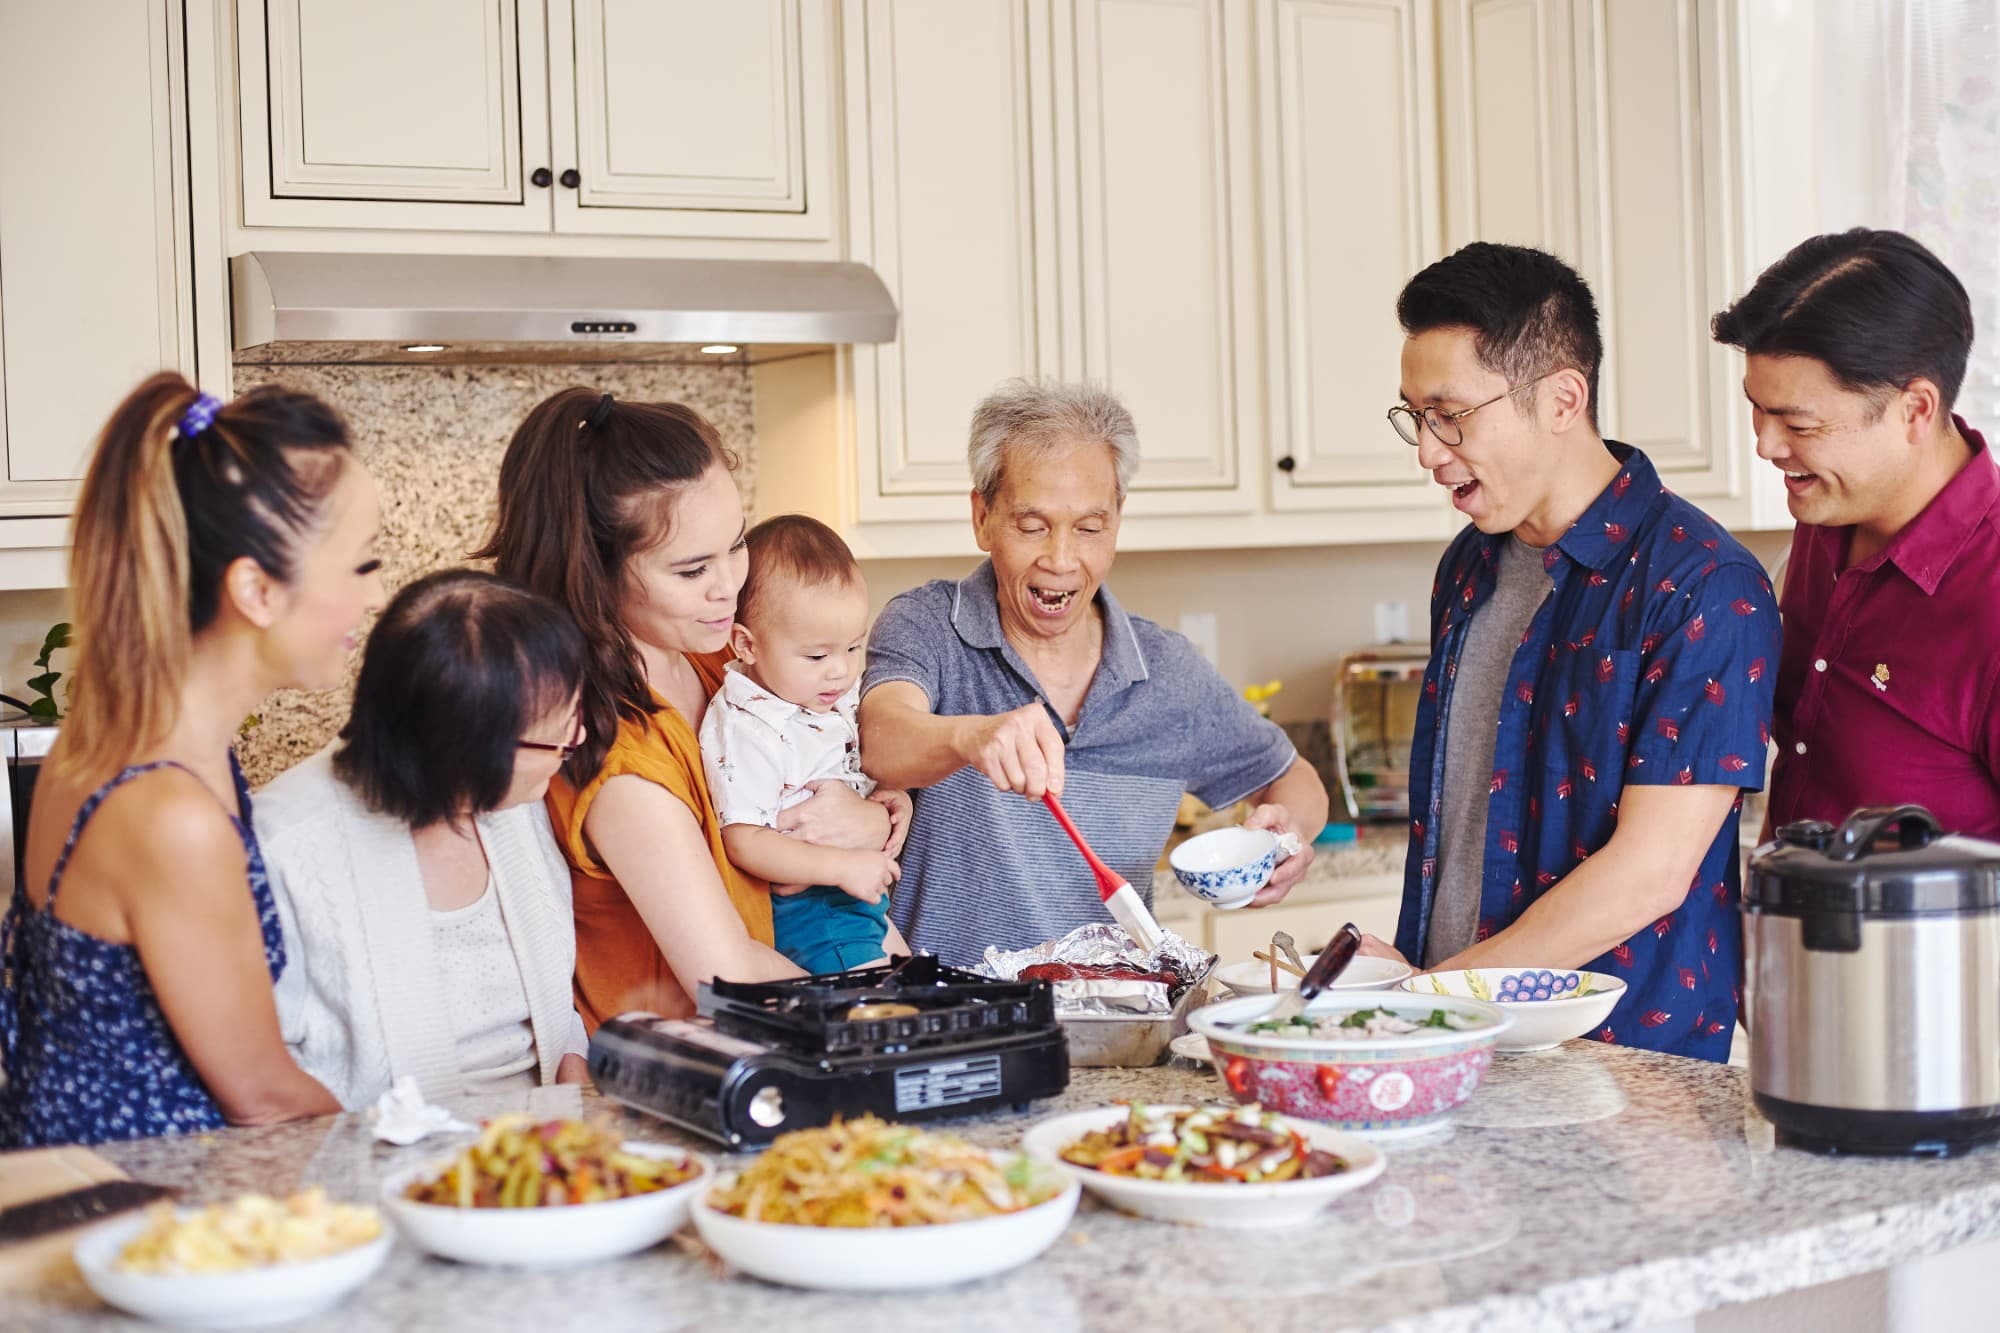
We started Made With Lau to celebrate Cantonese culture and honor the legacy of our wonderful parents, Jenny and Chung Sun Lau.
Our hope is that these recipes and stories help you spread the joy, love, and nostalgia that I felt growing up.