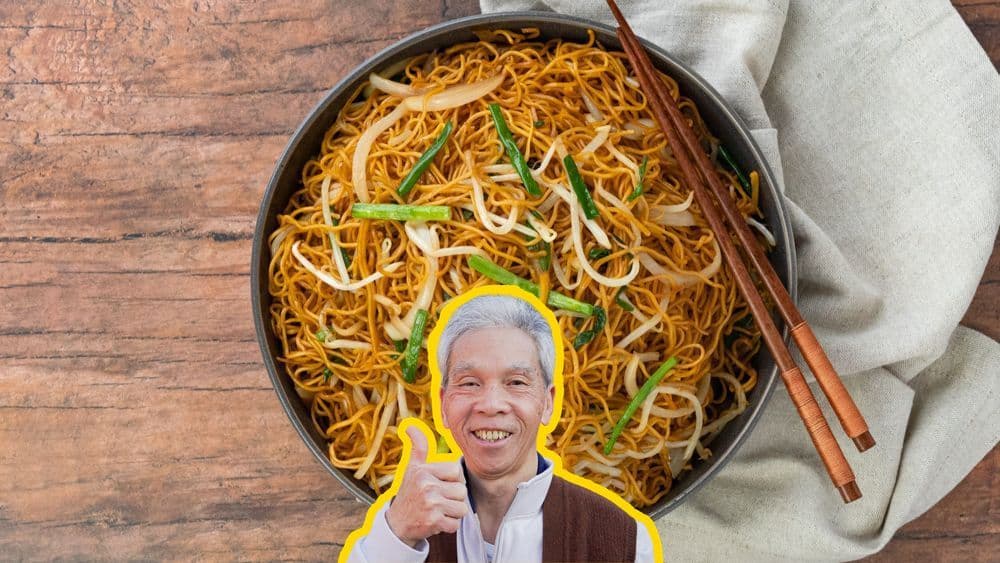
The Cantonese Chow Mein My Dad's Made 100,000 Times
Why this recipe
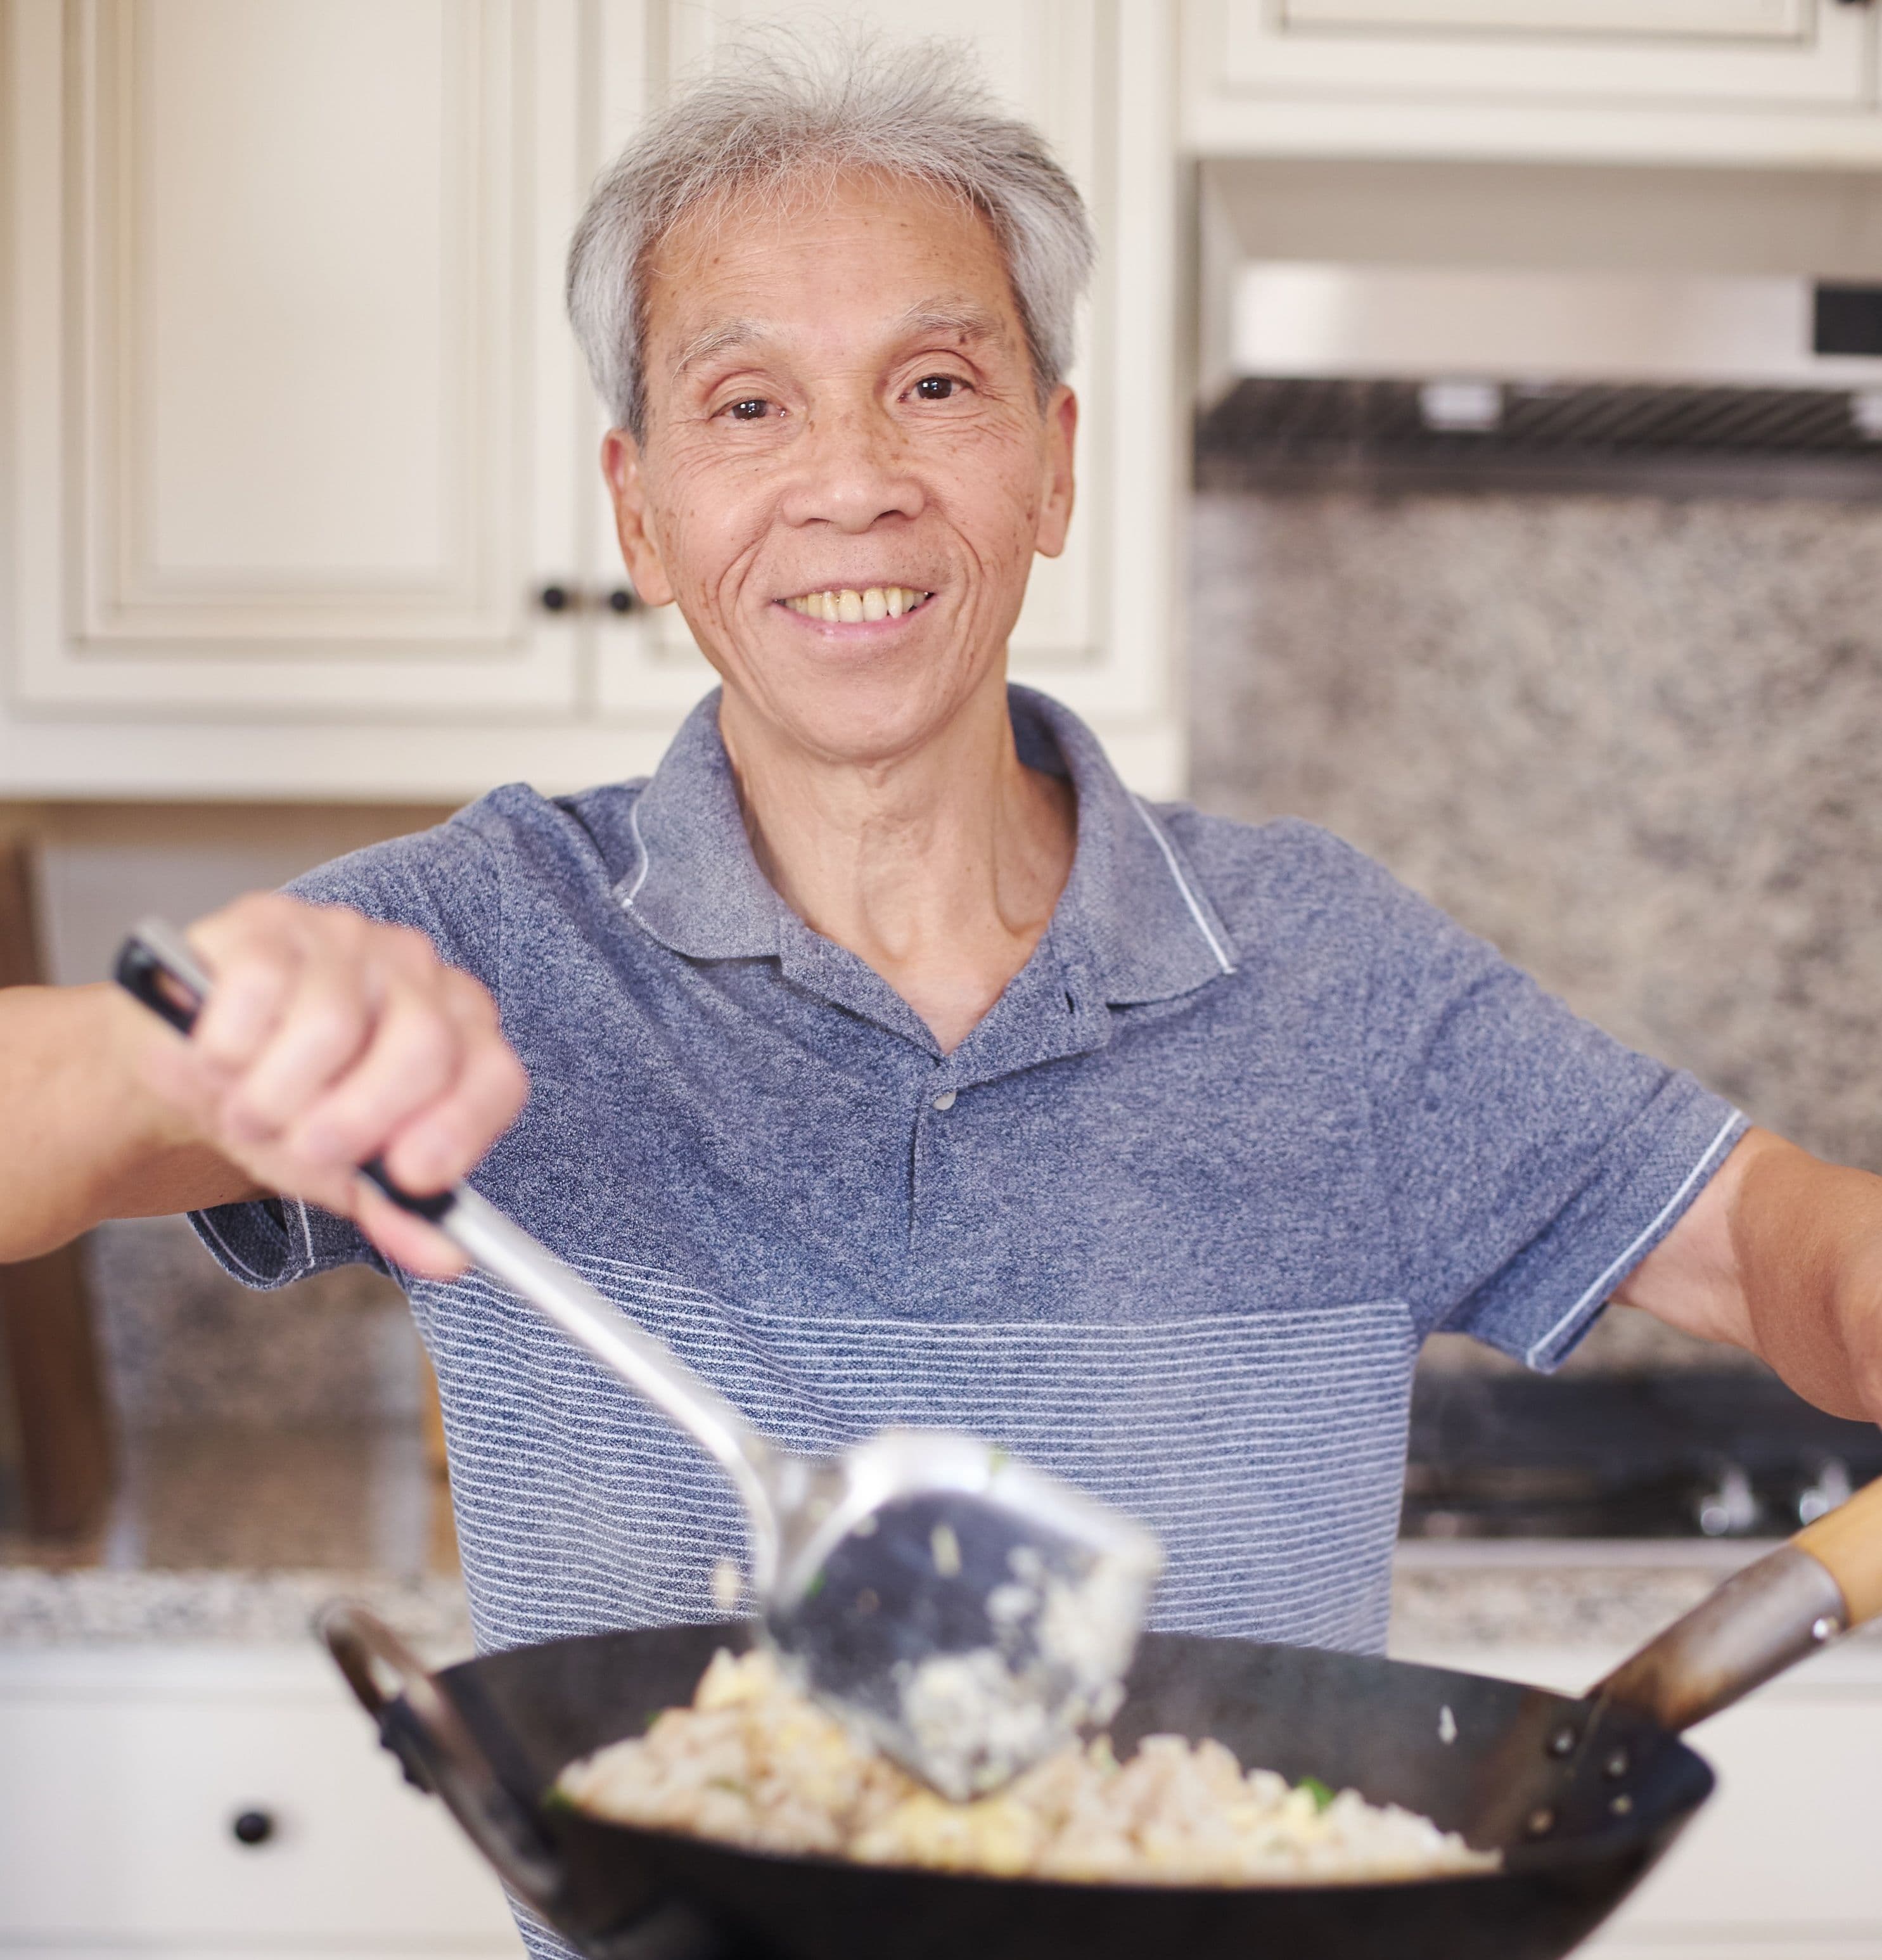
Most cantonese chow mein recipes online are tested only a handful of times. My dad used to make this dish multiple times a day, every day, for 60+ years and can make this in his sleep.
I know you'll love it as much as our community does! This recipe has over 3.5M views, 69.1K likes on YouTube.
Along with beef chow fun and lo mein, Cantonese chow mein ranks as one of the top essential Chinese noodles.
This classic noodle dish is known as "鼓油王炒面," which translates roughly to “Supreme Soy Sauce Pan Fried Noodles.” (Also, chow mein = pan fried noodles.)
It’s traditionally more of a breakfast or lunch kind of dish, and especially popular at dim sum or served alongside congee.
Why is it called Supreme Soy Sauce Chow Mein?
Its name is based on the most dominant ingredient: soy sauce. To allow that flavor to shine, supreme soy sauce chow mein is always served without meat.
You can certainly cook this with beef or anything else you'd like, but then the dish wouldn't be called "supreme soy sauce chow mein," it'd be called "beef chow mein."
Even if it's cooked exactly the same way, adding beef to the dish would overpower the aroma of the soy sauce.
On soy sauce
Soy sauce dates back to around 2200 years ago during China’s Han Dynasty. Much like congee and rice, soy sauce was originally developed to stretch salt, which used to be a very expensive commodity. It has since become one of the most common and important ingredients in all of Asian cuisine.
In Cantonese, soy sauce is called “sih yàuh 豉油,” and there are a ton of different names and variations of it across Asia.
Traditionally, Chinese soy sauce is produced by fermenting soybeans and grains, brewing with some sort of salt, purifying and pasteurizing, and then it’s either stored for further aging or bottled immediately for distribution.
It’s primarily during this final step where dark soy sauce differs from light soy sauce.
In Cantonese, dark soy sauce is known as “lóuh chāu 老抽,” which roughly translates to “old extract,” a reference to a longer aging process than its younger brother, light soy sauce, or “sāang chāu 生抽.” Dark soy sauce is also commonly mixed with mushrooms, caramel coloring, and molasses.
If you don’t have dark soy sauce, you can skip it and substitute it with light soy sauce which is generally easier to buy. You can also check below for links to buy dark soy sauce online.
Ingredients

Instructions
Steam noodles, drain, cool

Here's a quick run-down of the types of HK-style noodles you can buy:
- fresh, unsteamed
- fresh, steamed
- dried
In the video, we demonstrate how to cook with fresh, unsteamed noodles, which is my dad's preference. This takes a little bit of extra work but is well worth it.
Chef's Tip: We'll need to cook the noodles by steaming them, which is one of the main keys to nailing the perfect texture.
Here's what you do:
- Place your steamer rack in a wok on high heat. Pour enough water so that the top of the rack isn't submerged, and start boiling water.
- Take the rack out, separate and lay out noodles (12 oz) on top of the rack.
- Once boiling, set the steamer rack and noodles back in the wok and cover for 10 minutes. Leave the stove on high heat.
- If you're using a steamer rack without holes (i.e. steaming on a plate where the steam can't easily access the bottom), steam for 2 to 3 extra minutes.
- Once the 10 minutes is up, quickly dump the noodles in the water for 15 to 30 seconds.
- Drain the noodles through a colander, and spend about 1 to 2 minutes fluffing and separating the noodles with a chopstick.
- Let it cool for 3 to 5 minutes.
If you're using fresh, steamed noodles, you can skip the steaming step. Instead dunk the noodles in boiling water for about 2 minutes before draining.
If you're using dried noodles, it's somewhat similar to cooking instant ramen. Cook according to the package's instructions, erring on the more al-dente side, and rinse with cold water afterwards to stop the cooking.
Chop vegetables
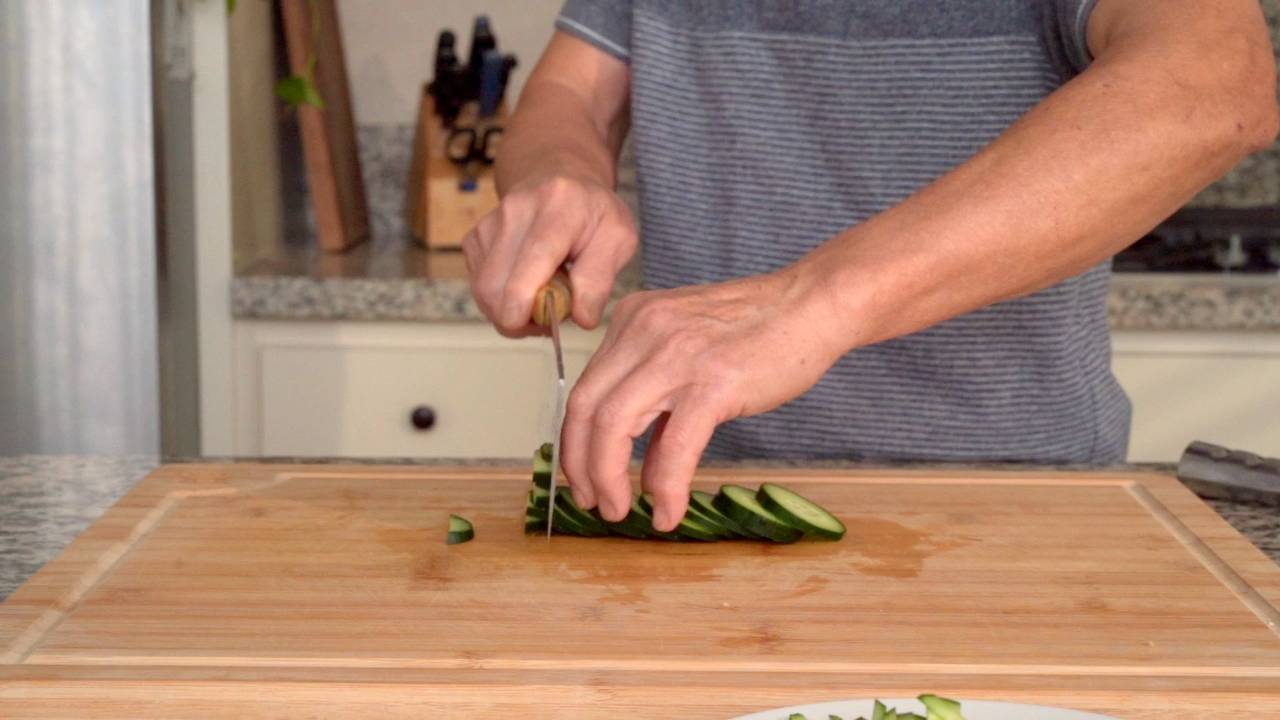
We'll wash and chop our vegetables:
- scallions (5 stalks) - cut into about 1.5-inch pieces. Separate the whites and the greens, as we'll be cooking the whites first.
- onion - cut in half, then julienne (see video for example)
- bean sprouts (4 oz) - you can leave these as is. Some traditional restaurants will remove the beans and the tips, which is A LOT of work.. but feel free.
Create sauce
Mix dark soy sauce (1 tbsp), light soy sauce (1 tbsp), oyster sauce (1 tbsp), sugar (2 tsp), water (1 tbsp) in a bowl until the sugar dissolves.
We'll be adding the sesame oil later.
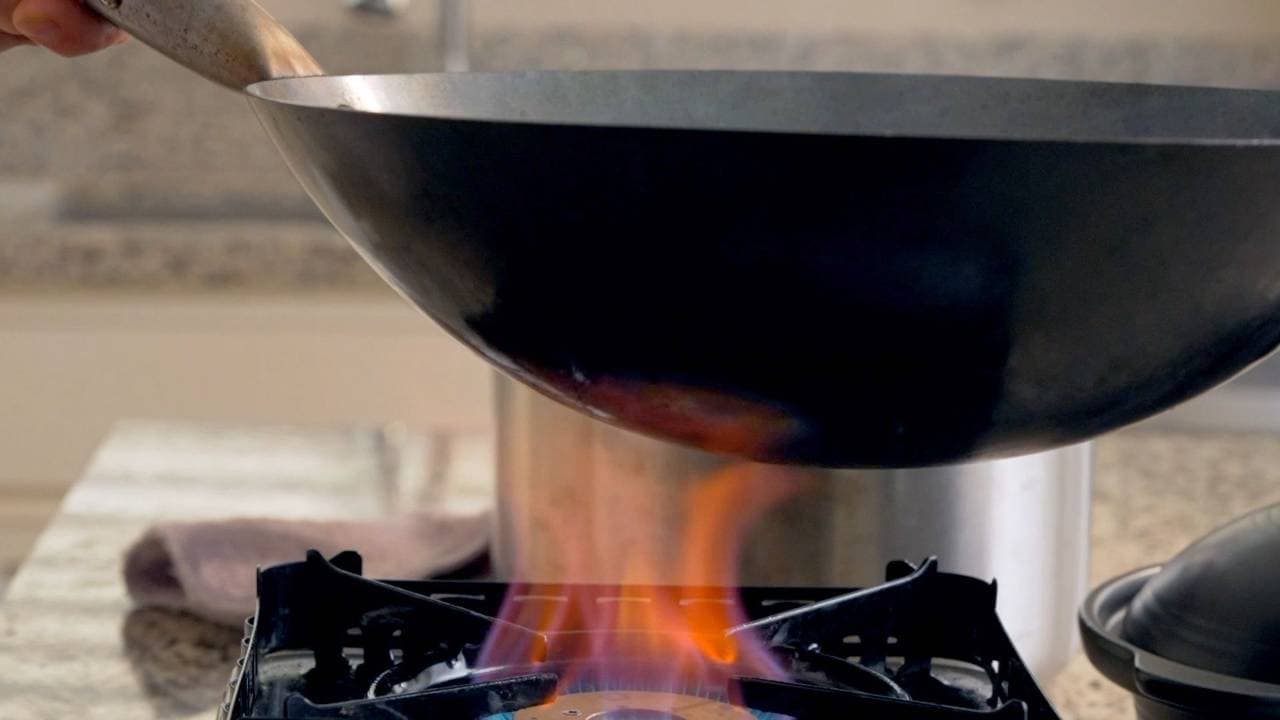
Heat wok, start cooking
We'll start by heating our wok to around 350°F to 400°F (176°C to 204°C). Depending on your stove, this should take around 2 to 3 minutes.
AFTER the wok is hot, we'll add corn oil (0.99 tbsp) and heat that to 350°F to 400°F. As a visual cue, it should be "shimmering" - rippling, but not smoking. If it starts smoking, the wok is too hot.
Then, we'll start cooking our scallion whites and onions for right around 1 minute, and set them on a plate for later.
Heat the wok again and add more corn oil (0.99 tbsp). Once the oil is shimmering, add the noodles.
We want to be really gentle with the noodles. DO NOT flip them yet, and only occasionally move the noodles around. Let the bottom get nice and crispy for about 3 minutes.
Then, we'll flip. My dad does a graceful wok-flip (which I don't have the confidence to pull off), but the rest of us can just use a spatula and flip that way :)
Once flipped, add more corn oil (0.99 tbsp) along the perimeter of the noodles to help develop a nice crisp. Let the noodles cook on this side for another 3 minutes, occasionally prodding and moving the noodles.
Letting the noodles adequately cook and crisp on each side is one of the main keys to perfecting this dish.
Cook bean sprouts, add veggies, flavors
Overview
- Bean sprouts: 30 to 45 seconds
- Scallions and onions: 1 to 2 minutes
- Sauce: 1 minute
- Sesame oil: 1 to 2 minutes
Add the bean sprouts:
- Make room for the bean sprouts by pushing the noodles aside in the wok.
- Set the bean sprouts in the wok, and then cover them with the noodles. This helps trap some of the heat inside to help them cook more evenly and quickly.
- Let the bean sprouts cook underneath the noodles for 30 to 45 seconds.
Add the scallions (everything, the cooked whites and raw greens) and onions, and cook for about 1 to 2 minutes. Continue separating the noodles with chopsticks and a spatula.
Pour in the sauce mix, and mix everything around for 1 minute. We'll want to let the sauce evaporate as much as we can.
Add sesame oil (1 tsp), and mix and separate the noodles for another 1 to 2 minutes, and then we can start plating.
At this point, you should taste the noodles and see if the flavor and color is to your liking. My dad added another splash of dark soy sauce (0.5 tbsp) in the video to make the noodles a little darker.
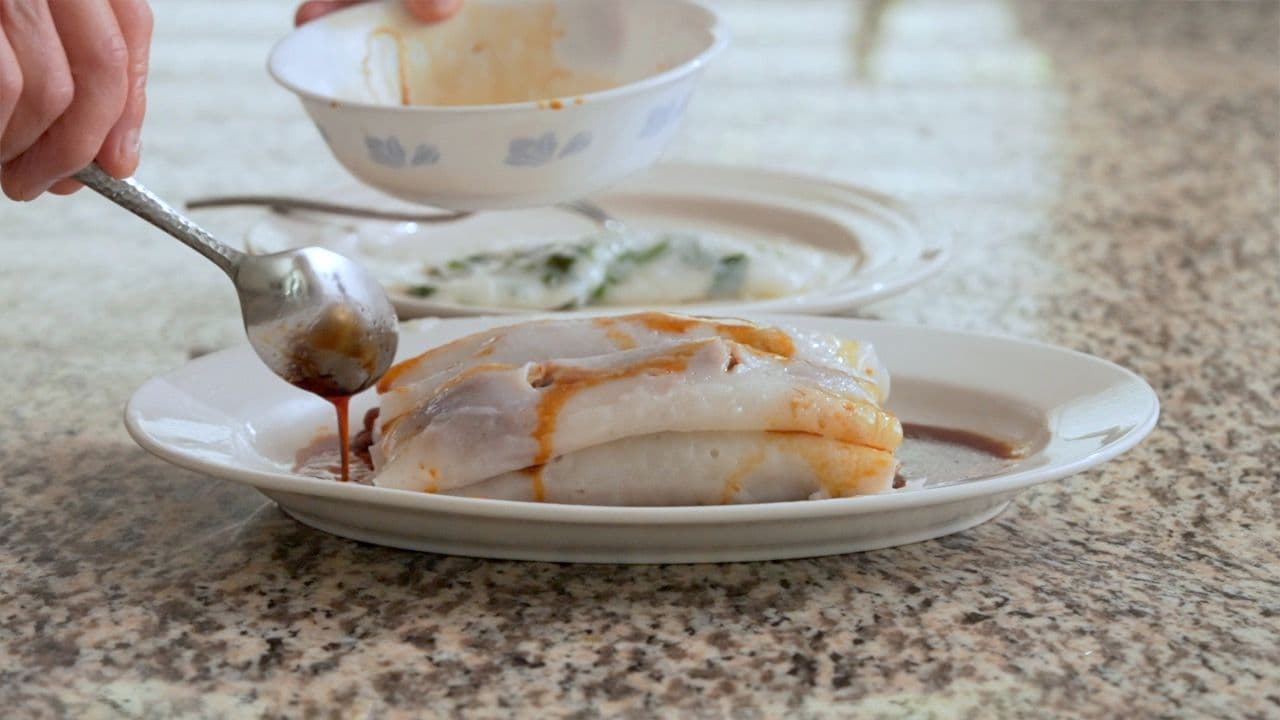
Plate and enjoy!
Transfer the noodles onto a plate, and call your loved ones over.
Time to eat!
Pairs well with
View all →Made with love ❤️
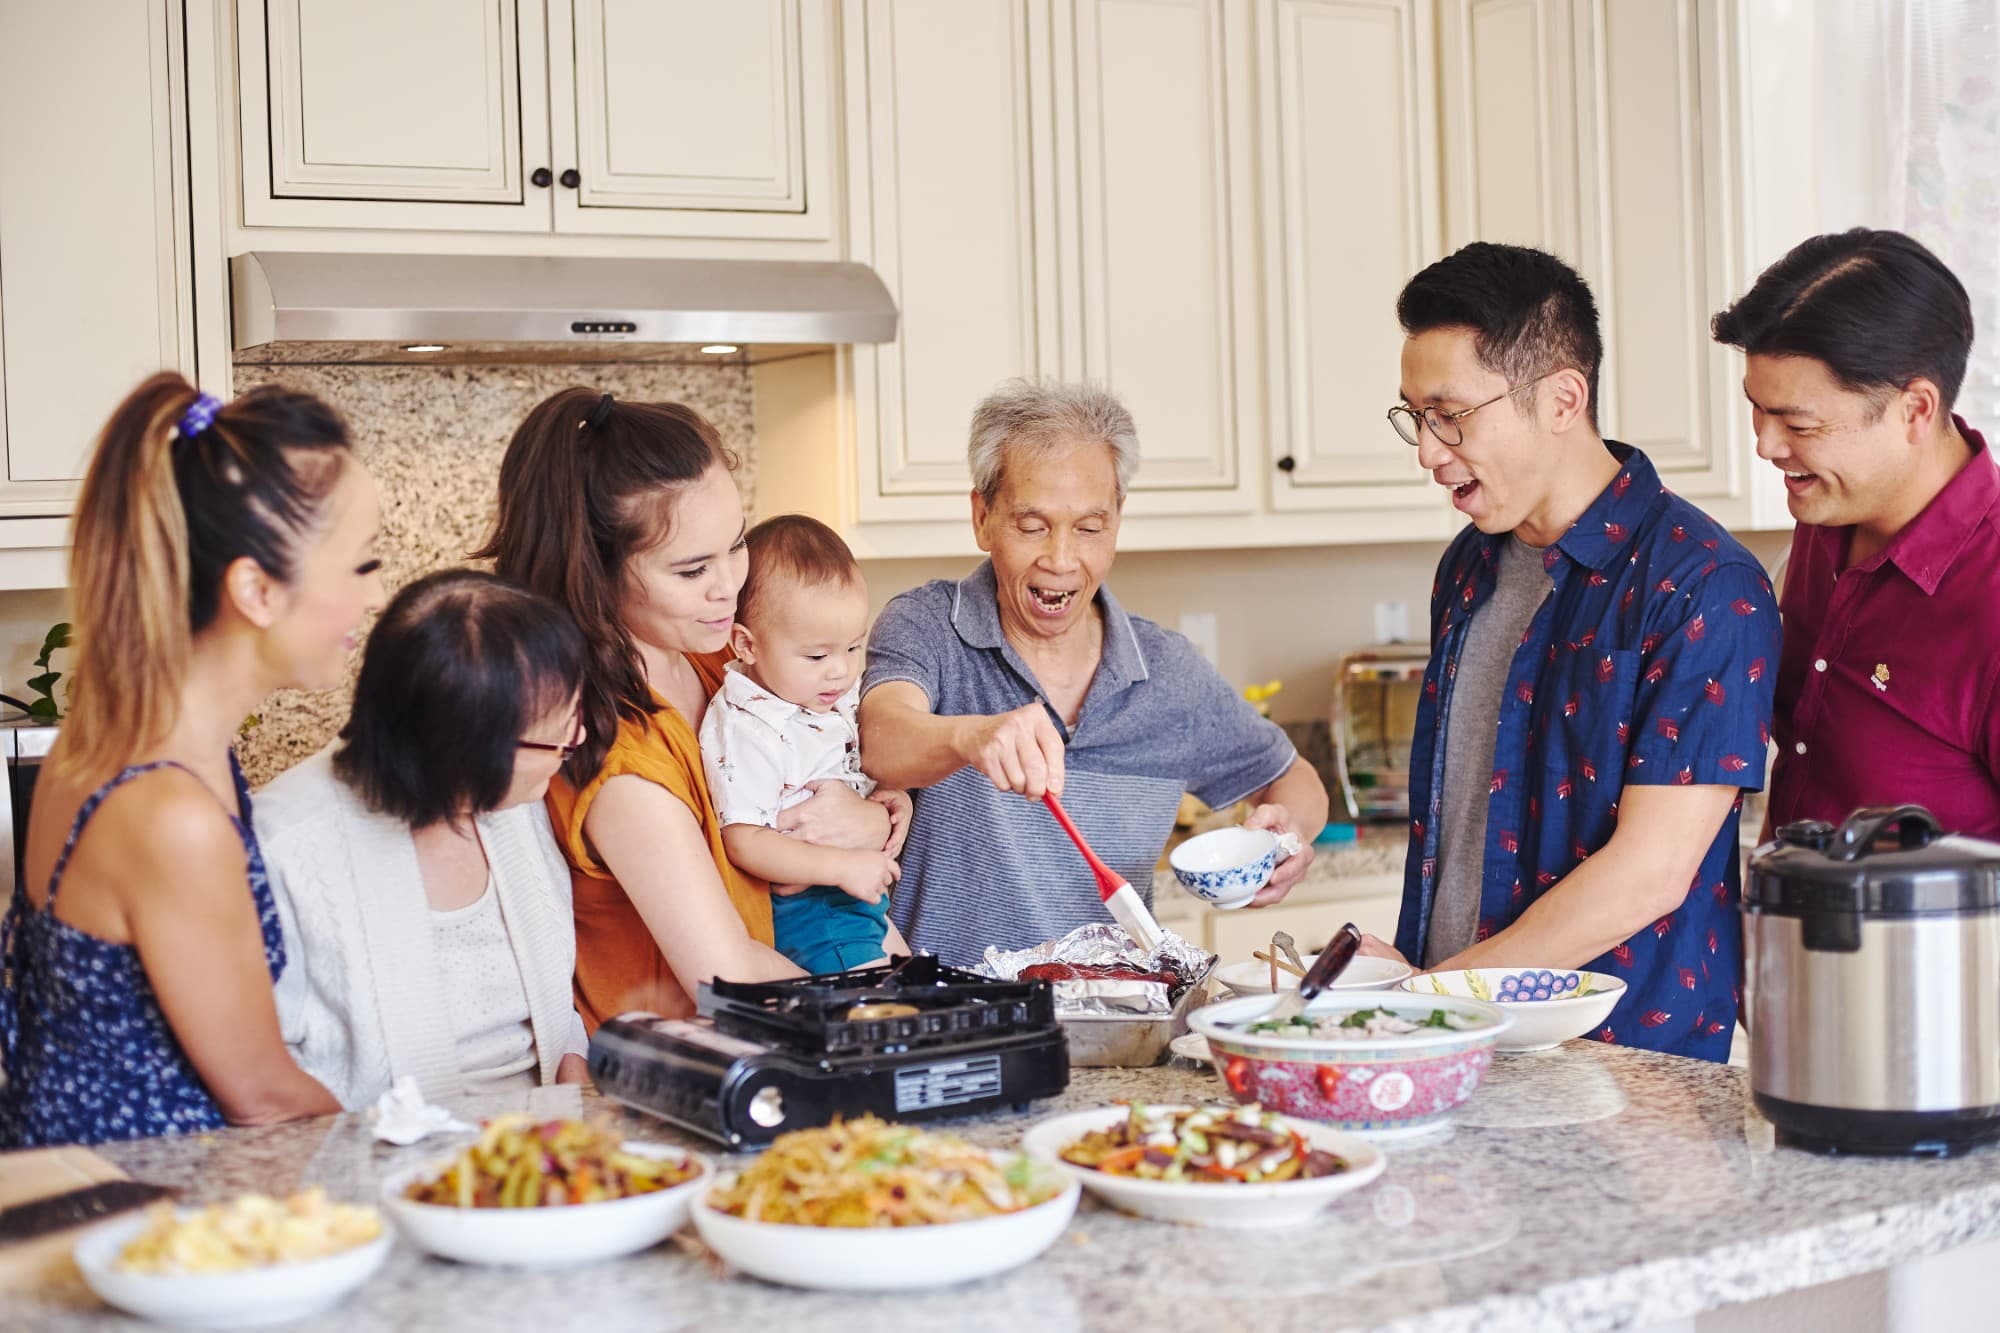
We started Made With Lau to celebrate Cantonese culture and honor the legacy of our wonderful parents, Jenny and Chung Sun Lau.
Our hope is that these recipes and stories help you spread the joy, love, and nostalgia that I felt growing up.