The Cantonese Fried Egg My Dad's Made 100,000 Times
Why this recipe
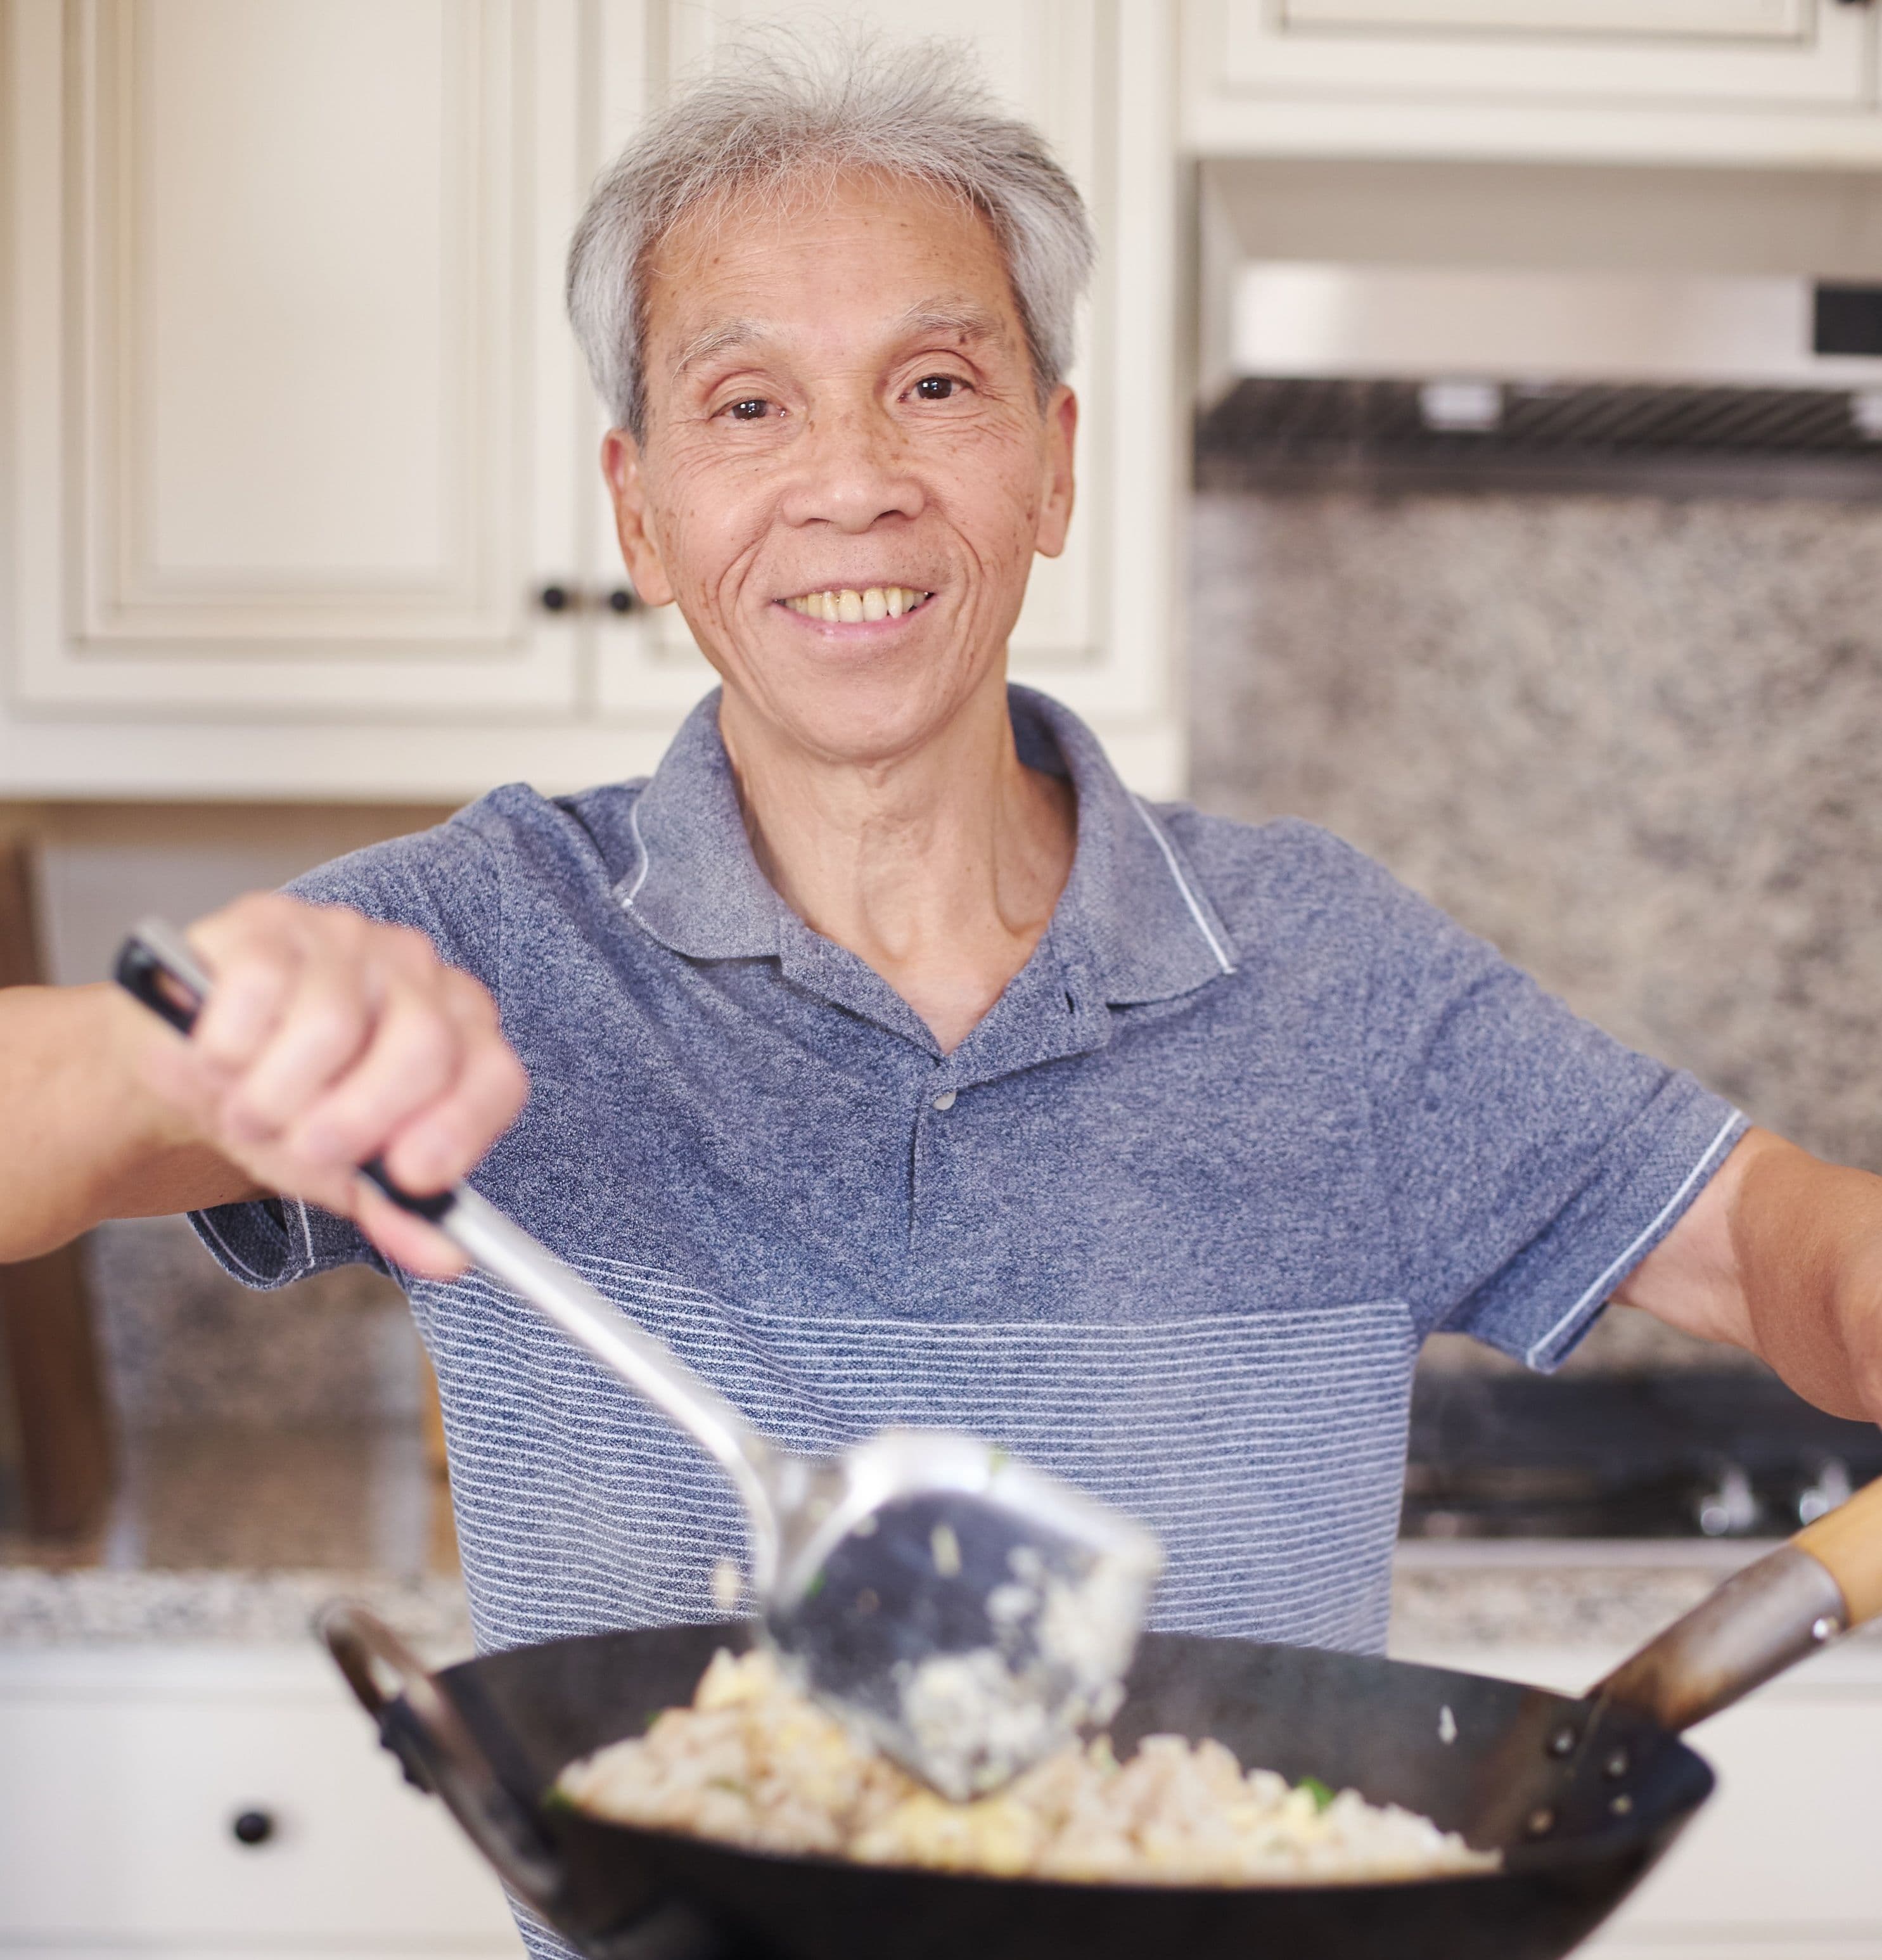
Most cantonese fried egg recipes online are tested only a handful of times. My dad used to make this dish multiple times a day, every day, for 60+ years and can make this in his sleep.
I know you'll love it as much as our community does! This recipe has over 158.6K views, 2.9K likes on YouTube.
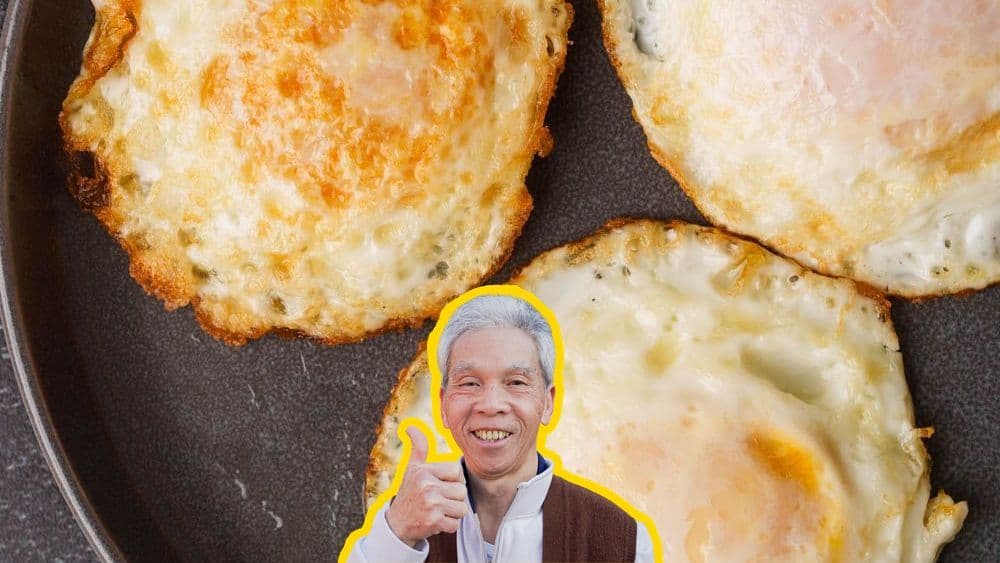
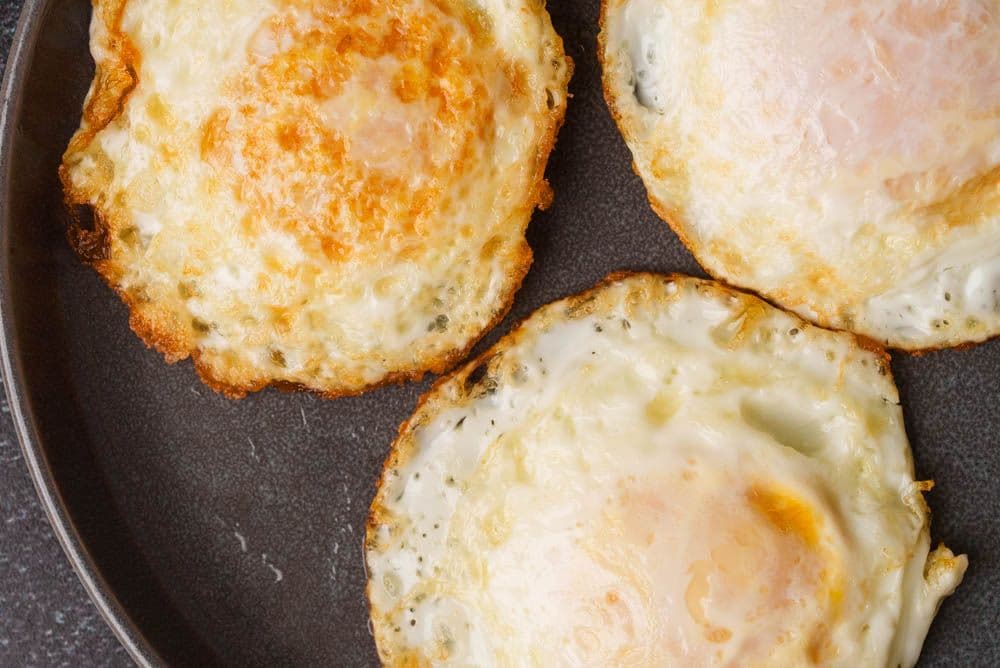
Quick breakfast? Light snack? Ramen topping? Cantonese Fried Eggs are an essential recipe to have in your repertoire. They can be simply flipped like an over-easy egg, or folded in half like a half-moon for more texture.
With fragrant, crispy edges and a yolk just the way you like, this is a can't-miss style of egg that you definitely want to master!
Ingredients

Not a flat-top fried egg
Is this much different from an over-easy egg from your local diner (if you happen to live somewhere that still has diners...)? Yes, it is!
When cooked in a wok or frying pan, the egg stays nice and round when you drop it in. Our recipe calls for a little more oil than you might expect for a simple fried egg, but it's the key to getting those crispy, crunchy edges. Yes, you do want browning on this egg. No, don't baste the whites with the extra oil. You're either going to flip the egg, or...
If you're ready for a slightly more advanced maneuver, you can fold the egg in half into a beautiful half-moon shape. You have to wait for the bottom of the whites to release from the pan, but move quickly enough so that the top of the whites is uncooked enough to actually stick together. You really have to nail that timing! The folded shape, with its thicker whites, will give you even more variety in texture.
To make a round egg, follow steps 1-3 below. To make a folded egg, follow step 1, then steps 4-6.
Just salt?
In our recipe instructions, we're mostly focusing on the technique of frying this egg the Cantonese way. We've only seasoned it with salt, but you can season this however you like. Throw on some freshly cracked black pepper, fresh herbs, a quick splash of soy sauce, or whatever condiments you like. This is your egg!
Instructions
Heat oil & crack egg into bowl
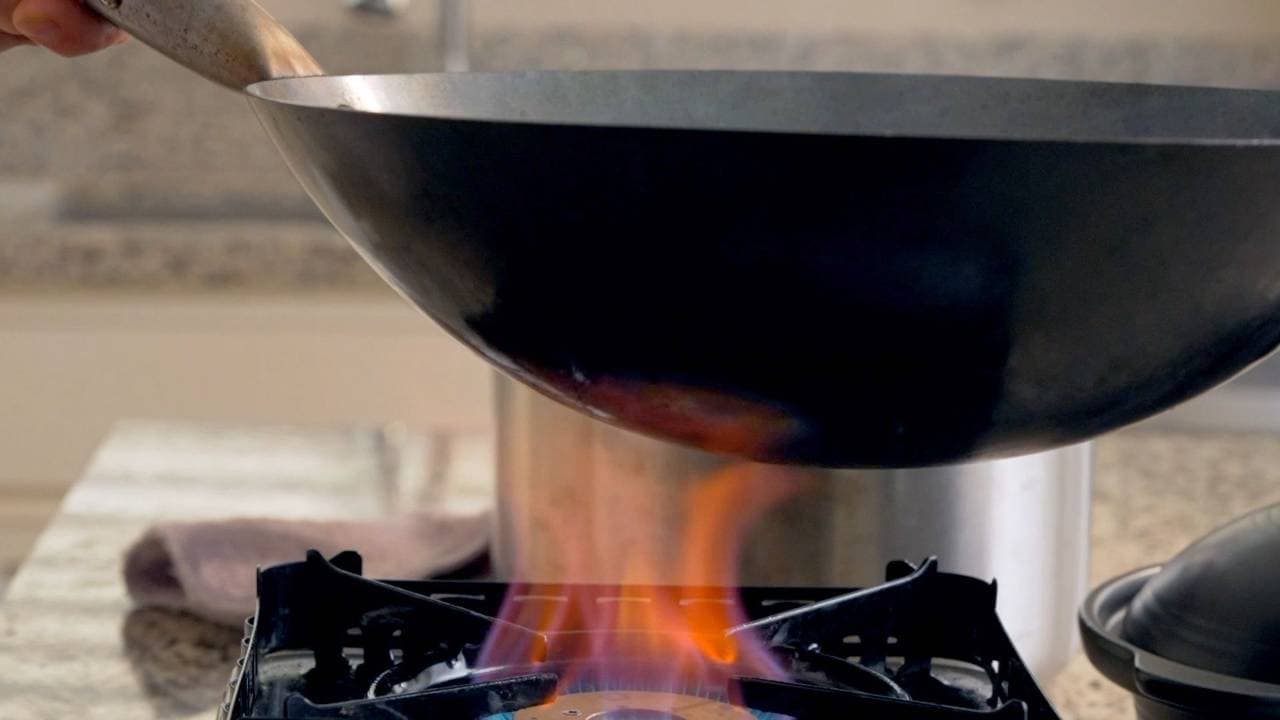
Heat up your wok or pan on high heat. It depends on your equipment, but it should take a standard wok or pan about one minute to heat up, just shy of smoking hot. (If you see smoke, it's too hot! Let it cool down a smidge.)
Once the wok is hot, turn the heat down to medium and add cooking oil (2 tbsp). Give it a quick swirl to coat the wok.
2 tbsp of cooking oil will be enough to fry about 3 eggs. Later, add more as needed while you cook more eggs, but 2 tbsp is the minimum to perfect those crispy edges.
Crack one egg ( 3) into a bowl. This will give you the opportunity to fish out any pieces of shell, and also helps you make sure you're not about to cook a bad egg.
If you'd like to fry your eggs round and unfolded, continue onto steps 2-3. If you'd like to fry folded eggs, or purse eggs, follow steps 4-6.
Add egg to wok
For round eggs, pour the egg from the bowl into the wok.
Let the egg continue cooking undisturbed so that the whites can fry and solidify. It'll take 45-60 seconds for the whites to turn opaque. That's when it should be no longer sticking to your wok or pan. If you slide the tip of your spatula under the egg, it should slide around easily.
If you'd like to season it now with a sprinkle of salt (1 sprinkle), go ahead and do that now. Otherwise, you can season it after it's finished.
Flip egg
Use your spatula to get underneath the egg. When you're getting ready to flip, you want the spatula to be supporting most of the weight of the egg; otherwise, the egg will slide right off before you can flip it. If it needs more support than the single spatula can provide, you can use a pair of chopsticks to keep the egg from sliding around. Pull the spatula+egg to the side so that you have a good spot in your wok to aim for... then flip the egg!
Put egg on side of wok & start next egg
After flipping the egg, turn the heat down to low and keep cooking for another 40-50 seconds for a runny yolk. Cook it for longer if you prefer the yolk more well-done.
Again, your equipment may differ, so rather than relying on our 40-50 second guideline, it's best to take note of how your egg looks and feels to decide whether it's done or not.
A runny yolk will look plump. If you poke at it gently, it'll give way, and then spring back.
A cooked, solid yolk will look more flat. If you poke at it gently, it will give you a lot of resistance.
If you don't mind a really solid, very cooked yolk, you can speed up the cooking time by intentionally piercing the yolk and letting it cook via direct contact with the wok.
Assuming you're continuing to cook eggs (there will never be enough fried eggs!), you can slide the currently cooking egg up the side of the wok to finish cooking slowly.
Turn the heat back up to medium, and with the oil remaining in the wok, start cooking the next egg. If there's not enough oil to fry that egg, add as much as you need. Repeat the waiting, nudging, and flipping steps with your next egg, but don't forget to remove the egg that's waiting on the side of the wok whenever it's ready to your liking.
Once you've fried all the eggs that will make you content, turn off the heat and enjoy. Remember to season with salt if you didn't do so earlier.
Add egg into wok & salt
For folded eggs, you'll similarly pour the egg into the wok. Do your best to pour so that the yolk is in the center of the whites, so that it'll be easier to fold.
Let the egg continue cooking undisturbed so that the whites can fry and solidify. It'll take 45-60 seconds for the whites to turn opaque. That's when it should be no longer sticking to your wok or pan. If you slide the tip of your spatula under the egg, it should slide around easily.
If you'd like to season it now with a sprinkle of salt (1 sprinkle), go ahead and do that now. Otherwise, you can season it after it's finished.
Fold egg
Slide your spatula halfway underneath the egg. To keep the egg from sliding away when you push it, you may want to use a pair of chopsticks to support it. Lift slightly up and over to fold the egg over its other half, creating a semicircle shape.
You may want to gently hold the shape down for a few seconds until it agrees with your plan. The egg whites need to stick together, and sometimes that requires some encouragement.
Turn the heat down to low and cook for 40-50 seconds.
Flip egg
To help crisp up the first side a bit more, flip it back over and cook for another 20-30 seconds.
Again, to evaluate doneness, it's better to rely on visual and tactile clues instead of strict timing. Bouncy plump yolks are runny, and not-so-bouncy flat yolks are solid.
Put egg on side of wok & start next egg
Assuming you're continuing to cook eggs (there will never be enough fried eggs!), you can slide the currently cooking egg up the side of the wok to finish cooking slowly.
Turn the heat back up to medium, and with the oil remaining in the wok, start cooking the next egg. If there's not enough oil to fry that egg, add as much as you need. Repeat the waiting, nudging, and folding steps with your next egg, but don't forget to remove the egg that's waiting on the side of the wok whenever it's ready to your liking.
Once you've fried all the eggs that will make you content, turn off the heat and enjoy. Remember to season with salt if you didn't do so earlier.
Pairs well with
View all →Made with love ❤️
We started Made With Lau to celebrate Cantonese culture and honor the legacy of our wonderful parents, Jenny and Chung Sun Lau.
Our hope is that these recipes and stories help you spread the joy, love, and nostalgia that I felt growing up.